How to Create a Dell Command Update MSI Installer Package
Yhteenveto: The following article provides information about creating a Dell Command | Update MSI installer package.
Oireet
Creating a Dell Command | Update MSI Installer Package
An administrator may create a Microsoft Software Installation (MSI) package for mass deployment.
Syy
Tarkkuus
Step-by-Step instructions to create a Dell Command | Update MSI Package:
-
Right-click the Windows start menu icon and then select Run.

(Figure.1 Start Menu Icon on the Taskbar)
-
In the Run Box, type
CMDand then press CTRL + SHIFT + ENTER, to run the command prompt as an administrator.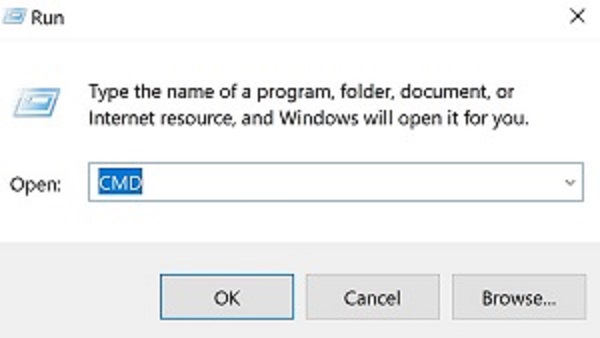
(Figure.2 Run Box)
-
The User Account Control (UAC) prompts you to authorize administration access, click Yes. Otherwise carry on to the next step.
-
In the Command Prompt window, go to the location of the Dell Command | Update executable file.
-
Type
Dell-Command-Update_[VERSION] /PASSTHROUGH /X /B"[EXTRACTION PATH]"and then press the Enter key.C:\>Dell-Command-Update_Y2PJJ_WIN_3.1.1_A00.EXE /passthrough /x /b"C:\Temp\DCU3.1" -
If you are prompted to upgrade Dell Command | Update, click No. Otherwise carry on to the next step.

(Figure.3 Set up Pop-Up Window)
-
In the Command Prompt window, type
Exitand then press the Enter key.Exit -
In Windows Explorer, go to the [EXTRACTION PATH] from step five, and retrieve the Dell Command | Update MSI package.
-
Download the latest version of Dell Command Update:
-
(See Article #000177325) Dell Command Update
-
-
Run the Update Package EXE and select Extract. (See Figure.4)

(Figure.4 Dell Update Package)
-
Select or create a folder to extract the Dell Update Package contents to.
-
Go to the folder where the Dell Update Package contents were extracted. (See Figure.5 An example of the extracted files to C:\DCU\ is shown.)

(Figure.5 Windows Explorer Folder)
-
Open an elevated command prompt window in the same directory as the extracted files from steps three and four.
-
In the elevated command prompt window, type
[EXE-NAME] /PASSTHROUGH /X /B"[EXTRACTION PATH]"and press Enter. -
During this step, you may receive a warning that the application is to be uninstalled. You can press either Yes or No, it does not impact the extraction process.
-
The MSI package is now available in the [EXTRACTION PATH] folder.
- [VERSION] = Software version that is associated with the Dell Command | Update executable.
- [EXE-NAME] = Indicates the name of the executable file in the extracted contents for the working example, DCU_Setup_4.6.0.exe
- [EXTRACTION PATH] = Indicates the folder where the MSI file should be extracted to.
- The [VERSION] and [EXTRACTION PATH] in your environment may differ from the screenshot example.
See these Dell Knowledge Base articles for related information: