How to Collect Logs for Dell Encryption Enterprise for Mac
Resumo: Logs may be collected for Dell Encryption Enterprise for Mac or Dell Data Protection Enterprise Edition for Mac by following these instructions.
Este artigo aplica-se a
Este artigo não se aplica a
Este artigo não está vinculado a nenhum produto específico.
Nem todas as versões do produto estão identificadas neste artigo.
Sintomas
Note:
- As of February 2021, Dell Encryption Enterprise for Mac has reached End of Maintenance. This product and its articles are no longer updated by Dell. For more information, reference the Product Life Cycle (End of Support / End of Life) Policy for Dell Data Security. If you have any questions on alternative articles, either reach out to your sales team or contact endpointsecurity@dell.com.
- Reference Endpoint Security for additional information about current products.
It is highly recommended to collect logs for Dell Encryption Enterprise for Mac (formerly Dell Data Protection | Enterprise Edition for Mac) before troubleshooting or contacting Dell Data Security ProSupport.
Affected Products:
- Dell Encryption Enterprise for Mac
- Dell Data Protection | Enterprise Edition for Mac
Affected Operating Systems:
- Mac
Causa
Not applicable
Resolução
For the log collection process, click the appropriate Dell Encryption Enterprise for Mac version. For more information about versioning, reference How to Identify the Dell Encryption Enterprise for Mac / Dell Data Protection Enterprise Edition for Mac Version.
To collect logs:
- Log in to the appropriate endpoint.
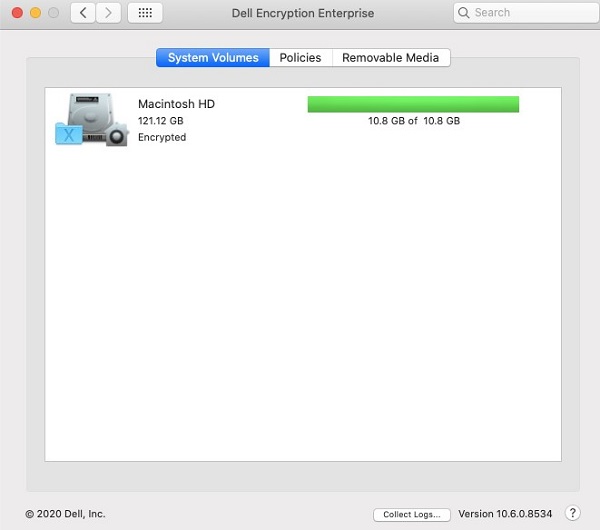
- In the Dock, click System Preferences.

- Click Dell Encryption Enterprise.
- At the bottom of the Dell Encryption Enterprise for Mac user interface (UI), click Collect Logs.
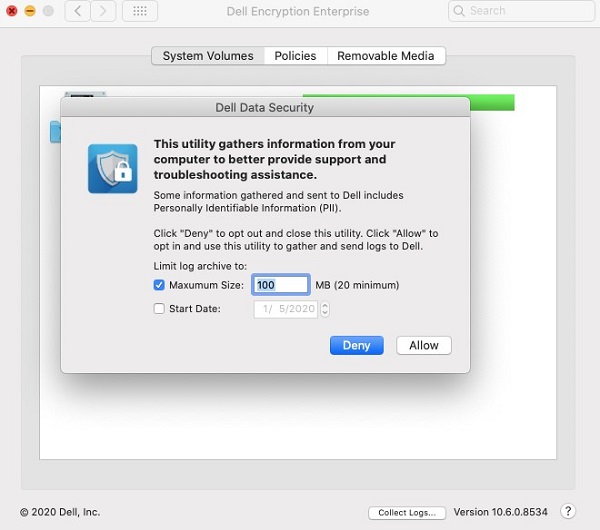
- In the Dell Data Security logging UI,
- Optionally set Maximum Size for log collection.
- Optionally set a Start Date for log collection.
- Click Allow.
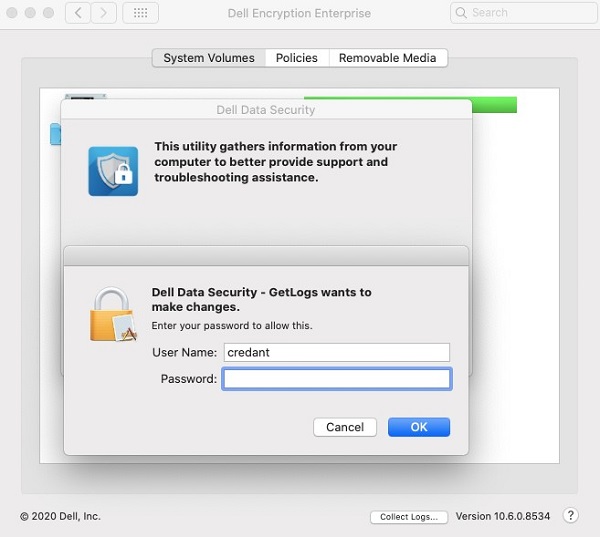
- Populate local administrator credentials and then click OK.
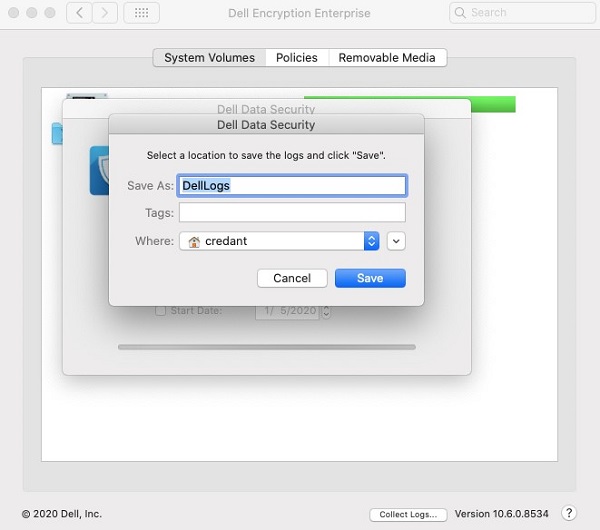
- In the Dell Data Security logging UI:
- Optionally modify the Save As name.
- Optionally associate Tags to the bundle.
- Optionally modify Where to save the bundle.
- Click Save.
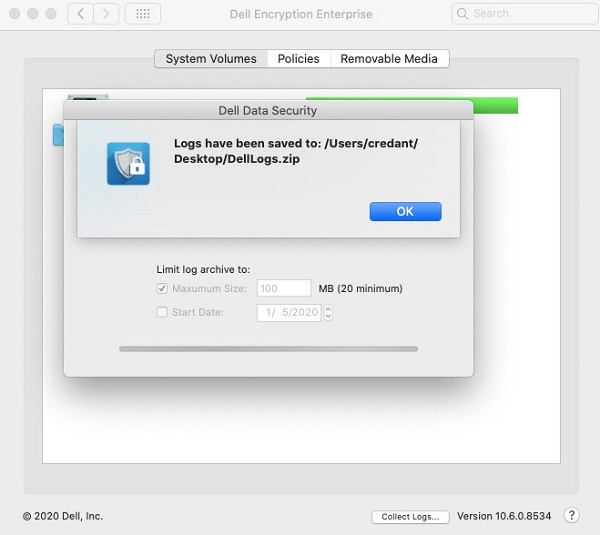
- On completion, click OK.
To collect logs:
- Log in to the appropriate endpoint.
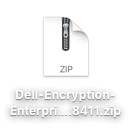
- Download the Dell-Encryption-Enterprise-Mac-[VERSION].zip installer to the targeted endpoint.
Note:
- [VERSION] = Dell Encryption Enterprise for Mac product version
- Double-click Dell-Encryption-Enterprise-Mac-[VERSION].zip.
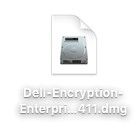
- Double-click Dell-Encryption-Enterprise-Mac-[VERSION].dmg to mount the drive.
- On the desktop, double-click Dell Encryption Enterprise.

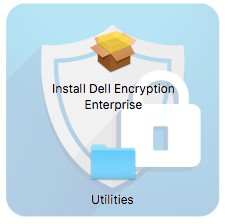
- In Dell Encryption Enterprise, double-click Utilities.
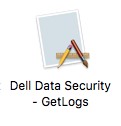
- In the Utilities folder, double-click Dell Data Security - GetLogs.app.
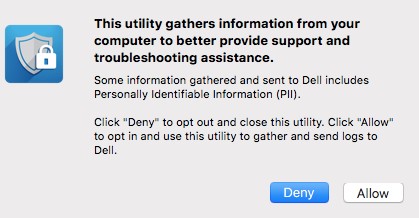
- On the Personally Identifiable Information (PII) disclaimer, click Allow.
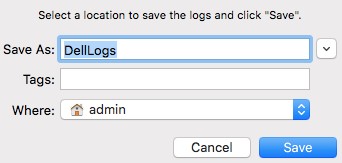
- In the UI that appears:
- Optionally change the log bundle Save As name.
- Optionally add Tags to the log bundle.
- Select Where to save the log bundle.
- Click Save.
Note: By default, the log bundle saves to the active user’s home directory.
- Populate a local administrator User Name and Password. Once populated, click OK.

- Click OK.
- Go to the log bundle location (Step 9C).
To collect logs:
- Log in to the appropriate endpoint.
- Download the Dell-[PRODUCT]-[VERSION].zip installer to the targeted endpoint.
Note:
- [PRODUCT] =
- v8.15.0 and Later: Encryption-Enterprise-Mac
- v8.14.2 and Earlier: Data-Protection-Mac
- [VERSION] = Dell Encryption Enterprise for Mac product version
- Double-click Dell-[PRODUCT]-[VERSION].zip.
- Double-click Dell-[PRODUCT]-[VERSION].dmg to mount the image.
- Select Go, Utilities, and then Terminal.
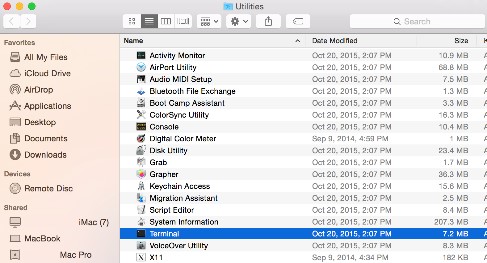
- Double-click Terminal to launch the UI.
- In Terminal, type
sudo sh. Do not press Enter. - Navigate and then double-click the mounted disk image (Step 4).
- Double-click the Utilities folder.

Note: The screenshot was taken on a Dell Data Protection | Enterprise Edition for Mac version and differs slightly on Dell Encryption Enterprise for Mac.
- Locate GetLogs.sh and go to Step 11.
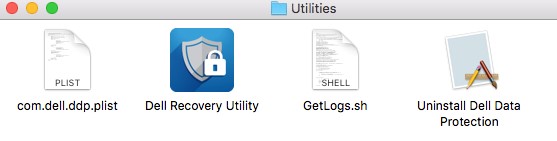
Note: Dell Data Protection | Enterprise Edition for Mac versions before 8.10 did not include getlogs.sh. It is recommended to download the latest versions of the software to ensure the latest getlogs.sh is used.
- Drag GetLogs.sh to the Terminal window after sudo sh (Step 7) and then press Enter. This auto populates the location path for getlogs.sh.

Note: To target external volumes for log collection, add –d [path of external volume] at the end of the string before pressing Enter. For example:
sudo sh /volumes/Users/admin/Desktop/GetLogs.sh –d /Volumes/ExternalHD
- Enter the credentials for an account with sudo rights and then press Enter to run getlogs.sh.
Note: It is common for Terminal to display "Resource busy" for several minutes as it gathers all the required information.

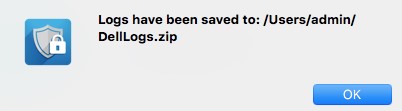
- Once the shell script has completed, log output (Delllogs.zip) can be collected from Go > Home.

To contact support, reference Dell Data Security International Support Phone Numbers.
Go to TechDirect to generate a technical support request online.
For additional insights and resources, join the Dell Security Community Forum.
Mais informações
Vídeos
Produtos afetados
Dell EncryptionPropriedades do artigo
Número do artigo: 000126826
Tipo de artigo: Solution
Último modificado: 23 ago. 2023
Versão: 15
Encontre as respostas de outros usuários da Dell para suas perguntas.
Serviços de suporte
Verifique se o dispositivo está coberto pelos serviços de suporte.