Número do artigo: 000198182
How to Run a Diagnostic Test Using SupportAssist
Resumo: This article provides instructions on how to run hardware diagnostics using SupportAssist on a Dell computer.
Conteúdo do artigo
Instruções
Running a hardware scan enables you to detect hardware issues on your Dell computer. By default, SupportAssist scans your computer hardware once a month to detect hardware issues. You can also manually perform one of the following to identify a hardware issue:
- Scan a specific hardware component.
- Run a quick hardware scan.
- Run a stress test.
To learn more, see the SupportAssist user guide.
NOTE: SupportAssist is preinstalled on all Windows computers that are shipped out of the Dell factory. If SupportAssist is not preinstalled, download and install SupportAssist. To learn more, see SupportAssist (formerly Dell System Detect): Overview and Common Questions and SupportAssist FAQs.
NOTE: You must have administrator privileges to install SupportAssist.
NOTE: Some tests for specific devices require user interaction. Always ensure that you are present at the computer terminal when the diagnostic tests are performed.
How to Scan the System Hardware using SupportAssist
Watch this video to learn how to run a hardware scan using SupportAssist.
Duration: 00:02:47 (hh:mm:ss)
When available, closed caption (subtitles) language settings can be chosen using the Settings or CC icon on this video player.
Scan a specific hardware component
SupportAssist enables you to scan a specific hardware component that is installed in your computer. The steps to run a scan depend on the hardware component that you select.
- Open SupportAssist and click the Troubleshooting tab.
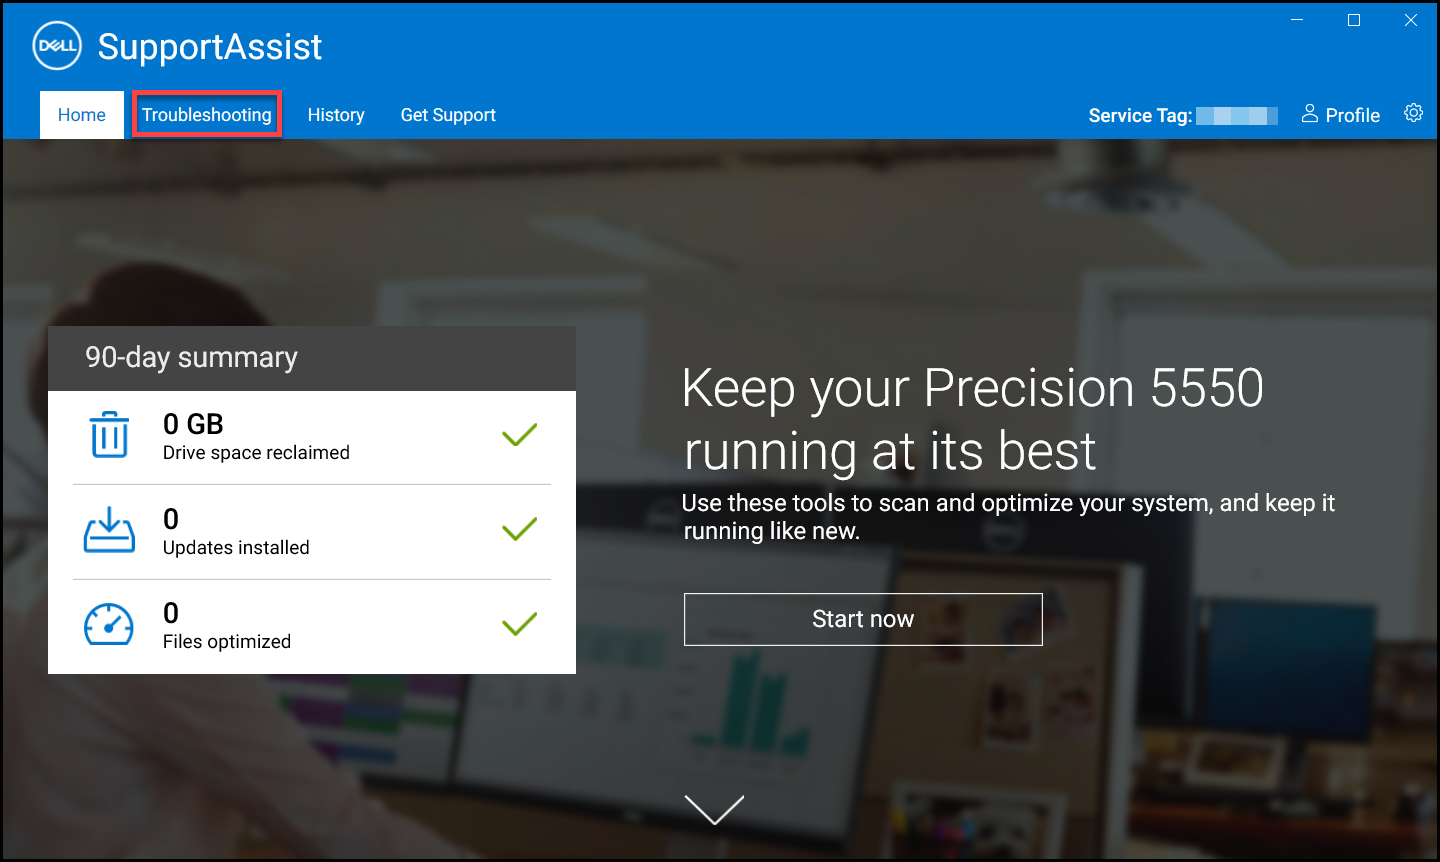
Figure 1: Screenshot of the troubleshooting tab on the SupportAssist home screen. [Image in English]. - Click I want to troubleshoot my PC and click I want to check a specific piece of hardware. The list of hardware components that are available on your computer is displayed.
NOTE: To update the list of hardware components that are displayed, click the Refresh hardware link.

Figure 2: Screenshot of the 'I want to check a specific piece of hardware' option. [Image in English]. - Select the device to test.

Figure 3: Screenshot of the detected hardware components in SupportAssist. [Image in English]. - Follow any on-screen instructions to complete the test.
Run a quick hardware scan
A quick scan of your computer detects issues in hardware components such as the hard drive, processor, memory module, and so on.
- Open SupportAssist and click the down-arrow icon.
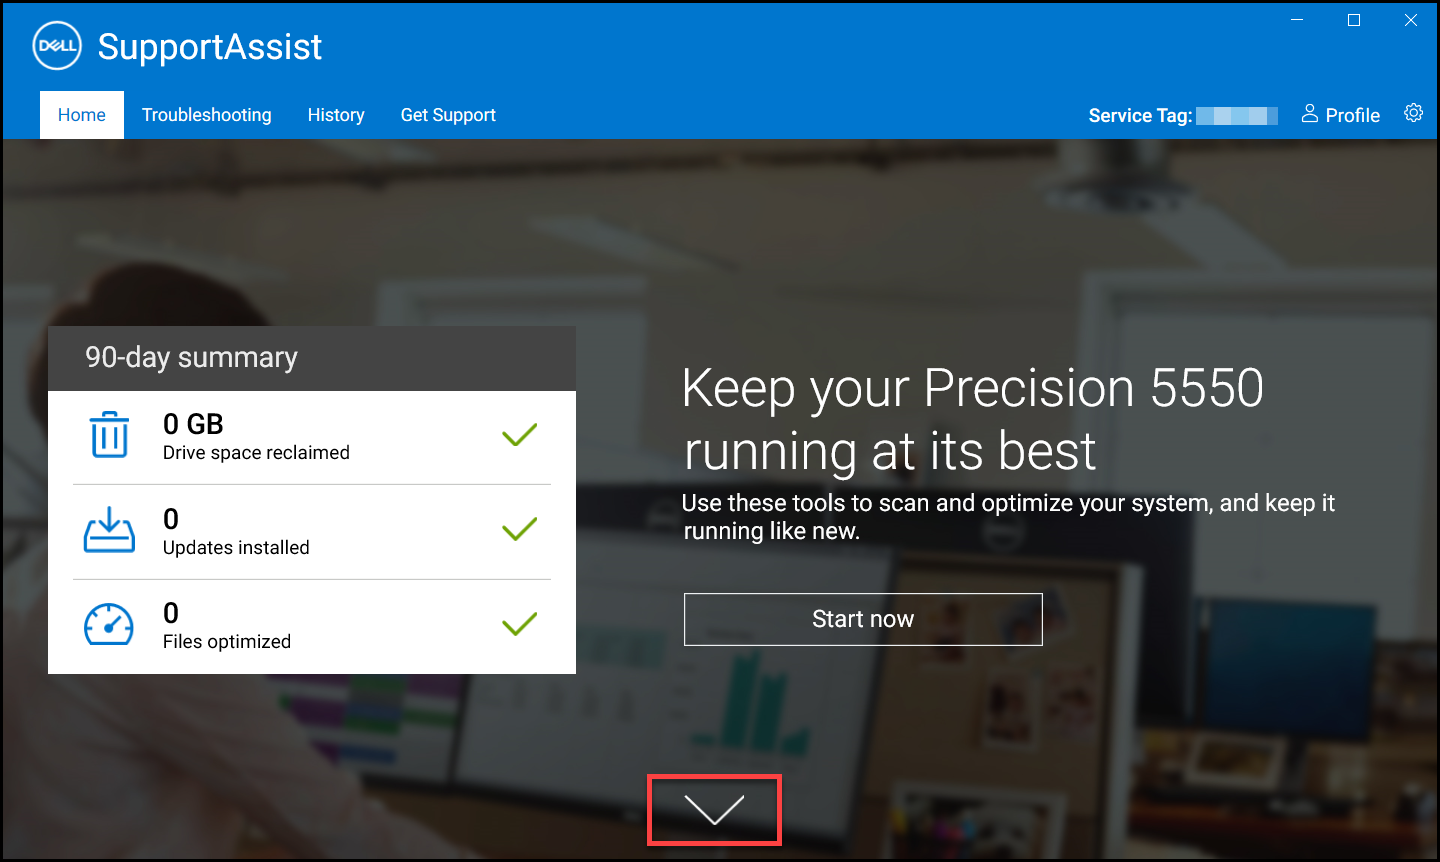
Figure 4: Screenshot of the down arrow icon on the SupportAssist home screen. [Image in English]. - On the Scan Hardware tile, click Run.

Figure 5: Screenshot of the Run button under Scan hardware. [Image in English].
Run a stress test
A stress test detects issues in components such as the system board, optical drives, and camera. It also detects issues in components that are scanned during a quick scan.
- Open SupportAssist and click the Troubleshooting tab.

Figure 6: Screenshot of the troubleshooting tab on the SupportAssist home screen. [Image in English]. - Click I want to troubleshoot my PC and then click I want to scan my entire PC.

Figure 7: Screenshot of the 'I want to scan my entire PC' option. [Image in English]. - Click Start. A message is displayed prompting you to save your files and close all applications.

Figure 8: Screenshot of the Start button to run a hardware scan the entire computer. [Image in English]. - After you save your files and close all the applications, click OK to run the test. During the test, the name of the task that is running is displayed above the tiles and the progress is displayed on the Scan Hardware tile.
How to Scan an Entire Computer using SupportAssist
Watch this video to learn how to run a full hardware scan using SupportAssist.
Duration: 00:00:31 (hh:mm:ss)
When available, closed caption (subtitles) language settings can be chosen using the Settings or CC icon on this video player.
Mais informações
Recommended Articles
Here are some recommended articles related to this topic that might be of interest to you.
- How to Run a Preboot Diagnostic Test on a Dell Computer
- How to Run a Dell Online Diagnostic Test
- How to Run a Diagnostic Test on a Dell Monitor
- How to Run the LCD Built-in Self-Test on a Dell Laptop
- How to Run a Power Supply Unit Self Test On a Dell Desktop or All-in-One Computer
- How to Run Hardware Diagnostics on your PowerEdge Server
Propriedades do artigo
Produto afetado
Alienware, Inspiron, Legacy Desktop Models, OptiPlex, Vostro, XPS, G Series, G Series, Alienware, Inspiron, Latitude, Vostro, XPS, Legacy Laptop Models, Fixed Workstations, Mobile Workstations, SupportAssist for Home PCs
, SupportAssist for Business PCs
...
Data da última publicação
08 ago. 2023
Versão
5
Tipo de artigo
How To