How to Update VMware Carbon Black Cloud Endpoint
Summary: Learn how to update VMware Carbon Black Cloud Endpoint following these instructions for Windows, Mac, and Linux.
This article applies to
This article does not apply to
This article is not tied to any specific product.
Not all product versions are identified in this article.
Instructions
This article describes how to update the VMware Carbon Black Cloud Endpoint sensor.
Affected Products:
- VMware Carbon Black Cloud Endpoint
Affected Operating Systems:
- Windows
- Mac
- Linux
An administrator may update the VMware Carbon Black Cloud Endpoint sensor using either the Carbon Black Cloud Console or from an endpoint with the Installer Package. Click the appropriate method for more information.
Carbon Black Cloud Console
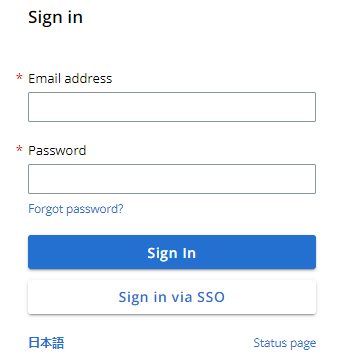
- In a web browser, go to <REGION>.conferdeploy.net.
Note: <REGION> = Region of tenant
- Americas = https://defense-prod05.conferdeploy.net/
- Europe = https://defense-eu.conferdeploy.net/
- Asia Pacific = https://defense-prodnrt.conferdeploy.net/
- Australia and New Zealand = https://defense-prodsyd.conferdeploy.net/
- Americas = https://defense-prod05.conferdeploy.net/
- Sign In to the VMware Carbon Black Cloud.
- In the left menu pane, select Inventory and then click Endpoints.

- Search for the endpoints to update either by name or by using the available filters.

- Select one or more endpoints to update.

- Click Take Action and then select Update sensors.

- In the Update Sensors dialog box, select to either update sensors on the selected assets or all assets.

- For each Platform, specify a target version for the sensors.

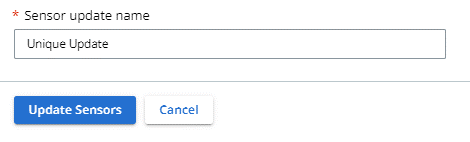
- Add a unique Sensor update name and then click Update Sensors.
 Note: While most updates do not require a reboot, there is always the possibility that some major changes require endpoints to reboot.
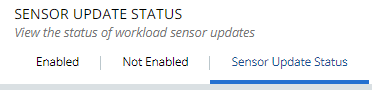
 - To check the progress of the update, go to Inventory, click Endpoints, and then select the Sensor Update Status tab.
 Note: To interrupt an update, click the Stop button under Action.
 - Optionally, once the update is completed, a CSV containing details may be exported by clicking the Export option in the Actions menu.
 Note: The update process in the VMware Carbon Black Cloud console can take between two to four hours depending on device usage.
Installer Package
The VMware Carbon Black Cloud sensor may be updated by running the new installer package directly on the endpoints. An administrator must first download the installer package, then the administrator must run the installer package either through the UI or the CLI. Click the appropriate method for more information.
Note:
- The CLI method is required to update endpoints running SUSE Linux.
- For more information about how to download the installer package, reference How to Download the VMware Carbon Black Cloud Endpoint Sensor.
UI
The VMware Carbon Black Cloud Endpoint sensor can be updated through the UI on Windows, macOS, or Ubuntu. Click the appropriate operating system for more information.
Windows
- Connect to the endpoint that requires an update with a user that has local admin rights.
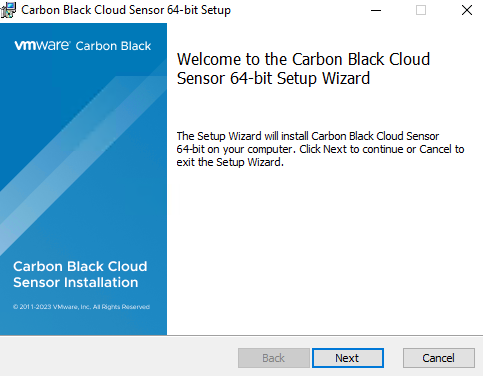
- Locate and then double-click the installer package.
 Note: The filename of the installer package may differ from the example image.
 - Click Next.
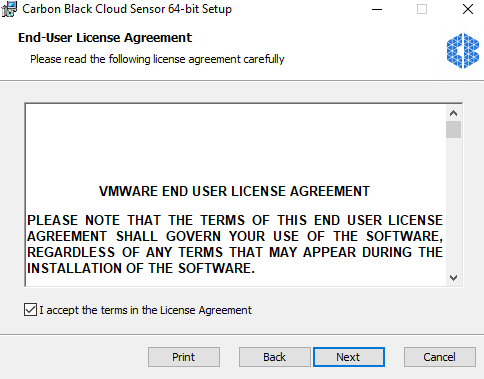
- Select I Accept the terms in the License Agreement and then click Next.
- Click Install.

- Once the update is complete, click Finish.
- To confirm that the new version is installed, right-click the VMware Carbon Black Cloud icon in the Windows system tray and then select About.

- Record the Version.
 Note: The version of the client may differ from the above screenshot.
macOS
- Connect to the endpoint that requires an update with a user that has local admin rights.
- Locate and then double-click the installer package.
 Note: The filename of the installer package may differ from the example image.
 - Double-click CbCloud Install.

- Click Allow.

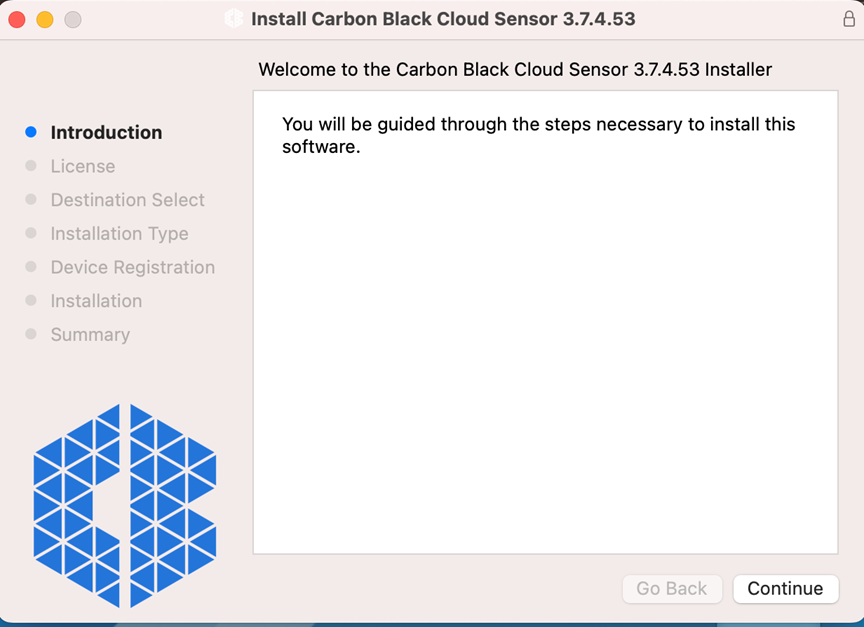
- Click Continue.
- Click Continue and then Agree to the terms of the license agreement.

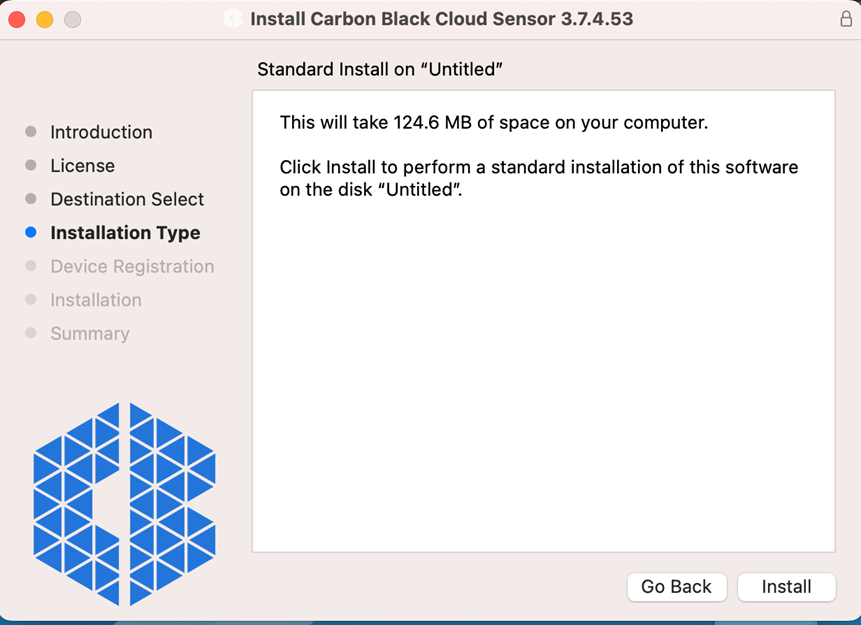
- Click Install.
- Insert the credentials of a user with admin rights and then click Install Software.

- A notification appears that says that the installer is trying to load a new extension. Once installation is complete, go to Privacy & Security in System Settings to enable the CB extension.

- A notification appears that says that the installer is trying to load a new Network Content Filter. Click Allow.

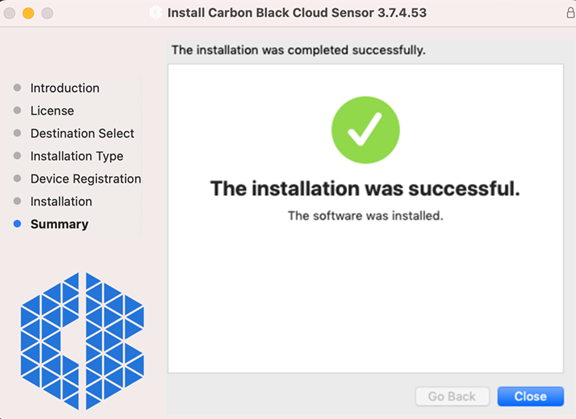
- Once the update is complete, click Close.
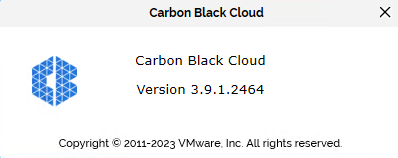
- To confirm that the new version is installed, right-click the VMware Carbon Black Cloud icon in the upper left and then select About Carbon Black Cloud.
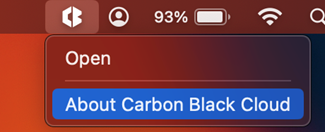
- Record the Version.
 Note: The version of your client may differ from the above screenshot.
Ubuntu
- Connect to the endpoint that requires an update with a user that has local admin rights.
- Locate and then double-click the installer package.
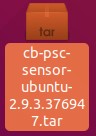 Note: The filename of the installer package may differ from the example image.
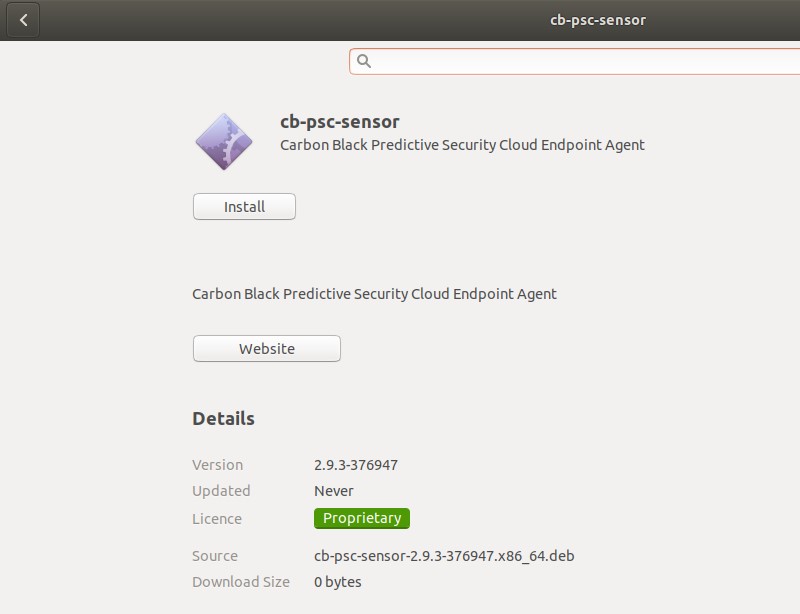
 - Double-click the DEB file.
 Note: The filename of the DEB file may differ from the example image.
 - Click Install.
- Populate the Password of the connected user.

- To confirm that the new version is installed and running, open a Terminal window, then type
ps -A | grep cbagentdand press Enter.

- From the same Terminal window, type
sudo /opt/carbonblack/psc/bin/cbagentd -vand then press Enter.

- Record the
cbagentdversion.
 Note: The version of the client may differ from the above screenshot.
CLI
The VMware Carbon Black Cloud sensor can be updated using the CLI in one of two ways. It can be updated either from the endpoints by running the installer package, or by pushing the command-line script through a centralized deployment tool on Windows, macOS, SUSE, or Ubuntu. Click the appropriate operating system for more information.
Note: If the initial product installation used CLI, command-line options that were used during that install persist across subsequent CLI updates.
Windows
VMware Carbon Black Cloud allows flexibility in command-line installation options through the usage of switches.
| Switch | Required | Purpose |
|---|---|---|
| /q | Yes | Allows the setup to run in quiet mode, without user interaction |
| /i | Yes | Specifies the package to install |
| /L* | Optional | Creates an MSI log file |
| /L*vx | Optional | Creates a verbose MSI log file with debug information |
To update the sensor by command line:
- Log in to the endpoint with an administrative user.
- As an administrator, right-click the Windows start menu and then click Run.
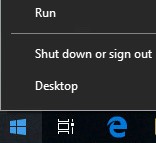
- In the Run dialog box, type
cmdand then click OK.

- In Command Prompt, type
msiexec /q /i <DIRECTORY>\installer_vista_win7_win8-<VERSION>.msi /L*vx <LOGDIRECTORY>and then press Enter.
 Note:
Note:<DIRECTORY>= The path where the installer package resides<VERSION>= The version in the installer package filename<LOGDIRECTORY>= The path where the log directory is to be created- The paths and version in the example image may differ in your environment.
- To confirm that the new version is installed, right-click the VMware Carbon Black Cloud icon in the Windows system tray and then select About.

- Record the Version.
 Note: The version of your client may differ from the above screenshot.
macOS
- Connect to the endpoint with a user that has local admin rights.
- Double-click the installer package.
 Note: The version of the client may differ from the above screenshot.
 - Right-click the mounted image and then select New Terminal at Folder.

- From Terminal, type
sudo /usr/sbin/installer -verbose -pkg CBCloud\ Install.pkg -target /and then press Enter.

- Populate the root password.

- Upon completion of the update, close Terminal.

- To confirm that the new version is installed, click the VMware Carbon Black icon in the upper-left part of the screen and then select About CB PSC.

- Record the Version.
 Note: The version of your client may differ from the above screenshot.
SUSE
- Connect to the endpoint with a user that has local admin rights.
- Double-click the new installer package to extract it.

- In the Ark dialog box, click Extract and then select Extract To.

- Select a destination for the extracted files and then click Extract.

- Select the extracted
tar.uncompressedfile and then repeat Steps 1 through 4 to extract it.

- Double-click the extracted folder and confirm the presence of the RPM file.

- Open Terminal.
- Type
sudo rpm -U <DIRECTORY>/cb-psc-sensor-<VERSION>.x86_64.rpmand then press Enter.
 Note:
Note:<DIRECTORY>= The path where the installer package resides<VERSION>= The version in the installer package filename- The paths and version in the example image may differ in your environment.
- To confirm that the new version is installed and running, open Terminal, type
ps -A | grep cbagentdand then press Enter.

- From the same Terminal window, type
sudo /opt/carbonblack/psc/bin/cbagentd -vand then press Enter. If prompted, insert the root password.

- Record the
cbagentdversion.
 Note: The version of the client may differ from the above screenshot.
Ubuntu
- Connect to the endpoint with a user that has local admin rights.
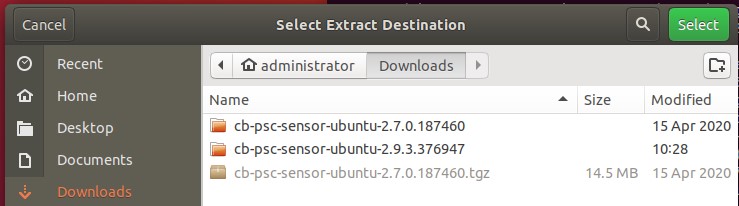
- Locate, then right-click the installer package and then select Extract to.

- From the dialog box, select a destination folder for the extracted files and then click Select.
- Open Terminal.
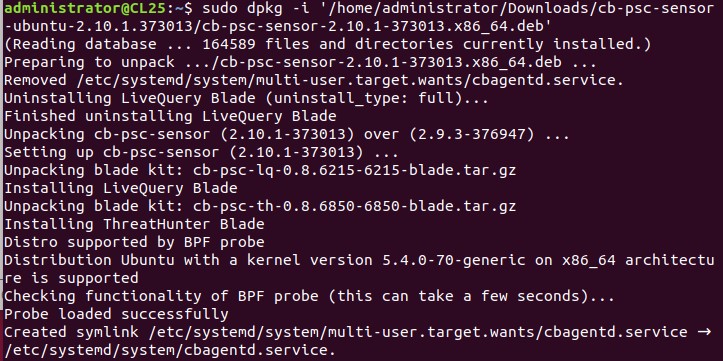
- Type
sudo dpkg -i '<DIRECTORY>/cb-psc-sensor-<VERSION>.x86_64.deb'and then press Enter.
 Note:
Note:<DIRECTORY>= The path where the installer package resides<VERSION>= The version in the installer package filename- The paths and version in the example image may differ in your environment.
- One way to write the command is to drag the .deb file into the Terminal window at the beginning of the
sudo dpkg -icommand.
- Populate the password for the connected user when prompted.

- Upon completion of the update, close Terminal.
- To confirm that the new version is installed and running, open Terminal, then type
ps -A | grep cbagentdand press Enter.

- From the same Terminal window, type
sudo /opt/carbonblack/psc/bin/cbagentd -vand then press Enter. If prompted, insert the root password.

- Record the
cbagentdversion.
 Note: The version of the client may differ from the above screenshot.
To contact support, reference Dell Data Security International Support Phone Numbers.
Go to TechDirect to generate a technical support request online.
For additional insights and resources, join the Dell Security Community Forum.
Affected Products
VMware Carbon BlackArticle Properties
Article Number: 000190001
Article Type: How To
Last Modified: 02 Jul 2026
Version: 7
Find answers to your questions from other Dell users
Support Services
Check if your device is covered by Support Services.