How to convert the physical disks mode to Non-RAID or RAID capable
Summary: How to convert physical disks to Non-RAID or RAID capable.
This article applies to
This article does not apply to
Symptoms
All the physical disks are in RAID Capable mode by default. The following steps show how to convert the physical disk to Non-RAID or RAID capable.
Table of Contents
- PERC 9 Configuration Utility(Recommended)
- RAID Controller BIOS(Only available for PERC 8/7/6)
- iDRAC Web Interface
1. Converting physical disk to Non-RAID or RAID capable in PERC 9 Configuration Utility
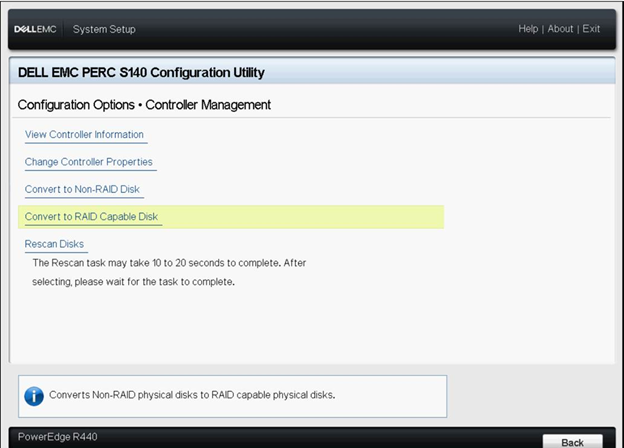
1.1 Converting physical disks to RAID capable disk
- Enter the Dell PERC 9 Configuration Utility by pressing <F2> during the post.
- Click Controller Management > Convert to RAID Capable Disk.
- Select the physical disk to convert to RAID capable disk.
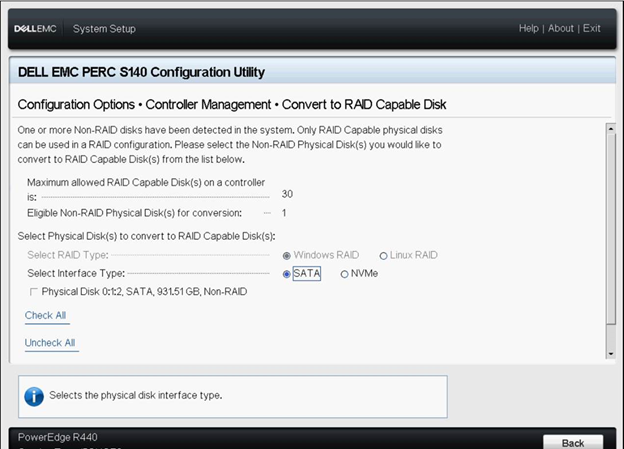
- Click OK.
- A screen is displayed asking if you are sure you want to perform the operation.
- Click Yes to continue.
1.2 Converting physical disks to non-RAID disk
- Enter the Dell PERC 9 Configuration Utility by pressing <F2> during the post.
- Click Configuration Management > Convert to Non-RAID Disk.
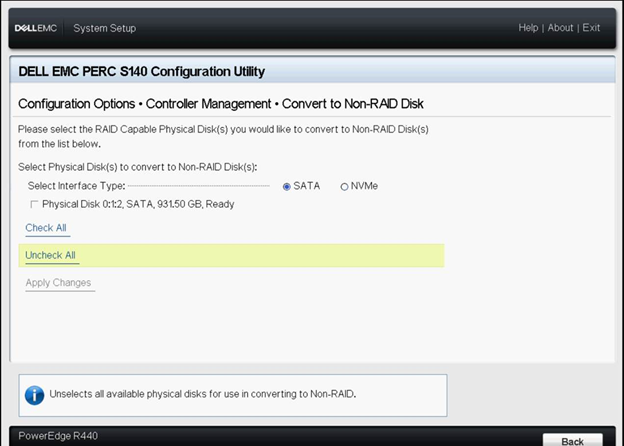
- Select Physical Disks to Convert to Non-RAID.

- Select the physical disk and click OK.
- A screen is displayed asking if you are sure you want to perform the operation.
- Click Yes to continue.
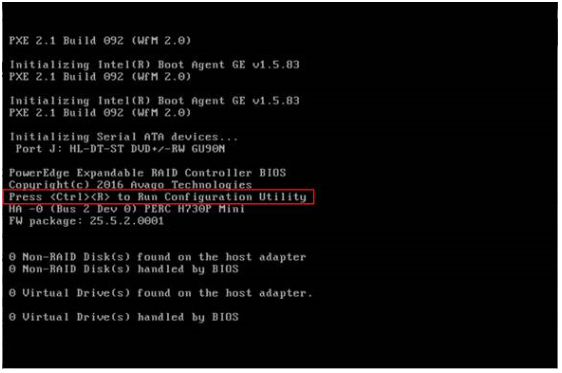
2. Converting physical disk to Non-RAID or RAID capable in the BIOS Configuration Utility
 NOTE: You can only convert a physical disk that is in Ready or Unconfigured good state to Non-RAID or RAID capable.
- When the system is booting, press <Ctrl><R> to enter the RAID Controller BIOS.
- Press <Ctrl> <N> to access the PD Mgmt screen. A list of physical disks is displayed. The status of each disk is displayed under the heading State.
- Press the down arrow key to highlight the physical disk to be converted.
- Press <F2> to display the menu of available actions.
- Use the down arrow key to highlight either Convert to Non-RAID or Convert to RAID Capable option.
- Press Enter to perform the conversion.
3. Converting physical disks to non-RAID disk or RAID capable in the iDRAC web interface
Connection to the iDRAC web interface. To start, please connect to the iDRAC web interface using the defined IP Address with the admin credentials.
 Note: If the iDRAC is not yet configured, this article (SLN306877 ) explains how to proceed.
- In the iDRAC Web Interface, go to Configuration > Storage Configuration.
- Select the controller from the Controller drop-down menu.
- Select the Physical Disk Configuration.
- Select Convert to RAID/Non-RAID.

Cause
-
Resolution
-
Affected Products
Servers, PERC9/SAS HBAsArticle Properties
Article Number: 000133007
Article Type: Solution
Last Modified: 22 Sep 2021
Version: 5
Find answers to your questions from other Dell users
Support Services
Check if your device is covered by Support Services.