Added Windows Server 2019 Hyper-V roles
Summary: This section describes how to add roles for Hyper-V.
This article applies to
This article does not apply to
This article is not tied to any specific product.
Not all product versions are identified in this article.
Instructions
-
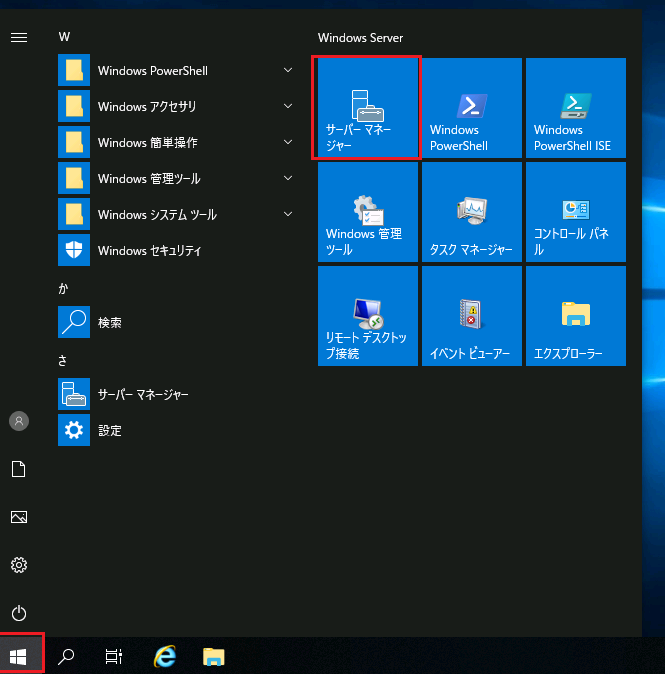
Log on with an account with administrative rights and start Server Manager.
-
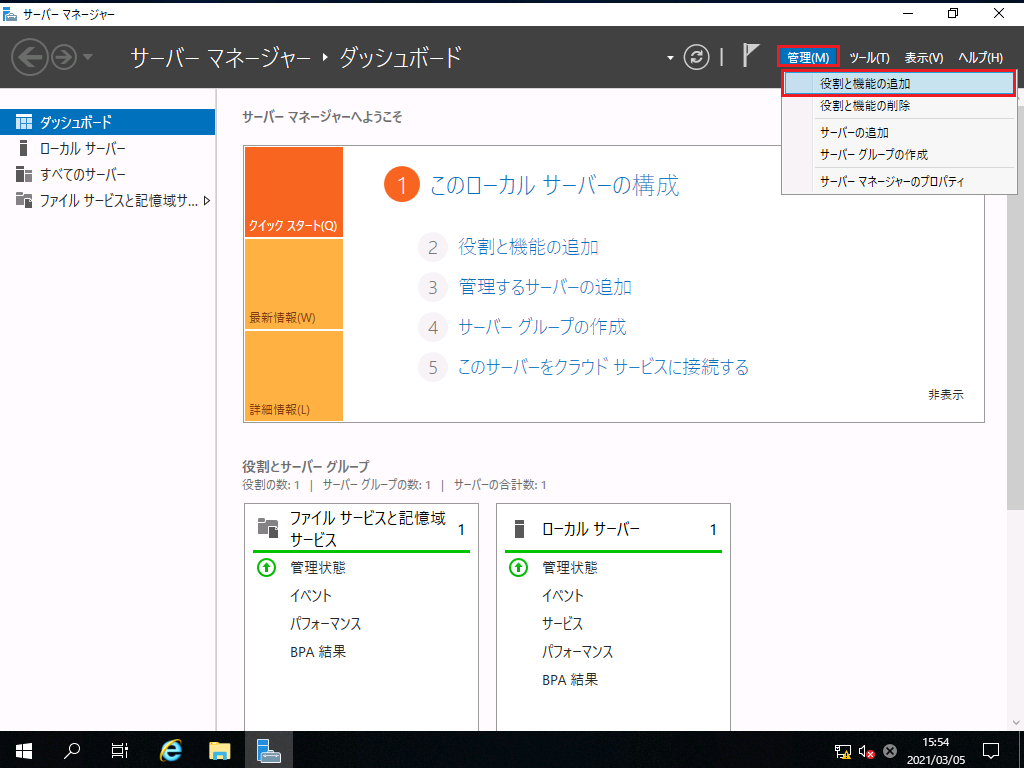
Click Add Roles and Features from the Manage menu at the top right of the screen.
-
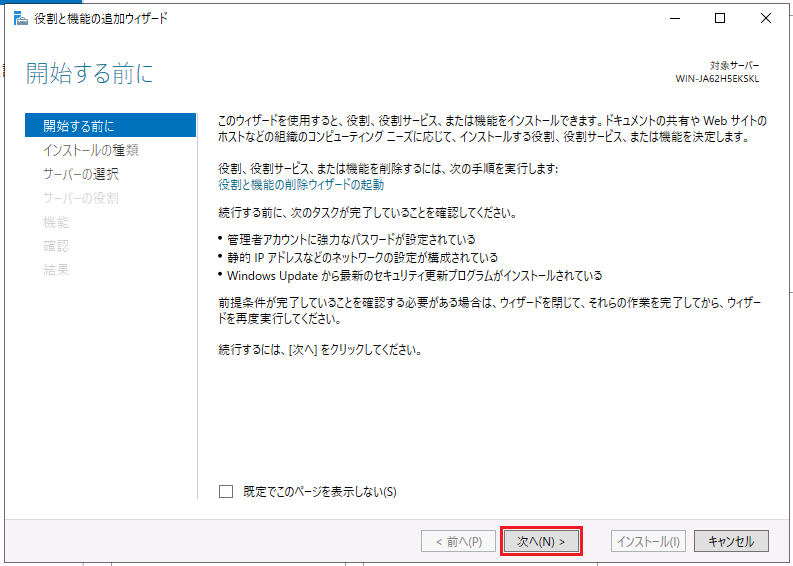
On the Before You Start page, verify that the prerequisites for the roles and features you want to install are in place, and then click Next.
-
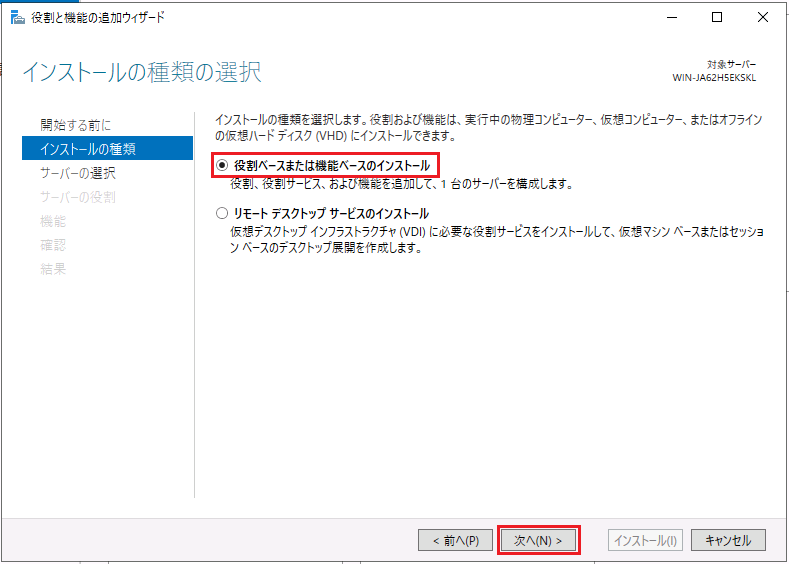
On the Select Installation Type page, select Role-based or Feature-based Installation, and then click Next.
-
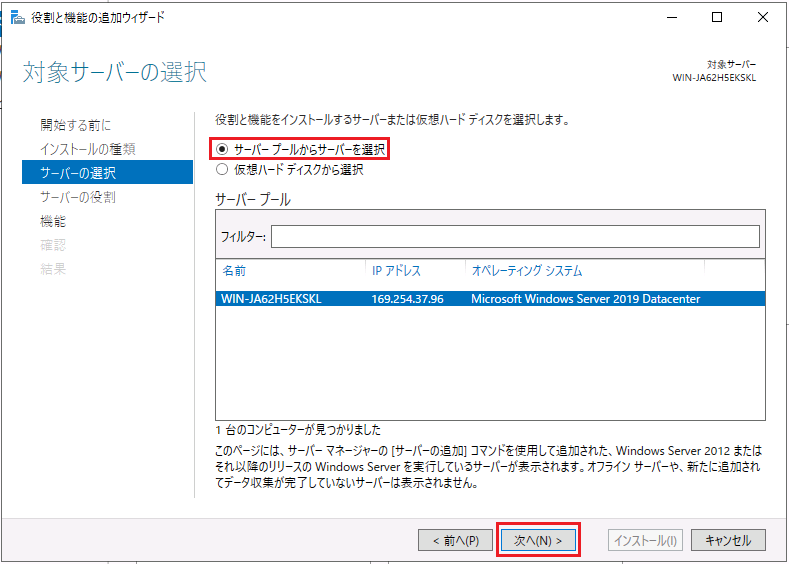
On the Select Target Server page, select Select Server from Server Pool, select the server where you want to install Hyper-V in the Server Pool field, and then click Next.
-
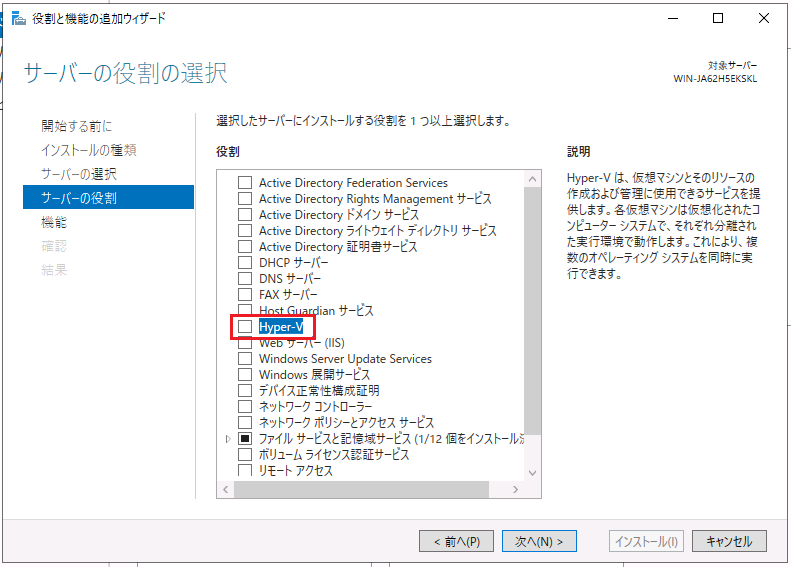
On the Select Server Role page, select Hyper-V.
-
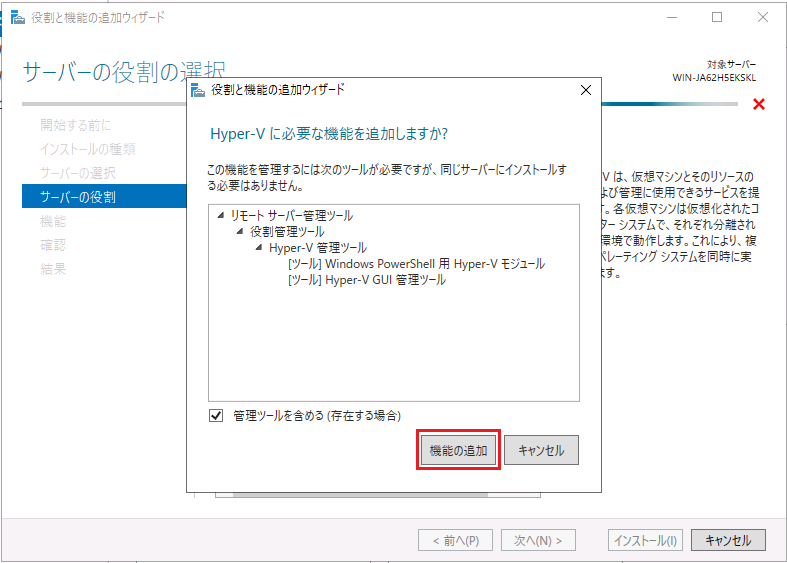
On the Add Required Features page, click Add Features.
-
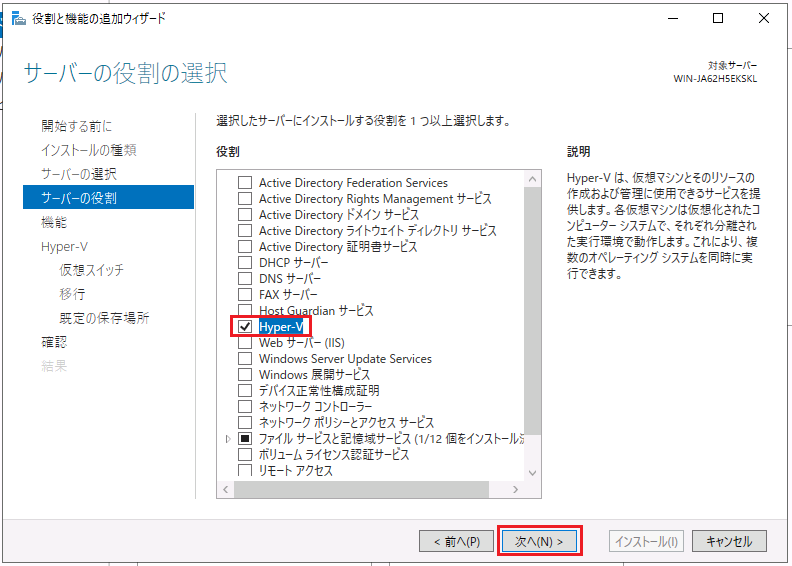
When you return to the Select Server Roles page, click Next.
-
On the Select Features page, click Next as is.
-
On the Hyper-V page, click Next as is.
-
On the Create Virtual Switch page, click Next as is.
*Since virtual switches can be created in hyper-V manager after HYPER-V installation, hyper-V is installed without creating a virtual switch.
-
On the Migrate Virtual Machines page, select the appropriate option if necessary.
Here, select nothing and click Next as it is.
*After hyper-V installation, you can change the settings in hyper-V manager.
-
On the Default Location page, set the appropriate location as needed.
Here, click [Next] without setting anything.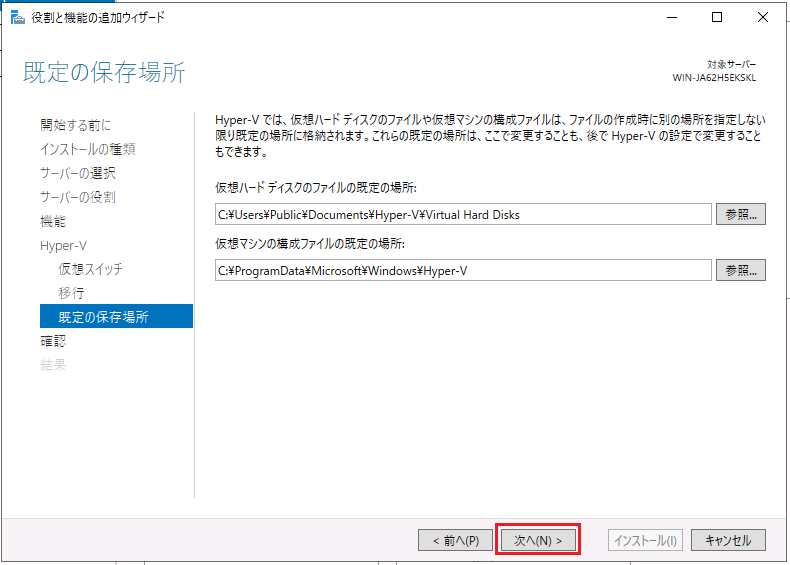
*After hyper-V installation, you can change the settings in hyper-V manager.
-
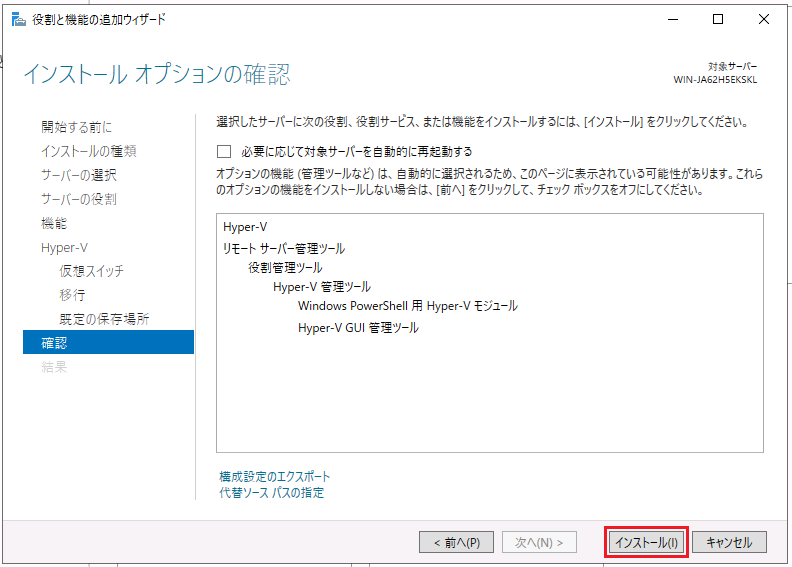
On the [Confirm installation options] page, click [Install].
-
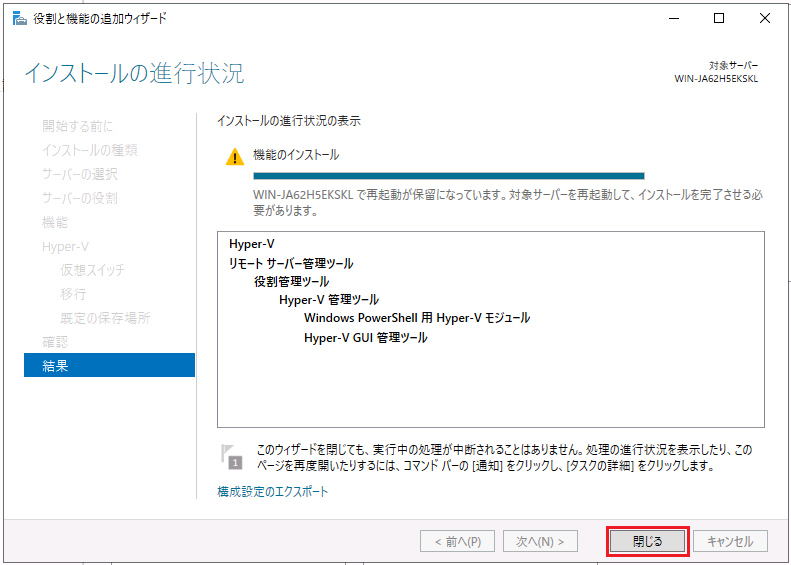
When you see "You need to restart the target server and complete the installation", click Close to restart the server.
That's it.
Affected Products
PowerEdge, Microsoft Windows Server 2019Article Properties
Article Number: 000184405
Article Type: How To
Last Modified: 26 Mar 2025
Version: 5
Find answers to your questions from other Dell users
Support Services
Check if your device is covered by Support Services.