Article Number: 000189403
CloudIQ: General Procedures to Onboard PowerEdge Systems to CloudIQ/Cybersecurity Onboarding
Summary: Follow the instructions in this article to onboard PowerEdge Systems to CloudIQ.
Article Content
Instructions
CloudIQ Overview
CloudIQ is a cloud-based application that leverages machine learning to proactively monitor and measure the overall health of Dell infrastructure through intelligent, comprehensive, and predictive analytics. It is available at no additional charge for devices under a ProSupport or higher contract. This article steps through the requirements to enable CloudIQ for Dell PowerEdge systems.
Prerequisites
- OpenManage Enterprise v3.7 or later
- OpenManage Enterprise v3.9 or above for cybersecurity support and modular chassis support
- OpenManage Enterprise v3.10 with CloudIQ plug-in v1.2 or above required for maintenance and firmware update operations
- Installation of CloudIQ Plugin in OpenManage Enterprise
- CloudIQ Plugin v1.1 or above for cybersecurity and modular chassis support
- Connection between OpenManage Enterprise and Dell Connectivity Service
- Port 443 is accessible to establish HTTPS connection between OpenManage Enterprise and Dell Connectivity Service.
- Valid Dell Support Credentials
- The primary network in OpenManage Enterprise is a public-facing network to allow for CloudIQ plug-in registration and file transfers between OpenManage Enterprise and CloudIQ. Utilize the Text User Interface (TUI) in OpenManage Enterprise to select the primary network interface.
- PowerEdge servers must have a ProSupport or higher contract in order to be seen in CloudIQ.
- During the configuration of the PowerEdge Server, OpenManage Enterprise should be configured to communicate with the iDRACs IP address. The iDRACs are the source of the information that is shown in CloudIQ.
- If monitoring of hardware health events is required, all managed IDRACs require SNMP traps be enabled (this can be done automatically as part of the iDRAC discovery task in OpenManage Enterprise). See additional information below.
- PowerEdge Servers (and the OpenManage Enterprise) are NOT supported in Access Groups.
- Access Groups provides ways for customers to limit the visibility of resources in MyService360. See Dell article 179622: Company Administration - Create and Manage Access Groups for details on Access Groups.
Supported Devices
- C Series
-
FC Series sleds and chassis
-
R Series
-
T Series
-
XE Series
-
XR and XR2 Series
-
FX Modular chassis
-
MX Modular sleds and chassis
-
M Modular compute sleds and chassis
-
VRTX Series sleds and chassis
Unsupported Devices
- Input/Output Aggregators (IOA)
- Dell VxRail Hyperconverged appliances
- Dell XC series web-scale converged appliances
- Dell Storage modules
- Dell Networking devices—previously Dell Force10 devices
- Dell Technologies AX Nodes
- Non-Dell servers
Installation of OpenManage Enterprise Plugins
- Log in to OpenManage Enterprise with an Administrator role.
- Click Application Settings > Console and plugins.
- In the Plugins section, click Install for the CloudIQ plug-in. The Install and update multiple plugins wizard is displayed.
- From the Plugins available for install list, select one or more plugins that you want to install, and then click Next.
- View the progress of the plug-in that you selected to install under the Download section, and then click Next on completion.
NOTE: The download continues even if you leave the wizard.
- Read and accept the following agreements. After accepting, click Next to proceed with the plug-in installation.
- A consent form is displayed to inform you about the End User License Agreement (EULA). Click Accept.
- A consent form is displayed to inform you about the INFRASTRUCTURE TELEMETRY NOTICE. Click Accept.
The details of the number of users who are logged in to OpenManage Enterprise, tasks in progress, and scheduled jobs are displayed in the Review and confirm action dialog box.
- To confirm the installation, select I agree that I have captured a backup of the OpenManage Enterprise appliance prior to performing a plug-in action option, and then click Finish.
The status of installation operation is displayed. After the successful installation of the plug-in, the status that appears on the top of the plug-in section changes from Available or Downloaded to Installed.
The appliance is rebooted, and the CloudIQ plug-in is installed.
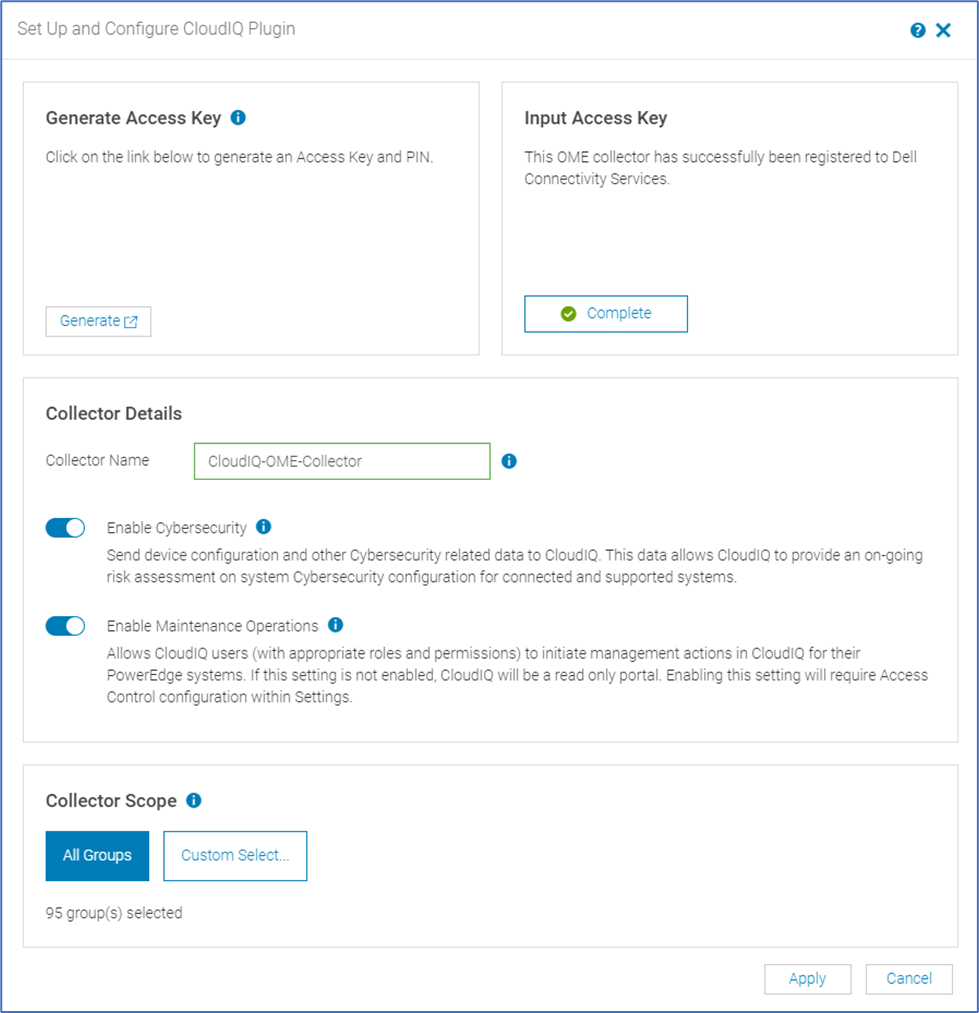
Configuration of the CloudIQ plug-in
Configuring the CloudIQ plug-in is a two-step process. First, register the plug-in with Dell Connectivity Service by using the access key and PIN to establish a secure connection with the Dell back-end. Next, specify the collector name, configure your cybersecurity data collection and maintenance operations under Collector Details, and select device groups to send data to CloudIQ for cloud-based monitoring from Collector Scope.
- Log in to OpenManage Enterprise with an Administrator role.
- From the Plugins menu, click CloudIQ > Overview. The Overview screen is displayed.
- (First time only) On the Overview page, click Activate Now to begin the configuration process. This process validates connectivity to the Dell Connectivity Service infrastructure. If there is no connectivity with the Dell Connectivity Service, an error appears, and the user must configure a Proxy to communicate to the Dell Connectivity Service infrastructure.
- If you have already registered you other OpenManage Enterprise plugins with Dell Connectivity Service, go to Step 4, in the Collector Details section.
- If you have not yet registered with Dell Connectivity Service, then enter the Key and PIN in the Input Access Key section and click Register. Once this one-time authentication process is completed and the credentials are validated, the section displays "This OME collector has successfully been registered to Dell Connectivity Services" and is marked with a Complete checkbox.
NOTE: If you do not have the access key and PIN, click Generate in the Generate Access Key tab and follow the instructions to generate the access key and PIN.
NOTE: If the OpenManage Enterprise is not connected to the Dell Connectivity Service, an error is displayed, and you might need to Configure Proxy Settings.
- In the Collector Details section, enter the name of the collector to display in CloudIQ.
- Click the Enable Cybersecurity slider to enable cybersecurity data collection.
- Click the Enable Maintenance Operations slider to enable remote maintenance operations.
NOTE: Both Cybersecurity and Maintenance Operations are disabled by default.
- In the Collector Scope section,
- Click All Groups, OR
- Click Custom Select and select the device groups whose data you want to send to CloudIQ for cloud-based monitoring.
Click OK to confirm your selection.
- Review the changes including the collector name, cybersecurity data collection configuration, and the device groups that you selected and then click Apply to confirm your selection.
- The CloudIQ overview displays the CloudIQ plug-in registration and configuration information.
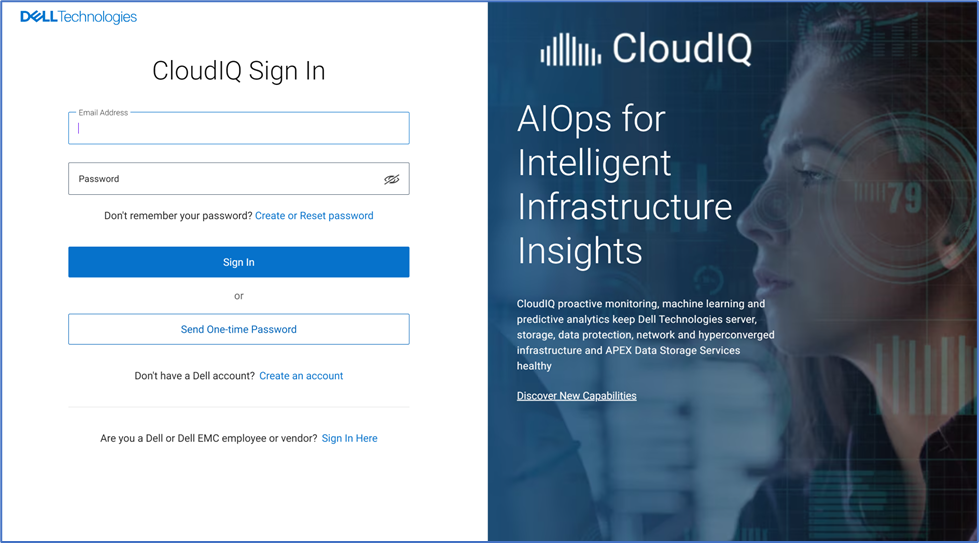
Accessing CloudIQ
- Log in to CloudIQ at https://cloudiq.dell.com/ using your Dell ProSupport credentials.
- When a new user logs in to CloudIQ, they step through the following onboarding screens:
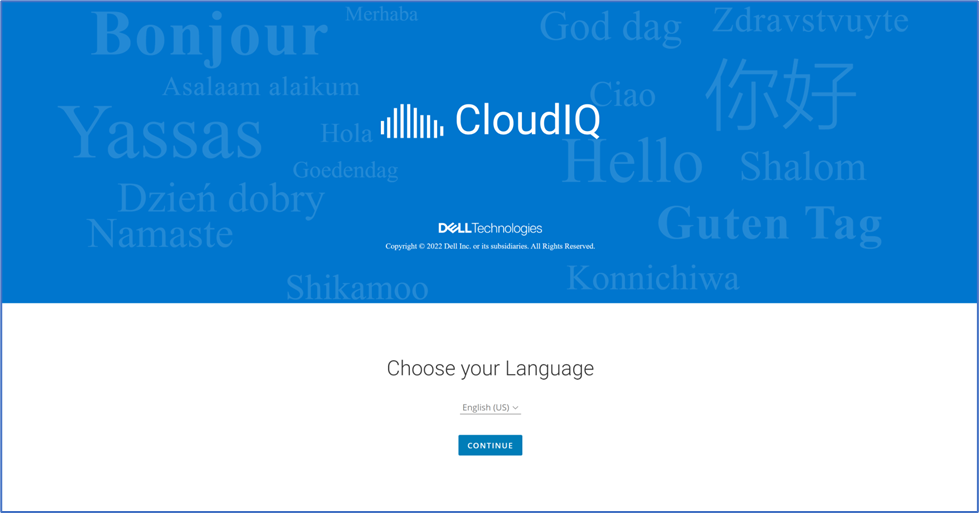
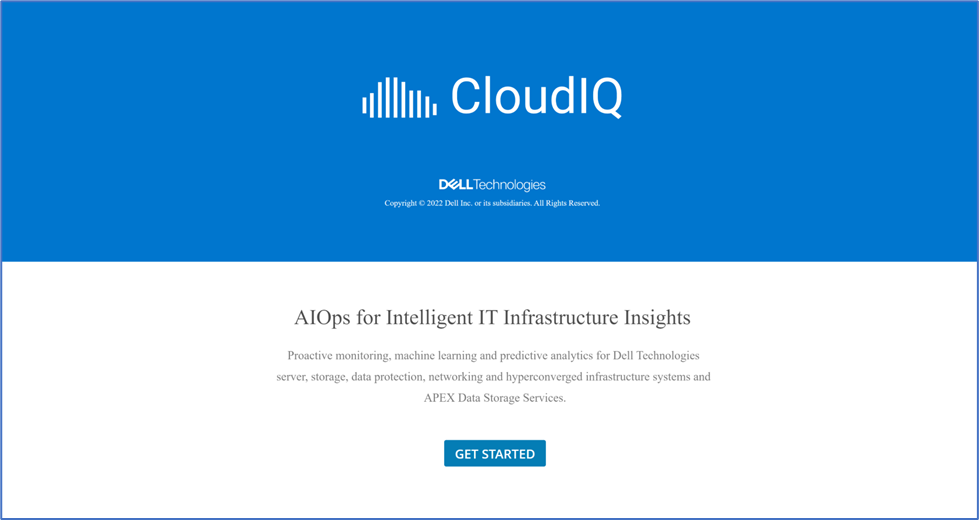
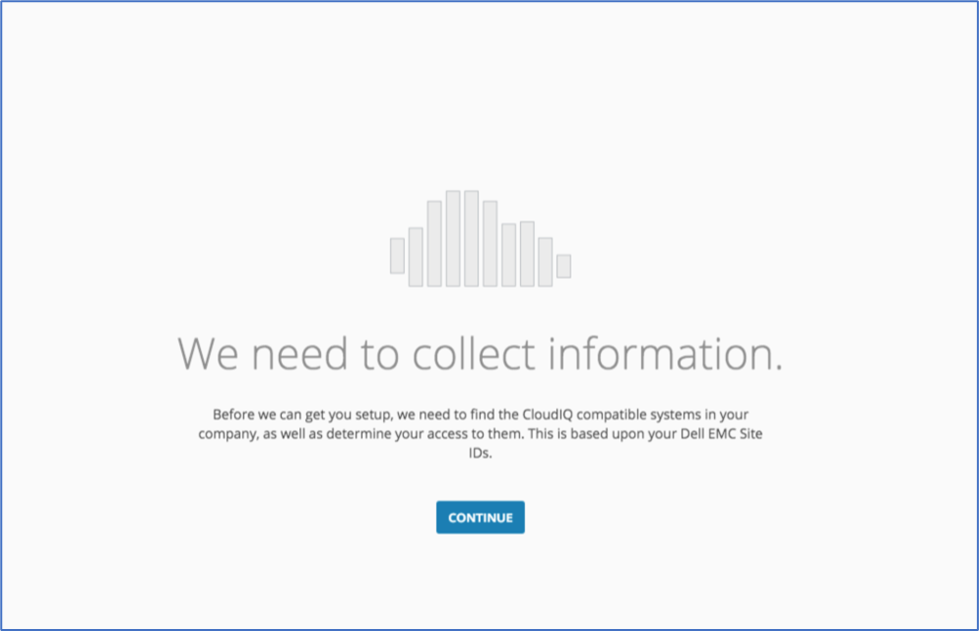
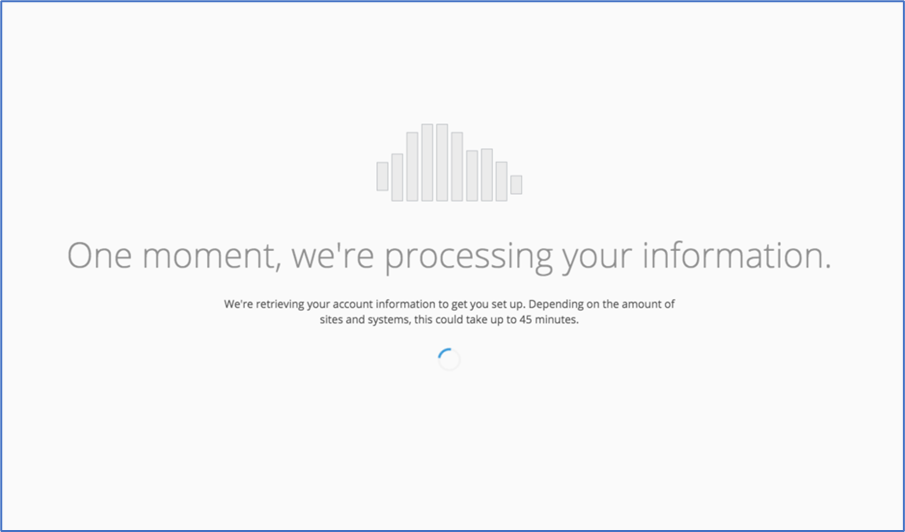
- CloudIQ retrieves the systems that are associated to the user’s site IDs based on their support credentials. Click Continue.
- Once the command completes, it shows a success screen.
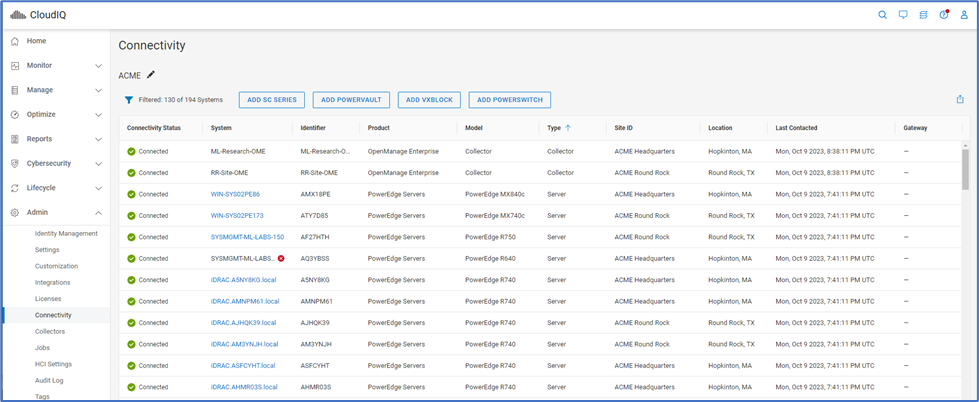
- Upon logging into CloudIQ, the user sees all systems that are successfully sending data to CloudIQ. In situations where the user has not successfully configured any systems to send data to CloudIQ, they are directed to the Connectivity page in the CloudIQ UI where they see their CloudIQ compatible systems.
Additional Information
If monitoring of server hardware health events is required, all managed iDRACs require SNMP trap service and the SNMP community name to be configured.
These iDRAC settings can be configured as part of a discovery task in OpenManage Enterprise when selecting server iDRAC discovery and using the additional options tick boxes for enable trap or set community.
Example of discovery job in OpenManage Enterprise - at the bottom of the screen are two tick boxes so the discovery job enables the SNMP service and configure the SNMP community name on any iDRACs that are discovered.
Article Properties
Affected Product
OpenManage Enterprise CloudIQ
Last Published Date
31 Oct 2023
Version
20
Article Type
How To