Fix Hard Drive and SSD Issues
Is your Dell computer showing a "Hard Drive not Detected" error? Hearing a clicking or grinding noise from inside the computer? Or is the drive simply not showing up in BIOS?
Hard drive and SSD issues can feel alarming, but in most cases, the fix is simpler than you might expect. This article walks you through the most common causes and the steps to resolve them, so you can get your Dell computer back up and running.
What Are You Experiencing?
Hard drive errors can look similar to other issues on the surface. Before you start, make sure your symptoms match this article.
You're in the right place if you're seeing any of these:
- "Hard Drive not Detected," "Hard Drive not Installed," or "No Hard Drive Detected" error messages
- The drive is not showing up in BIOS
- A clicking, grinding, or whining sound coming from inside the computer
Looking for something else? We've got you covered:
- If you see a blue or black screen with a stop code such as "Your PC ran into a problem" or "INACCESSIBLE_BOOT_DEVICE", visit our guide to fix Blue Screen (BSOD) Errors and Stop Code Issues in Windows.
- If your computer won't start Windows, you're seeing "Missing Operating System," "Operating System Not Found," "No Boot Device Found," or a blank screen with a blinking cursor, refer to Computer Cannot Boot into Windows.
- If your computer is running slowly, freezing, or stopping responding during use, check our guide to Make Your Computer Faster: Boost Performance and Speed Up Your PC.
Understanding Your Storage Drive
Your computer stores everything, your files, apps, and Windows itself on a storage drive. There are two main types and knowing which one you have helps you understand what you're hearing and what might be going wrong.
Hard Disk Drive (HDD)
An HDD uses spinning magnetic platters and a moving read/write head to store and retrieve data. Because it has mechanical moving parts, it is also more susceptible to physical wear over time and unusual sounds like clicking or grinding are often the first sign that something is wrong.
Solid State Drive (SSD)
An SSD stores data on flash memory chips with no moving parts. It is faster, quieter, and far more common on modern Dell systems. Dell systems typically use M.2 NVMe or SATA SSDs. Desktops may use 2.5" SATA or M.2 NVMe SSDs. Because SSDs have no moving parts, they produce no noise, so if you're hearing sounds, the issue is almost certainly with an HDD.
Why Does This Happen?
Understanding what causes these issues helps you fix them faster and avoid them in the future. Here are the most common reasons a hard drive or SSD stops being detected:
- Loose or dislodged connection — The data or power cable has worked itself loose inside the computer, or an M.2 SSD has shifted slightly out of its slot
- Incorrect BIOS settings — The wrong SATA operation mode (RAID vs AHCI), an incorrect boot order, or a UEFI/Legacy boot mode mismatch can all prevent the drive from being seen
- Outdated BIOS or SSD firmware — Newer drives may not be recognized by an older BIOS version, or a recent Windows update may have introduced a compatibility issue
- Weakening CMOS battery — A discharged CMOS battery causes BIOS settings to reset on every startup, including the SATA mode and boot order
- Physical or mechanical drive failure — More common on HDDs, and often accompanied by clicking, grinding, or whining sounds
How to Fix Hard Drive and SSD Detection Issues on Your Dell
Ready to get your drive back? Follow these steps one by one and check if your issue is resolved.
Step 1: Disconnect All External Devices
A USB drive, SD card, or docking station connected to your computer can sometimes be mistakenly selected as the startup device, causing the internal drive to appear "not detected."
- Unplug all external devices — USB drives, external hard drives, SD/xD cards, printers, webcams, and docking stations, except for your keyboard and mouse.
- Restart the computer and check if the error message is gone.
If this resolves the issue, plug the devices back in one at a time to identify which one was causing the problem. Contact that device's manufacturer for further support.
If this did not help, continue to step 2.
Step 2: Perform a Hard Reset
A hard reset drains residual electrical charge stored in the system. This charge can sometimes prevent the drive from being detected correctly at startup and a hard reset helps clear it.
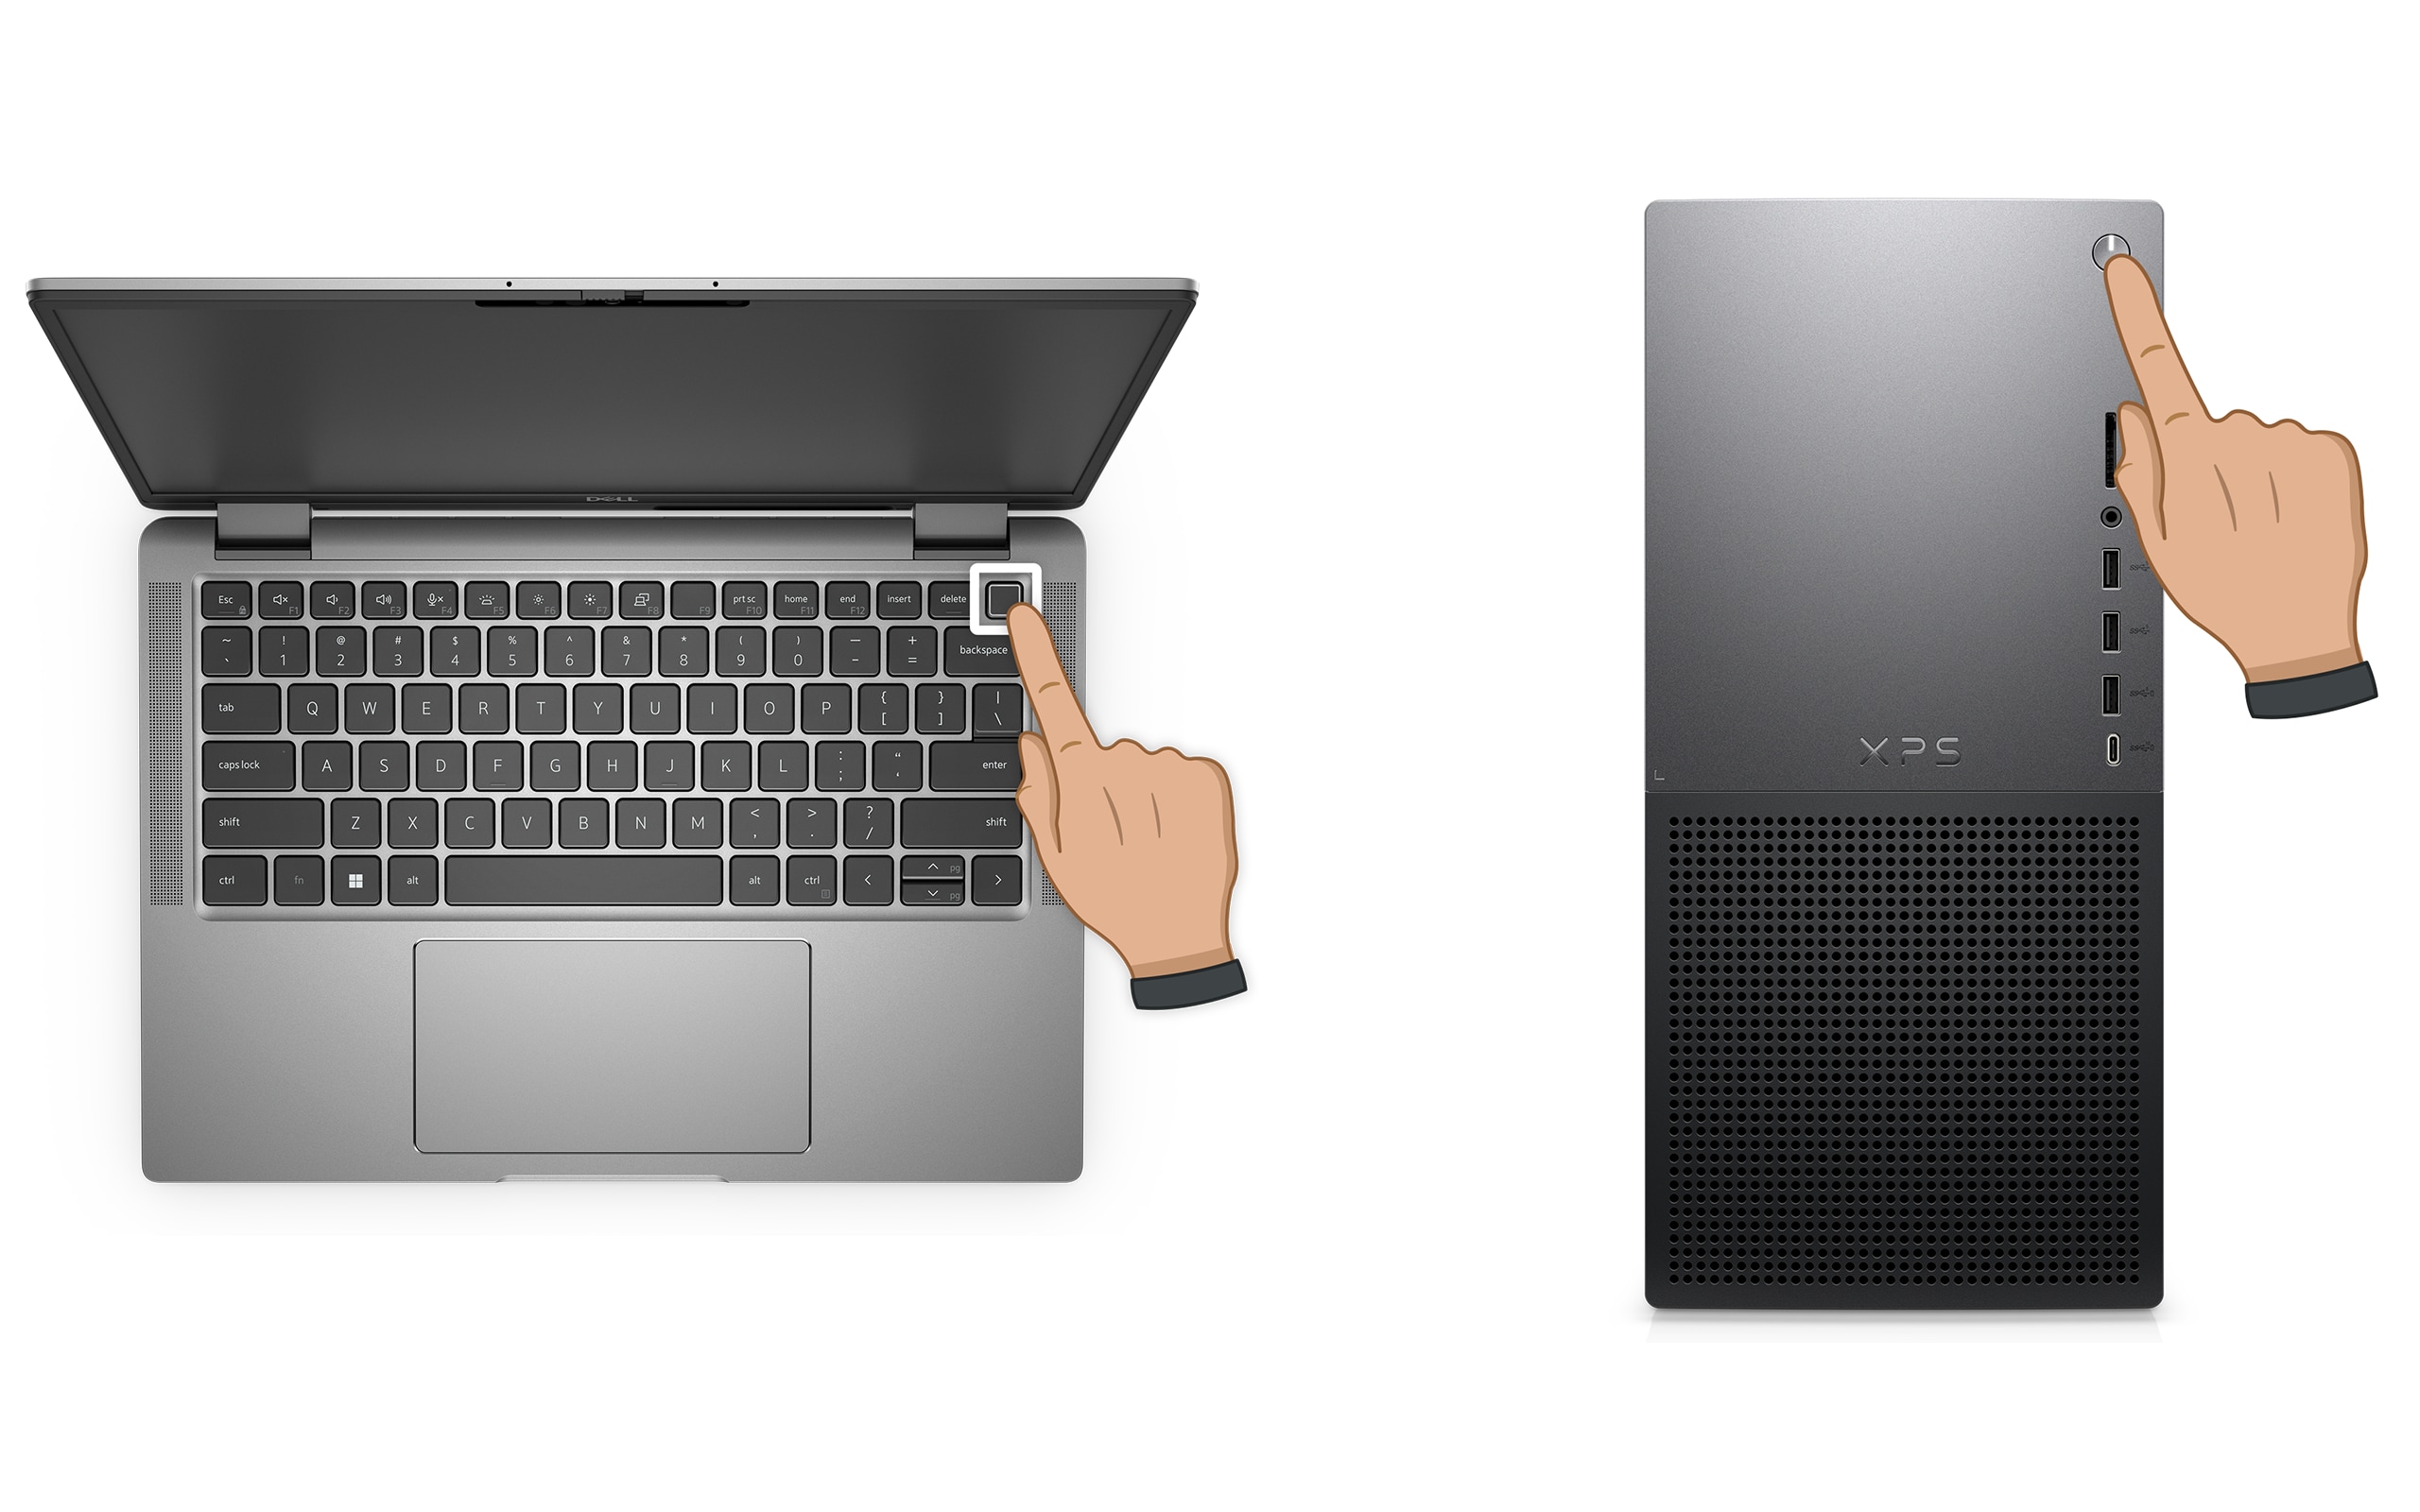
- Press and hold the power button for 10 seconds to turn off the computer.
- Unplug the power cable from the computer. If your Dell laptop has a removable battery, disconnect it now.
- Disconnect all external devices except the keyboard and mouse.
- Press and hold the power button for 15 to 20 seconds to drain any remaining power.
- Reconnect the power cable (or reconnect the battery for laptops).
- Turn on the computer and check if the drive is now detected.
Note: For Dell laptops with a non-removable battery, see How to reset the Real-Time Clock (RTC). On select Dell Latitude laptops, a forced ePSA recovery may also apply.
If this did not help, continue to step 3.
Step 3: Run a Hardware Diagnostic Test
Before you touch any hardware or BIOS settings, let Dell's built-in diagnostic tell you exactly what's going on. This test checks whether the drive has a hardware fault and its result determines which of the remaining steps you need to follow.
If your computer cannot start Windows — run the pre-boot diagnostic:
- Turn on the computer and immediately tap the F12 key repeatedly until you see the One Time Boot Menu.
- Use the arrow keys to select Diagnostics and press Enter.
- The SupportAssist Pre-Boot System Assessment (ePSA on older systems) runs automatically. Follow the on-screen instructions.
If your computer can start Windows — run Dell SupportAssist online diagnostics:
- Go to Dell.com/support and identify your computer using your Service Tag or Express Service Code.
- Select the Diagnostics tab and click Run Quick Test.
- Follow the on-screen instructions to complete the test.
Note: If SupportAssist is not installed, you'll be prompted to download and install it before the test runs.

What your test results mean - what to do next
- Test passes — Your drive hardware is working correctly. The issue is likely a BIOS configuration problem. Continue to step 4 to check and correct your BIOS settings.
- Test fails — Note the error code, validation code, and your Service Tag. Look up your error code here. Continue to step 5 to reseat the drive. If the diagnostic fails again after reseating, contact Dell Technical Support for repair options.
Continue to step 4 if the diagnostic passes but the drive is still not being detected.
Step 4: Check BIOS Settings
If the diagnostic confirmed your drive is healthy but it's still not being detected, BIOS is almost certainly where the problem lies. There are four specific things to check, work through each one in order.
Enter BIOS:
- Restart the computer.
- Tap the F2 key repeatedly as the Dell logo appears to enter BIOS or UEFI System Setup.
Check 1 — Confirm the drive is listed in BIOS:
- Go to General > System Information (or the Storage section on newer systems).
- Look for your hard drive or SSD in the storage section. If it is not listed, the drive is not being detected at the hardware level, and reseating the drive is the next logical action.

Check 2 — Confirm the boot order:
- Go to General > Boot Sequence (or Boot Configuration > Boot Sequence).
- Make sure your internal hard drive or SSD is listed first. If a USB device or another item is ahead of it, move the internal drive to the top of the list.
Check 3 — Confirm the SATA operation mode:
- Go to System Configuration > SATA Operation.
- Confirm the SATA mode is set to AHCI. If it shows RAID On and you are not using a RAID configuration, change it to AHCI.
Important: Only change the SATA mode if the drive is not being detected, or if you are doing a clean reinstall of Windows. Changing the SATA mode on a system where Windows is already installed and working can cause an "Inaccessible Boot Device" blue screen error. If that happens, visit the Blue Screen (BSOD) troubleshooting page for next steps.
Check 4 — Confirm the boot mode (UEFI vs Legacy):
- Go to General > Boot Configuration (newer systems) or General > Boot Sequence > Boot List Option (older systems).
- Confirm the boot mode is set to UEFI. If it is set to Legacy, change it to UEFI.
- Save your changes and restart the computer.
Note: BIOS menu names and layout vary by Dell model. If you can't find these options, refer to your Dell User Manual. Search by Service Tag or Express Service Code to find the correct manual for your system.
If the drive is now detected and the error is gone, continue to the Preventive Measures section. If the drive is still not detected, continue to step 5.
Step 5: Reseat the Drive
If the diagnostic found a fault, or the drive isn't appearing in BIOS at all, the most likely remaining cause is a loose physical connection. Reseating; removing and firmly reconnecting the drive is a simple fix that resolves this. It's the single most common hardware-level cause of "Hard Drive not Detected" errors.
Before you begin: Turn off the computer and unplug it from the power source before opening the case or handling any internal components. Ground yourself by touching an unpainted metal surface to prevent static damage.
- Turn off the computer and unplug the power cable.
- Open the case or bottom panel. Drive location, panel access, and connector types vary by model, refer to your Dell Service Manual or User Manual before proceeding.
- Locate the storage drive:
- Desktop HDDs and SATA SSDs: Connected via a data cable and a power cable
- M.2 NVMe SSDs: Slot directly into the motherboard and are secured with a single screw
- Carefully disconnect the drive. Unplug the data and power cables on a desktop, or remove the screw and gently slide out an M.2 SSD.
- Inspect the connectors and the slot for dust or debris. Gently blow away any dust if present.
- For desktops with multiple SATA ports: try connecting the data cable to a different SATA port on the motherboard to rule out a faulty port.
- Firmly reconnect the drive. For M.2 SSDs, reinsert at the correct angle (typically 30°) and tighten the retaining screw. For SATA drives, press the connectors in until they click.
- Close the case, reconnect the power cable, and turn on the computer.
- Run the diagnostic test from step 3 again to confirm whether the drive is now detected.
If the diagnostic passes after reseating, the loose connection was causing the issue. Continue to Step 6 to update BIOS and firmware and prevent this from recurring.
If the diagnostic still fails after reseating, contact Dell Technical Support for hardware repair options based on your device's warranty status.
Step 6: Update the BIOS
If the drive is detected but the error returns intermittently, an outdated BIOS may be the cause, particularly after a Windows update or following a recent drive replacement.
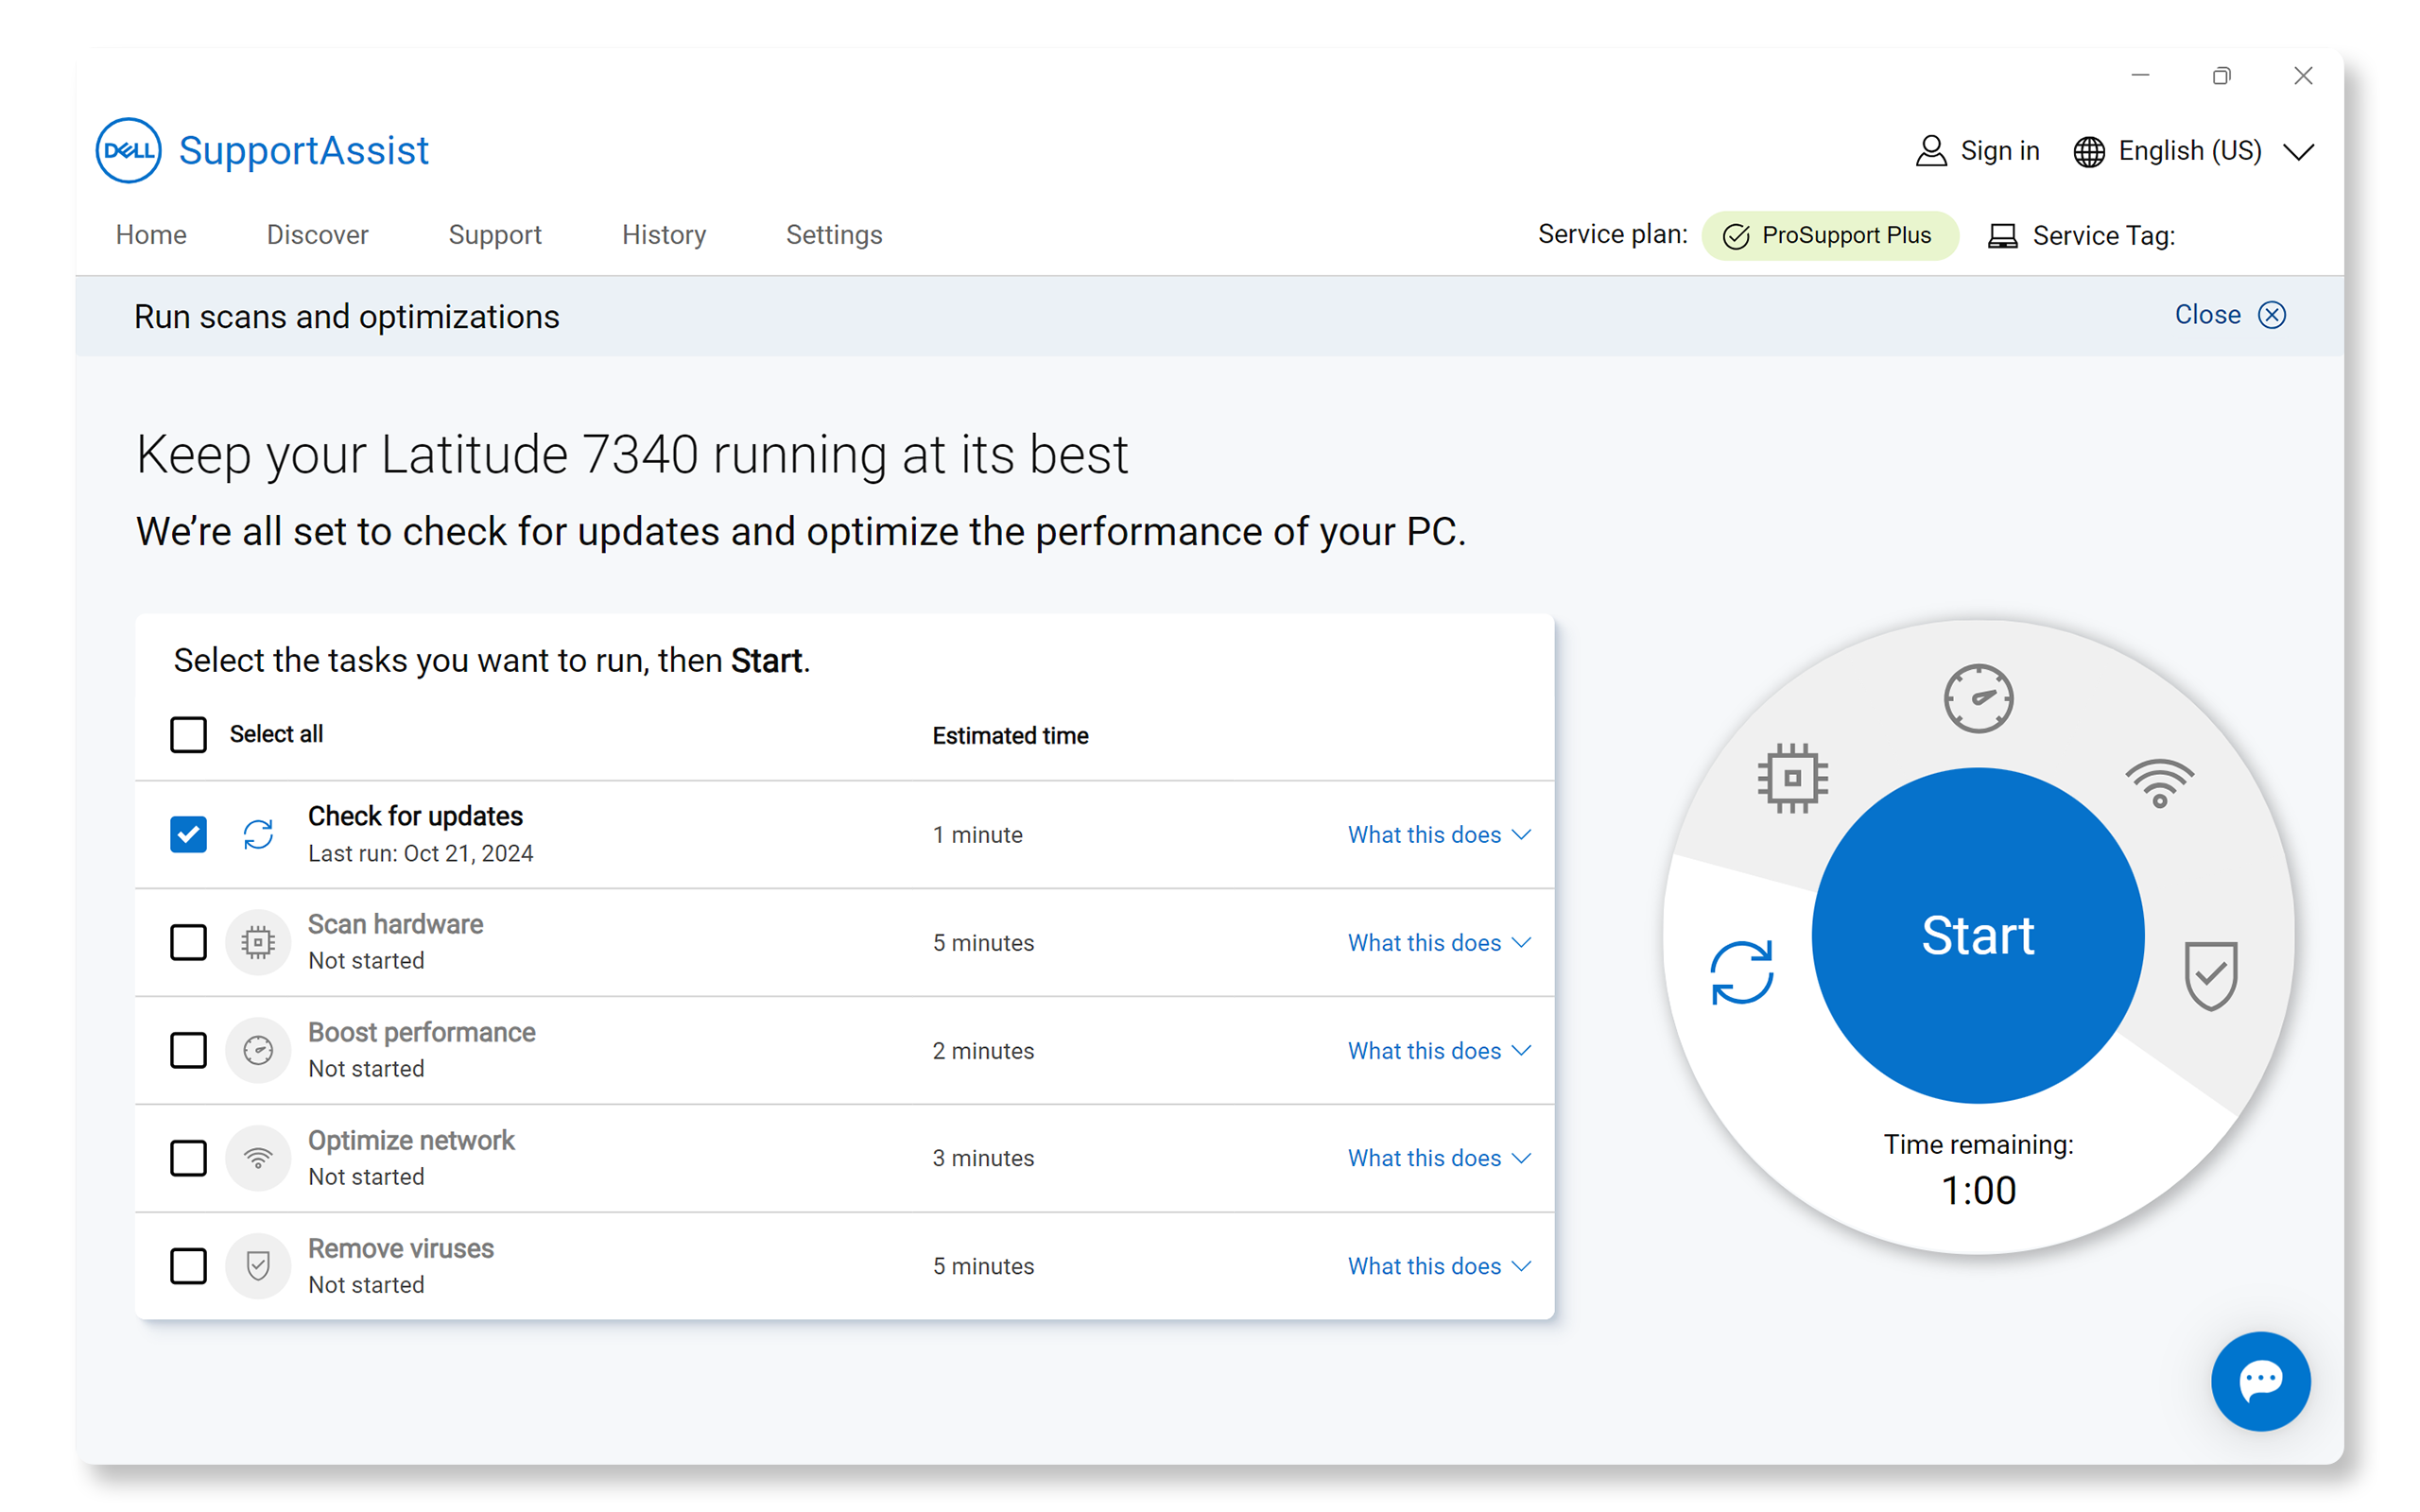
SupportAssist is Dell's automated tool that scans your computer for the latest BIOS and driver updates and installs them for you.
- Search for SupportAssist in the Start menu and open the app.
- On the Home tab, select Update software.
- Click Start to scan for BIOS and driver updates.
- Follow the on-screen instructions to install available updates. Restart the computer when prompted.
If you don't have SupportAssist, use the BIOS update guide to download and install the latest BIOS manually.
Prevent Hard Drive and SSD Issues Before They Happen
Once your drive is detected and working correctly, a few simple habits go a long way in keeping it that way.
- Keep BIOS and drivers up to date. Dell regularly releases BIOS and driver updates that improve drive compatibility and fix known detection issues. Use SupportAssist to check for updates regularly, or visit Drivers & Downloads on Dell.com/support.
- Back up your data regularly. Drive failures, especially on HDDs can happen with little warning. Back up your files using Windows Backup (Settings > System > Windows Backup) to OneDrive or an external drive. For a full system image, use File History or a third-party backup tool.
- Monitor drive health. SupportAssist can scan your computer for early signs of drive issues before they become serious problems.
Frequently Asked Questions (FAQs)
Here are some answers to frequently asked questions about hard drive (HDD) and solid-state drive (SSD) issues.
1. What does "Hard Drive not Detected" mean?
This error means the BIOS cannot find the storage drive during startup. The most common causes are a loose physical connection, an incorrect SATA operation mode in BIOS (RAID vs AHCI), a wrong boot order, or a UEFI/Legacy boot mode mismatch.
2. Can a hard drive or SSD fail suddenly, without any warning?
HDDs usually give warning signs first, such as clicking, grinding, or whining sounds. HDDs or SSDs can cause slow performance or files that take unusually long to open. If you notice any of these signs, back up your data immediately and run the diagnostic test.
3. What does a clicking noise from my hard drive mean? Is it serious?
A clicking or grinding sound from an HDD typically means the read/write head is struggling to find or access data, which is a sign of mechanical failure. Back up your data immediately if you can still access it, then run the diagnostic test. Do not continue using the drive heavily if it is clicking, doing so can worsen the damage.
4. Can a BIOS update fix a hard drive or SSD that's not being detected?
Yes, in some cases it can. An outdated BIOS may not support newer drives, particularly newer M.2 NVMe SSDs or specific SSD models. If your drive is detected intermittently, or stopped being detected after a Windows update or a hardware change, a BIOS update is a good next step.
5. What is the difference between AHCI and RAID On in BIOS, and which should I use?
AHCI (Advanced Host Controller Interface) is the standard mode for a single hard drive or SSD. RAID (Redundant Array of Independent Disks) is for configurations where multiple drives work together for speed or data redundancy. If you have a single drive that isn't being detected, setting SATA operation to AHCI in BIOS usually resolves it. Do not change this setting if Windows is already installed and working in RAID On mode, doing so can cause a blue screen error.
6. My drive was detected correctly before. Why did it suddenly stop working?
The most common triggers for a drive that suddenly stops being detected are: a cable that has loosened over time or after moving the computer, a BIOS setting that changed after a Windows update, or a power outage, a weak or discharged CMOS battery that caused BIOS to reset, or the early stages of drive failure.
7. What is the CMOS battery, and how does it affect drive detection?
The CMOS battery is a small coin-cell battery (CR2032) on the motherboard that keeps BIOS settings, including date, time, SATA mode, and boot order saved when the computer is off. If this battery is weak or discharged, BIOS may reset on every startup, sometimes changing SATA mode or boot order settings and causing drive detection errors.
8. Can I test whether the drive is still working by connecting it to another computer?
Yes, and this is a useful way to isolate whether the problem is with the drive itself or with your computer's hardware. Using an external enclosure, connecting it to another computer via USB can quickly tell you whether the drive is recognized elsewhere. If it is detected on another computer, the issue is likely with the original system's BIOS settings, cables, or motherboard. if it is not detected on any computer, the drive itself has likely failed.
9. Is it safe to reseat the drive myself?
Yes, for most users this is straightforward and safe, provided you turn off and unplug the computer first and follow the safety steps outlined in your system's user manual. Before opening the case, always refer to the Dell User Manual or Service Manual for your specific model, drive location, panel access methods, and connector types vary across Dell computers.
10. What if none of these steps resolve the issue?
- Additional Troubleshooting: Follow these additional steps on hard drive troubleshooting.
- Use Dell Community Forums: Join the Dell Community Forums to get help from other users.
- Contact Dell Support: If the issue persists, contact Dell Technical Support for repair options based on your device’s warranty status.