PowerEdge: How to update disks on a VRTX
Summary: This article explains how to update the firmware of the internal drives of a VRTX.
This article applies to
This article does not apply to
This article is not tied to any specific product.
Not all product versions are identified in this article.
Instructions
-
Connect the Chassis Management Controller (CMC) IP. By default, the login credentials are
root/calvin.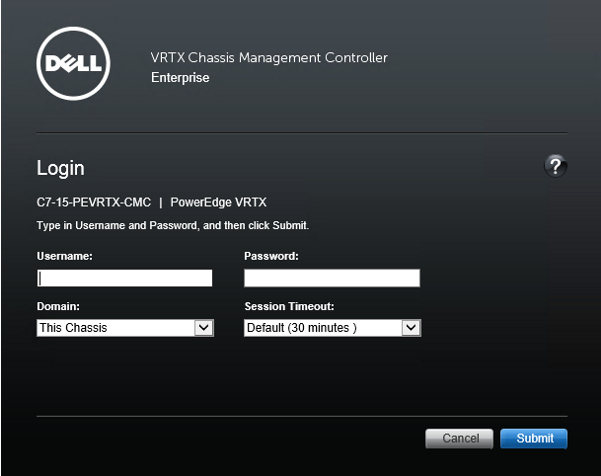
- In the console, click Chassis Overview > Storage > Update.
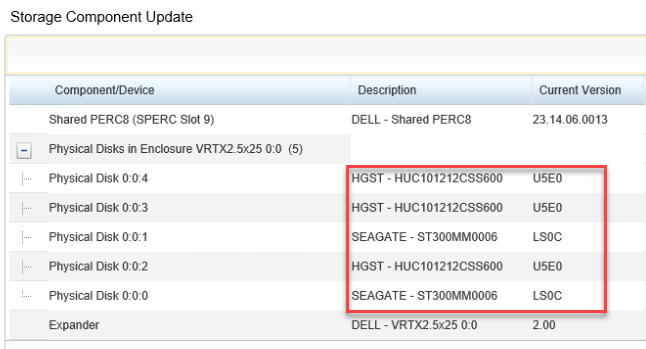
- Take a note of the model and current Version
- Download the latest EXE update package on the Dell support site,
- Enter the VRTX Service tag, Add the Model in the Keyboard section to filter the results.
- Before proceeding to upload the firmware, power off all blades connected to affected storage.
- On the Storage Component Update page, click the Browse button.
- Locate and select the Update Package, then click Upload. The following message is seen:
The file is being updated. This may take several minutes. - On the Storage Component Update page, check all the hard drive check boxes and then click Update. The following message is seen:
The update is in progress. This takes several minutes. - The hard drives are now updated.
See the figures below for more details on updating the hard drives:
.png)
.png)
.png)
Affected Products
Chassis Management Controllers, POWEREDGE VRTXArticle Properties
Article Number: 000134181
Article Type: How To
Last Modified: 16 جمادى الأولى 1447
Version: 8
Find answers to your questions from other Dell users
Support Services
Check if your device is covered by Support Services.