Avamar: How to identify a physical Gen4 or Gen4S Avamar Data Store node using the 'Chassis ID' functionality on the front panel
Summary: This article shows how to identify a physical Gen4 or Gen4S Avamar Data Store node using the 'Chassis ID' functionality on the front panel.
This article applies to
This article does not apply to
This article is not tied to any specific product.
Not all product versions are identified in this article.
Instructions
When working in a computer room where there is a rack full of Avamar nodes, it is helpful to be able to visually identify a specific node, for example, during a hardware replacement.
Avamar Gen4S Nodes:
Option A:
(Requires Remote Monitoring and Management (RMM) to be configured.)
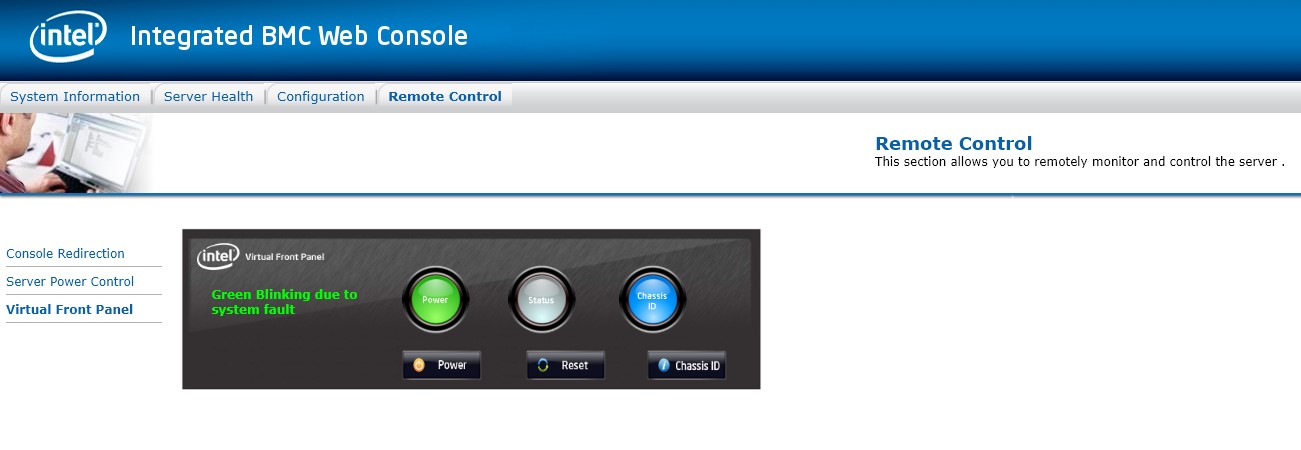
1. Connect to the node using the integrated BMC Web Console.
2. Select the Remote control tab.
3. Select Virtual Front Panel.
4. Press the Chassis ID button.
The "virtual" blue Chassis ID LED should now be illuminated as in the screenshot below:
Option B
(Does not require RMM to be configured.)
1. Connect to the Avamar node using ssh, or a physical keyboard and monitor.
2. Log in as admin and elevate to root privilege.
3. Run the following command:
ipmitool chassis identify force
The virtual and physical Chassis ID LEDs illuminates.
4. To stop the illumination, press the ID LED (it doubles as a button) or run the below command:
ipmitool chassis identify 0
Example:

Avamar Gen4 Nodes:
1. Connect to the Avamar node using ssh, or a physical keyboard and monitor.
2. Log in as admin and elevate to root privilege.
3. Run the following command:
racadm setled -l 1
The LCD screen on the front of the node should now be flashing on and off (marked in red in the example below).
4. To stop the illumination, have the onsite engineer press the gray button (marked "i") next to the LCD, or run the following command:
racadm setled -l 1-
Example:

Affected Products
AvamarProducts
Avamar, Avamar Data Store Gen4, Avamar Data Store Gen4S, Avamar Data Store Gen4TArticle Properties
Article Number: 000013696
Article Type: How To
Last Modified: 12 Nov 2025
Version: 6
Find answers to your questions from other Dell users
Support Services
Check if your device is covered by Support Services.