How to Install Dell Trusted Device
Summary: Learn step-by-step instructions to install Dell Trusted Device using the Dell Update Package that can be downloaded from Dell Support.
This article applies to
This article does not apply to
This article is not tied to any specific product.
Not all product versions are identified in this article.
Instructions
The Dell Trusted Device installer requires administrative rights. The bit rate of the utility must match the architecture of the host computer operating system.
Affected Products:
- Dell Trusted Device
Affected Operating Systems:
- Windows
For information about where to download the Dell Trusted Device Dell Update Package from, refer to How to Download Dell Trusted Device.
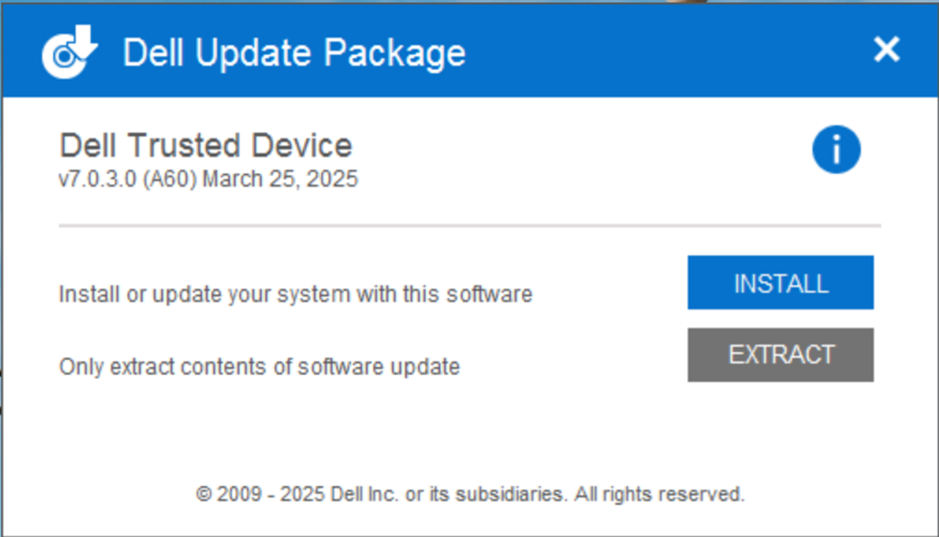
- Double-click the Dell Trusted Device Dell Update Package file.
- Click INSTALL to start the installation wizard.
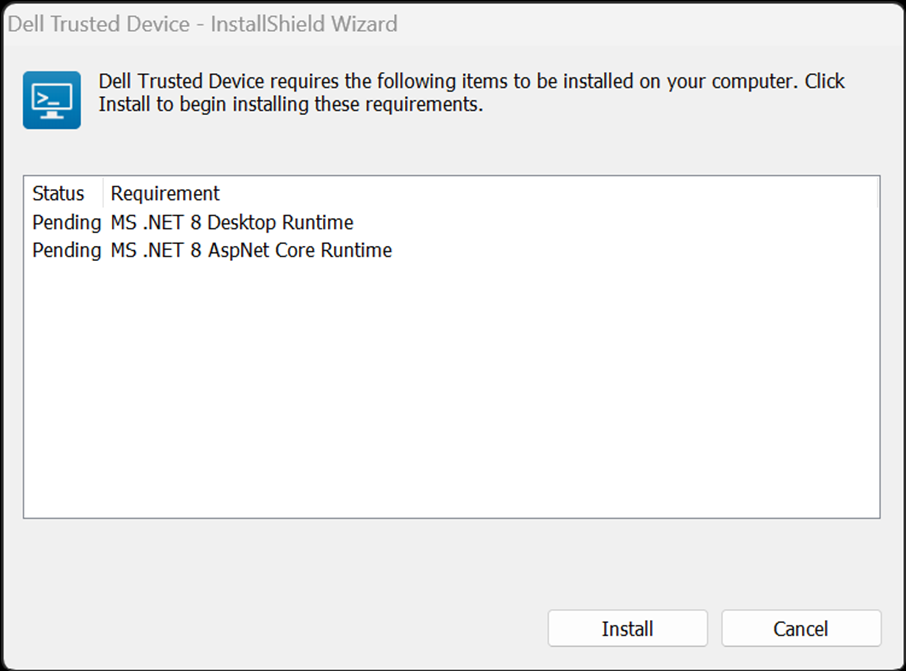
- Click Install to start the installation of the pre-requisites.
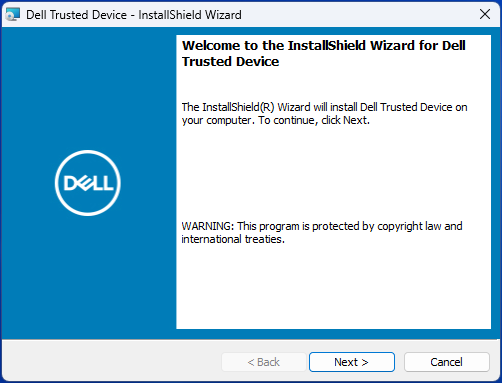
- Click Next at the Welcome screen.
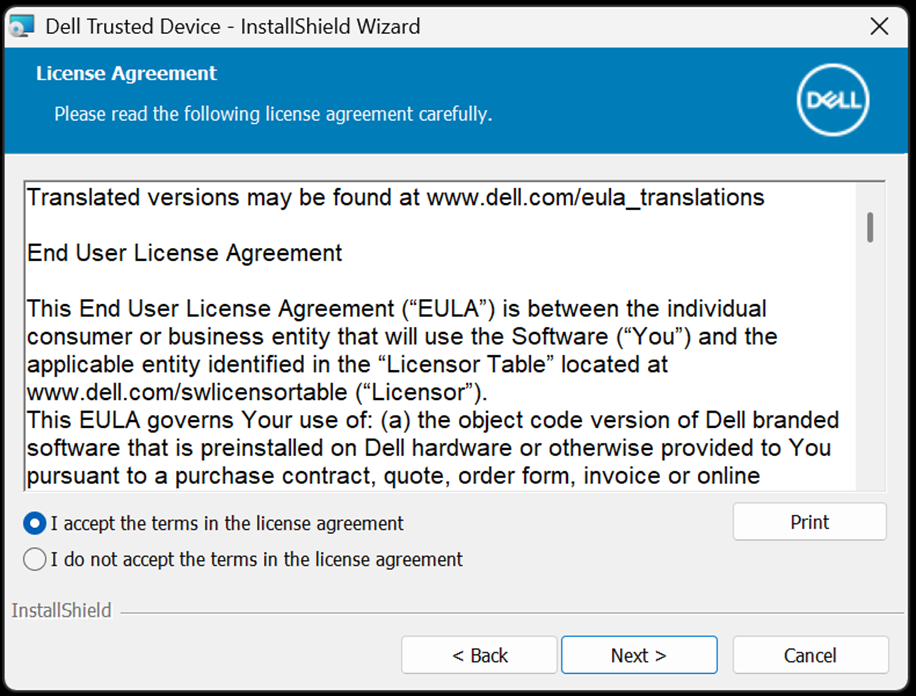
- Read the License Agreement, agree to the terms, and click Next.
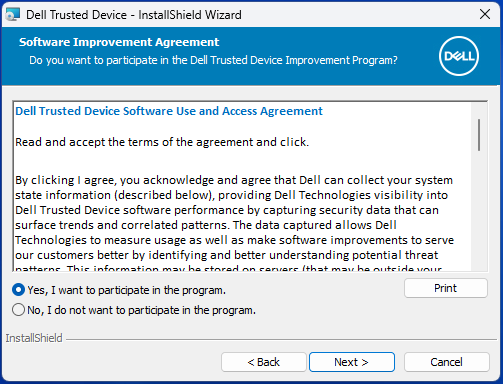
- Read the Dell Trusted Device Software Use and Access Agreement, select Yes, I want to participate in the program or No, I do not want to participate in the program, and then click Next.
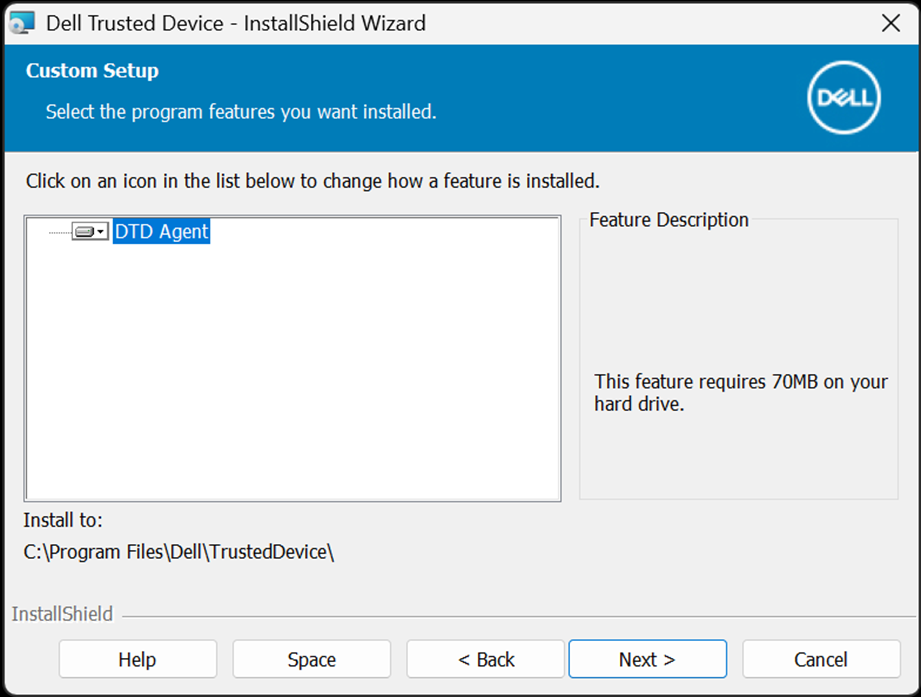
- By default, the Dell Trusted Device installer does not install shortcuts. To install shortcuts, click the Dell Trusted Device - Shortcuts feature tree menu and select This feature will be installed on the local hard drive. Click Next to continue.
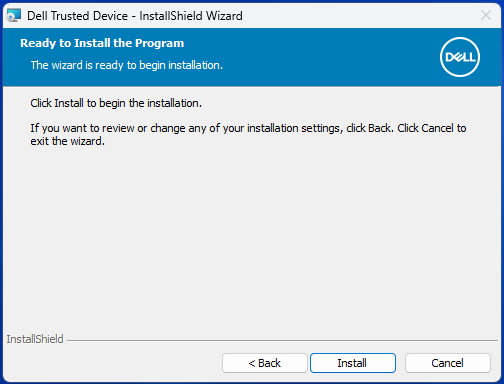
- Click Install to begin the installation.
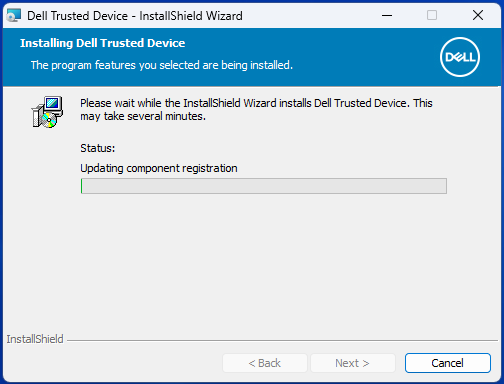
- A status window displays but may take several minutes.
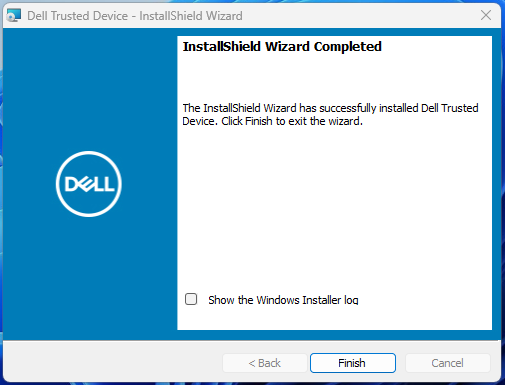
- Click Finish.
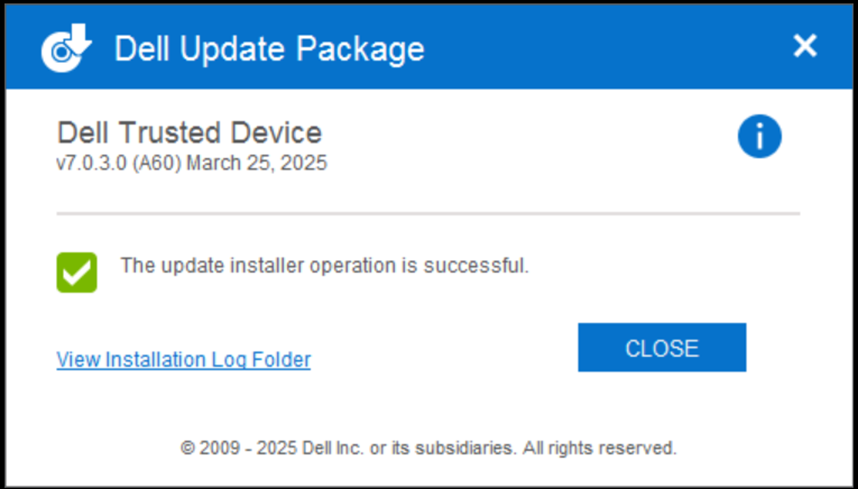
- Click CLOSE to close the window.
To contact support, reference Dell Data Security International Support Phone Numbers.
Go to TechDirect to generate a technical support request online.
For additional insights and resources, join the Dell Security Community Forum.
Affected Products
Dell Trusted DeviceArticle Properties
Article Number: 000123670
Article Type: How To
Last Modified: 19 Apr 2026
Version: 13
Find answers to your questions from other Dell users
Support Services
Check if your device is covered by Support Services.