How to Deploy the Netskope for Splunk Apps
Summary: This article discusses how to deploy the Netskope for Splunk applications.
This article applies to
This article does not apply to
This article is not tied to any specific product.
Not all product versions are identified in this article.
Instructions
Affected Products:
- Netskope
To deploy Netskope for Splunk:
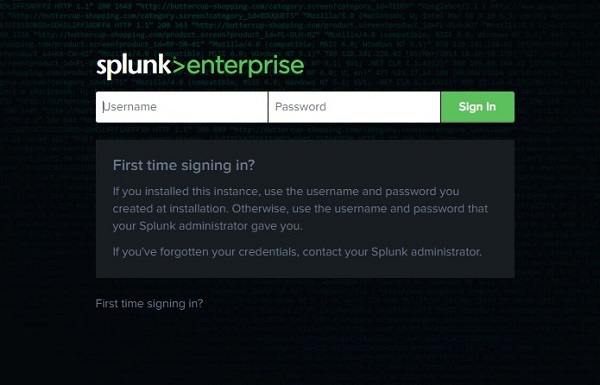
- Open your browser and go to your organization’s Splunk environment.
- Log in to your organization’s Splunk environment with an account that can install apps.
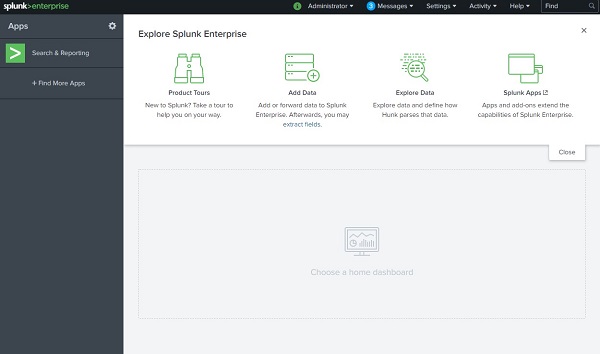
- From the Splunk home screen, click Find More Apps.
- Once the Browse More Apps screen loads, click the Find apps by keyword, technology search box, type Netskope, and then press Enter.
 Note: For more information about Netskope Add-on for Splunk, reference the app information about Splunkbase (https://splunkbase.splunk.com/app/3808/)
.
- Click the green Install button for the app named Netskope Add-on for Splunk.

- If prompted to log in:
- Populate your Splunk Username.
- Populate your Splunk Password.
- Accept the terms and conditions.
- Click Login and Install.

Otherwise, go to Step 7.
- Once installation completes, click Restart Now.
 Note: A restart of Splunk services is required before app configuration can proceed. If you cannot restart your Splunk services, click Restart Later and come back to this article later to continue the configuration.

- Once prompted, click OK.
- From the login page, populate your credentials to log back into your Splunk environment and then click Sign In.

- Once logged in, the Browse More Apps page displays and the Netskope Add-on For Splunk displays. Click Open App to continue configuration.

- The Configuration page displays, and the Account tab is selected. Click the green Add button.

- From the Add Account window:
- Populate an Account Name.
- Populate your [TENANT].goskope.com environment Hostname URL.
- Populate your Netskope REST API Token.
- Optionally, add or remove Input Types. By default, Events and Alerts are pre-selected.
- To add an input type, click in the Input Types field. Additional values are displayed. Select any of these additional values to collect these input types.
- To remove an input type, click the X next to the input type.
- Click Add.
 Note:
Note:- [TENANT] = The tenant name in your environment
- Multiple accounts can be created to separate input types. For example, Netskope_Events could be created in addition to Netskope_Alerts. Complete Step 12 and then repeat steps 11 and 12 until all desired accounts are created, to create multiple accounts.
- For more information, reference How to Retrieve the Netskope REST API Key.
- More Input Types are created, updated, and changed as the Netskope for Splunk Add-On is updated. Your input types may differ from the example image.
- If a proxy server is required for your Splunk services to connect to the Netskope cloud, click the Proxy tab. Otherwise, go to Step 15.

- From the Proxy menu:
- Select Enable.
- Select a Proxy Type.
- Populate a Host.
- Populate a Port.
- Populate a Username.
- Populate a Password.
- Click Save.

- Click the Logging tab. By default, the Log level is set to INFO. Optionally, adjust this level and then click Save.
 Note: Changing the logging level may be used in troubleshooting.
 - Click the Add-on Settings tab. You can use this page to adjust your Base Event Type index if required.

- Click the Inputs link towards the top of the page to configure the Inputs.

- The Inputs page displays and our selected inputs from Step 12 are displayed.

- By default, all inputs the app creates are disabled. From the Actions column, click Action and then select Enable for each Input you would like to enable.

- From the upper left of the Splunk page, click Search.

- Once the Search page displays, you should see event data in the What to Search box. Populated event data confirms that your configuration is working.

- This completes the Installation and Configuration of the Netskope Add-on For Splunk. Return to the Find More Apps page by clicking the App: Netskope Add-on For Splunk menu at the top of the page and then click Find More Apps.

- Click the Find apps by keyword, technology search box, type Netskope, and then press Enter.
 Note: For more information about Netskope App for Splunk, reference the app information about Splunkbase (https://splunkbase.splunk.com/app/3414/)
 - When the search page loads, click the green Install button for Netskope App for Splunk.

- If prompted to log in:
- Populate your Splunk Username.
- Populate your Splunk Password.
- Accept the terms and conditions.
- Click Login and Install.

Otherwise, go to Step 26.
- Click Open the App to launch the Netskope App for Splunk page.

- Your Netskope App for Splunk begins to display data it has collected from your Netskope environment.

If no data is displayed, contact Dell ProSupport for assistance. For more information, reference How to Get Support for Netskope.
For support, US-based customers may contact Dell Data Security ProSupport at 877.459.7304, Option 1, Ext. 4310039, or using the Chat Portal. To contact support outside the US, reference ProSupport’s International Contact Numbers. For additional insights and resources, go to the Dell Security Community Forum.
Additional Information
Videos
Affected Products
NetskopeArticle Properties
Article Number: 000180637
Article Type: How To
Last Modified: 09 Dec 2024
Version: 6
Find answers to your questions from other Dell users
Support Services
Check if your device is covered by Support Services.