How to Allow or Block a Certificate Pinned Application with Netskope
Summary: This article shows how to allow or block a certificate-pinned application with Netskope.
This article applies to
This article does not apply to
This article is not tied to any specific product.
Not all product versions are identified in this article.
Instructions
Affected Products:
- Netskope
Affected Operating Systems:
- Windows
- macOS
- ChromeOS
- Android
- iOS
- In a web browser, go to the Netskope web console:
- United States Datacenter: https://[TENANT].goskope.com/
- European Union Datacenter: https://[TENANT].eu.goskope.com/
- Frankfurt Datacenter: https://[TENANT].de.goskope.com/
Note: [TENANT] = The tenant name in your environment
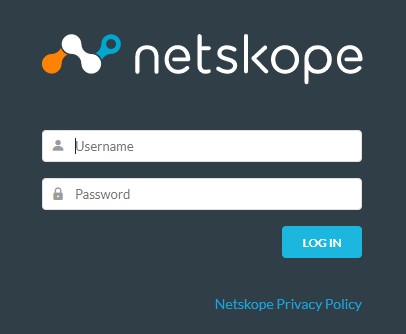
- Log in to the Netskope web console.
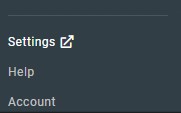
- Click Settings.
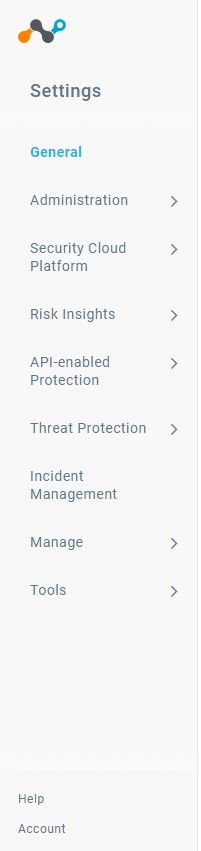
- Click Security Cloud Platform.
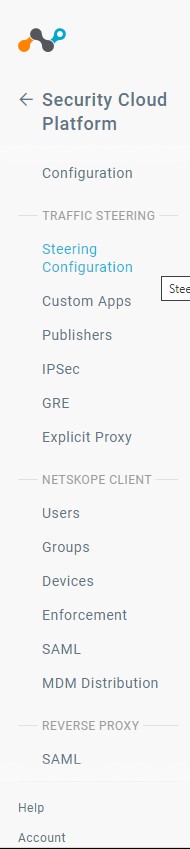
- Click Steering Configuration.
 Note: If Dynamic Steering is Enabled, ensure you select either On-Premises or Off-Premises to ensure your allow or block is set in the appropriate setting.
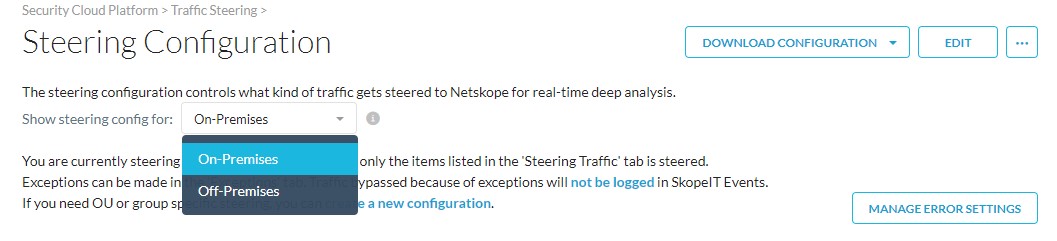
- Click Exceptions.
 Note: If Dynamic Steering is Enabled, ensure you select either On-Premises or Off-Premises to ensure your allow or block is set in the appropriate setting.
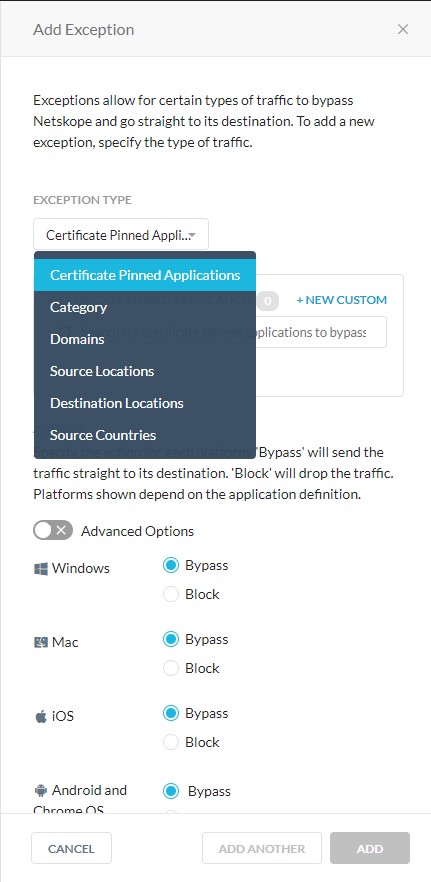
- In the Exceptions tab, click Add Exception.

- The Add Exception configuration displays. In the Exception Type, ensure that the Certificate Pinned Application is selected.
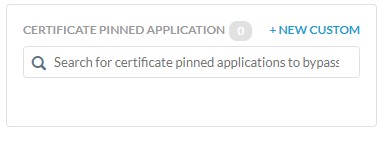
- In the Certificate Pinned Application area click +New Custom.
- In the New Certificate-Pinned Application, enter a value for the Application Name.
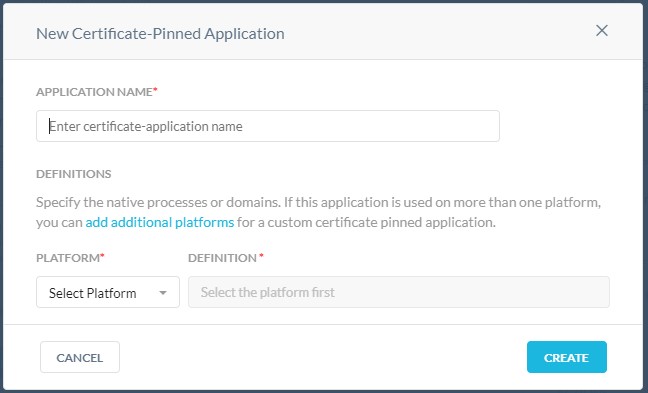
- In the Platform picklist, select the Platform the application is running on.

- The Definition value changes based on the platform selected. For Windows or Mac, enter the process name for the applications executable. For iOS, ChromeOS, or Android you enter the domains that the application needs access to.
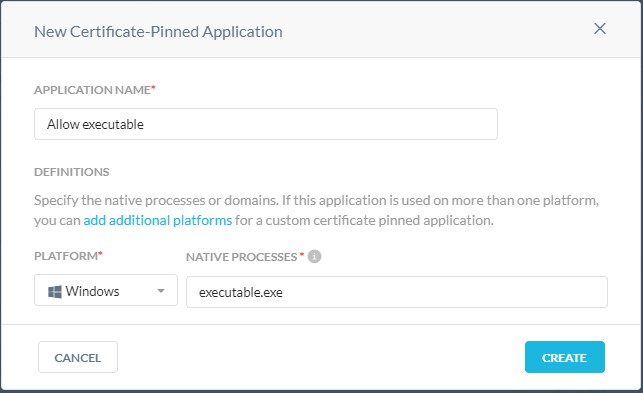
- Click Create to save your settings.

- Back on the Add Exception tab the application name appears under Actions. Ensure a Bypass or Block is selected for your desired outcome.
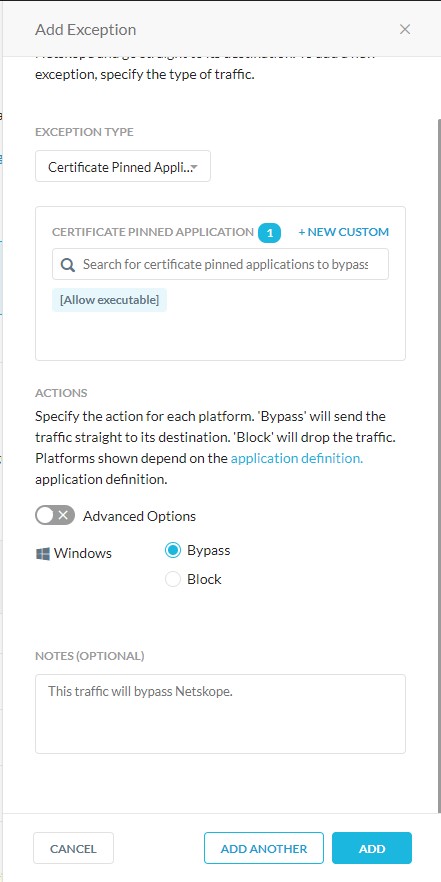
- Once you are finished click Add to finish adding an exception.

To contact support, reference Dell Data Security International Support Phone Numbers.
Go to TechDirect to generate a technical support request online.
For additional insights and resources, join the Dell Security Community Forum.
Affected Products
NetskopeArticle Properties
Article Number: 000180641
Article Type: How To
Last Modified: 31 Jan 2025
Version: 9
Find answers to your questions from other Dell users
Support Services
Check if your device is covered by Support Services.