PowerEdge: Preparazione dell'installazione del supporto USB di avvio per Red Hat Enterprise Linux
Summary: Questo articolo spiega come creare un'unità USB di avvio e configurare il sistema operativo Red Hat Enterprise Linux su un server Dell PowerEdge.
This article applies to
This article does not apply to
This article is not tied to any specific product.
Not all product versions are identified in this article.
Instructions
Un'unità USB avviabile può essere realizzata con l'aiuto di numerosi software di terze parti, che sono prontamente disponibili.
Uno di questi software è Fedora Media Writer.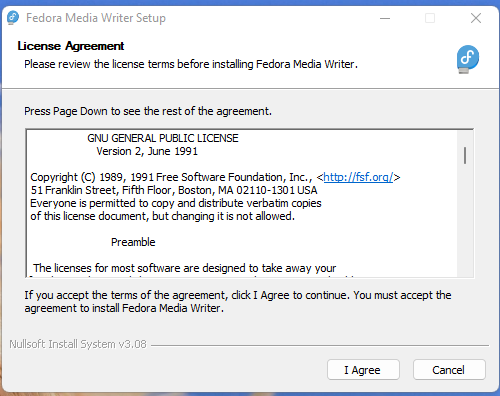
Software 
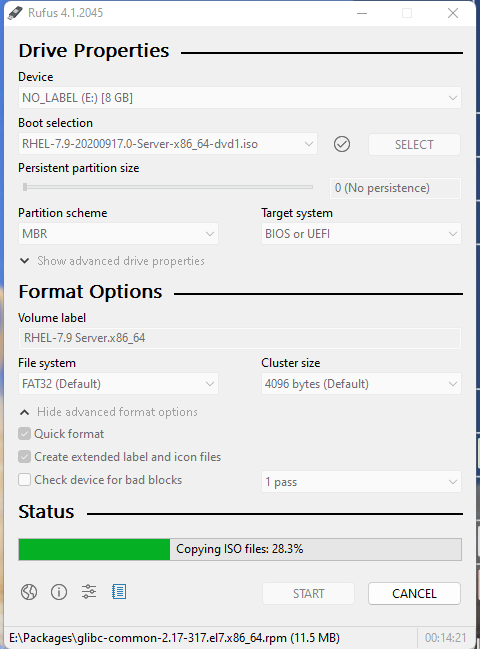
Per creare un supporto USB di avvio, utilizzare l'applicazione di terze parti chiamata Rufus mostrata nella schermata seguente.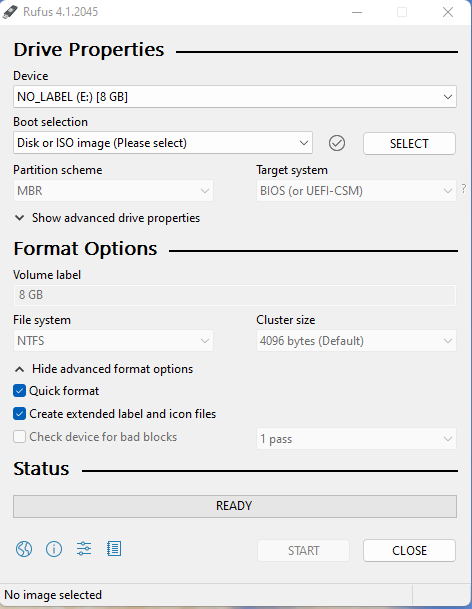
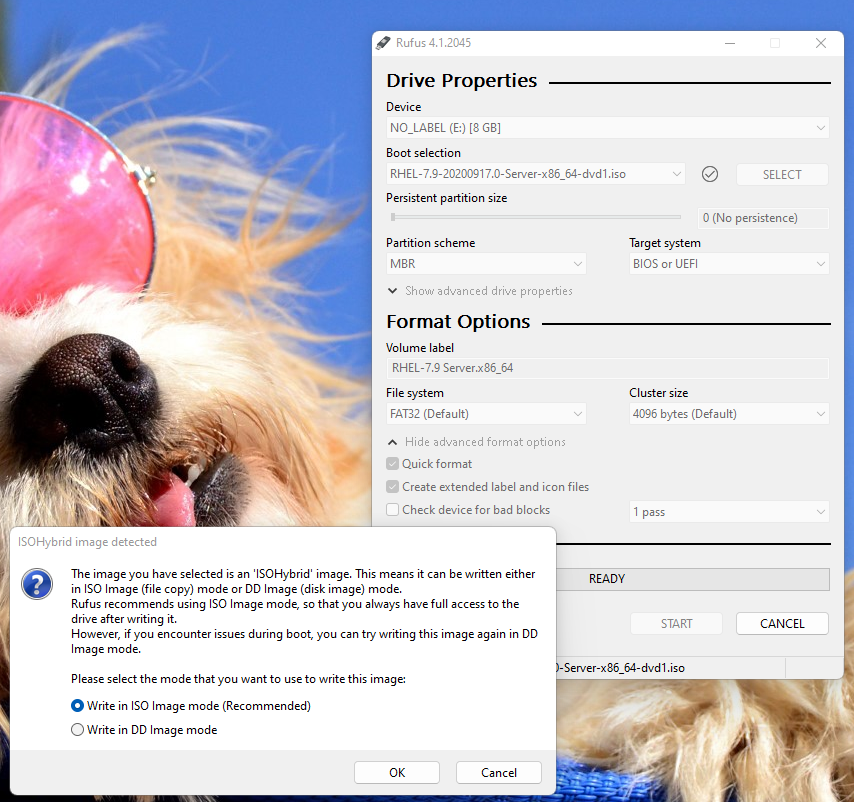
Come illustrato di seguito, individuare e scegliere l'immagine ISO di Red Hat Enterprise Linux.
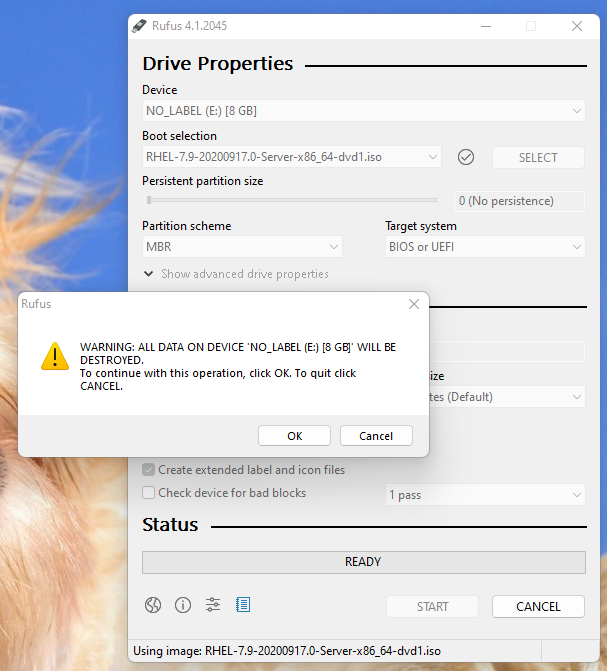

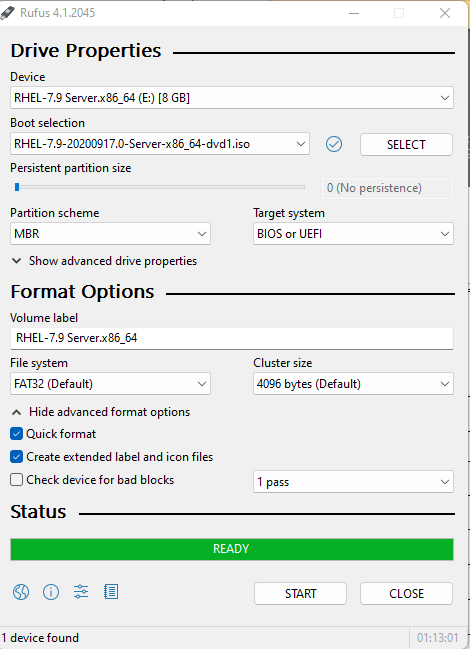
Il supporto USB di avvio è ora pronto per l'uso nell'installazione di un sistema operativo.
Una delle porte USB anteriori dei server PowerEdge è stata utilizzata per connettere questa unità USB avviabile. Durante il POST, abbiamo scelto F11 per accedere a Boot Manager.
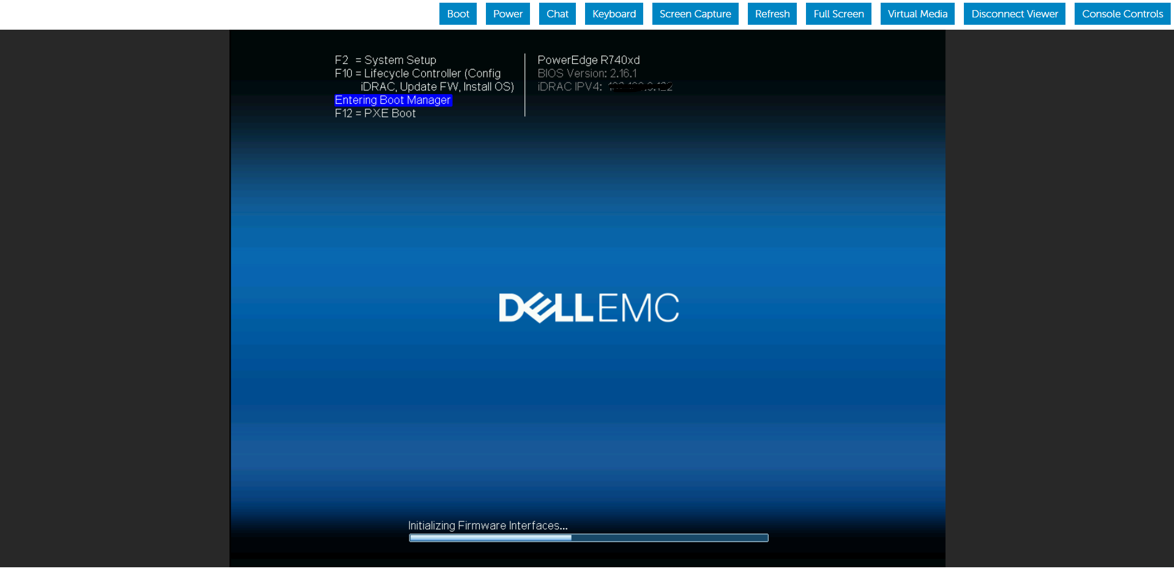
Qui la modalità di avvio è selezionata come modalità BIOS.
Selezionare l'opzione di avvio Legacy - Disco connesso all'USB anteriore per avviare l'installazione del sistema operativo.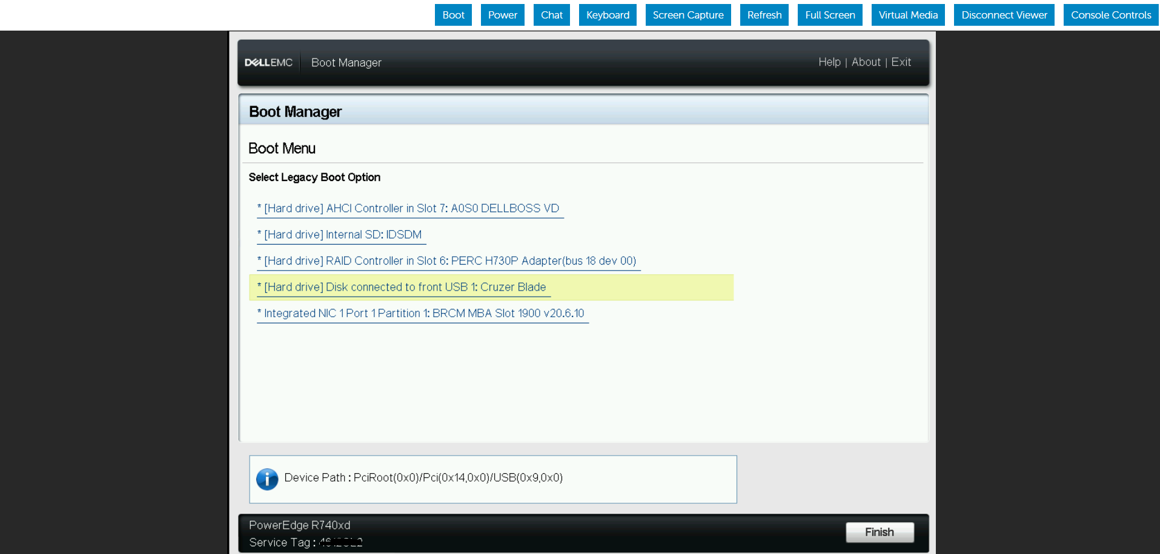
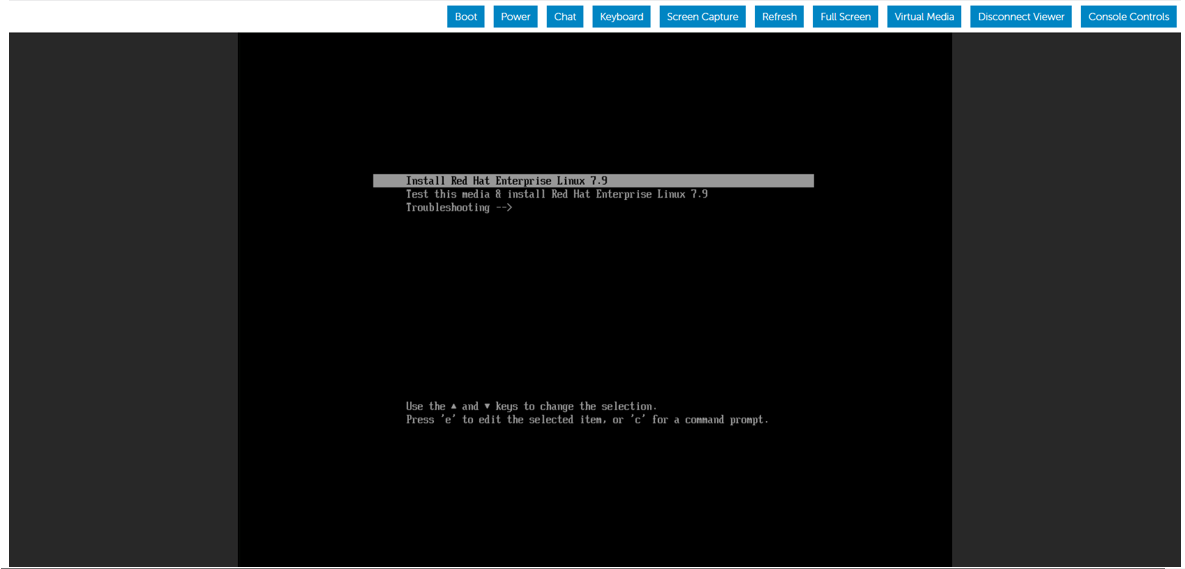
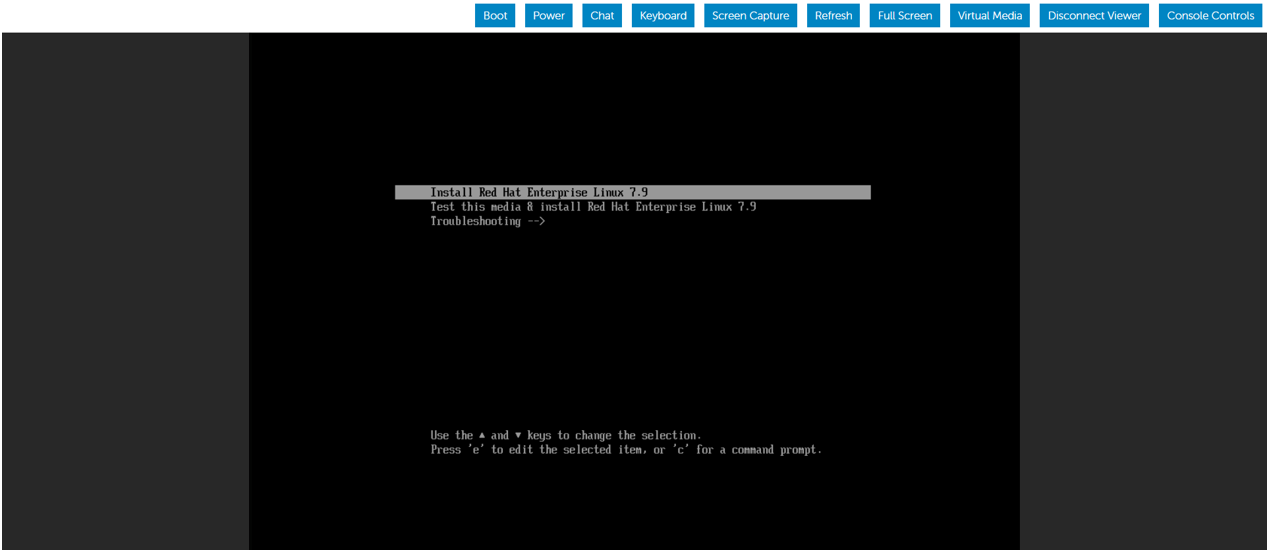
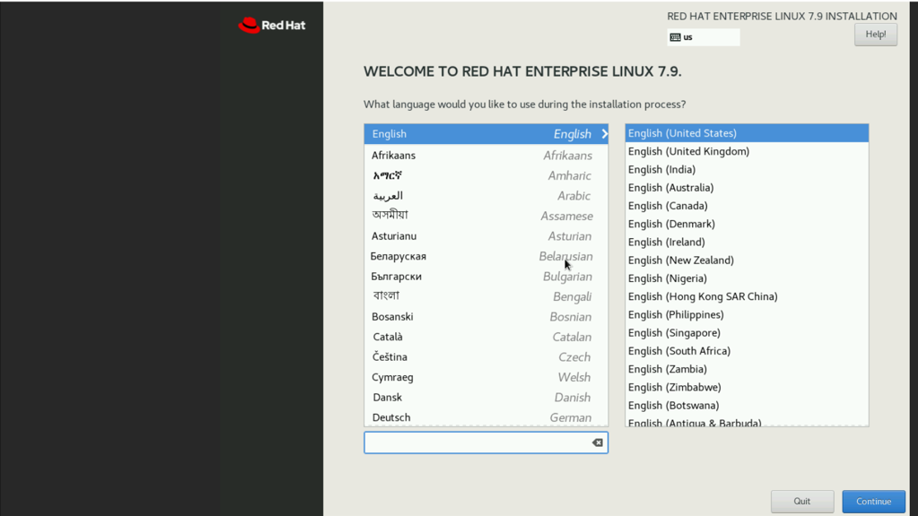
Quando è apparsa la selezione di installazione del sistema operativo, abbiamo scelto di avviare l'installazione scegliendo Installa Red Hat Enterprise Linux.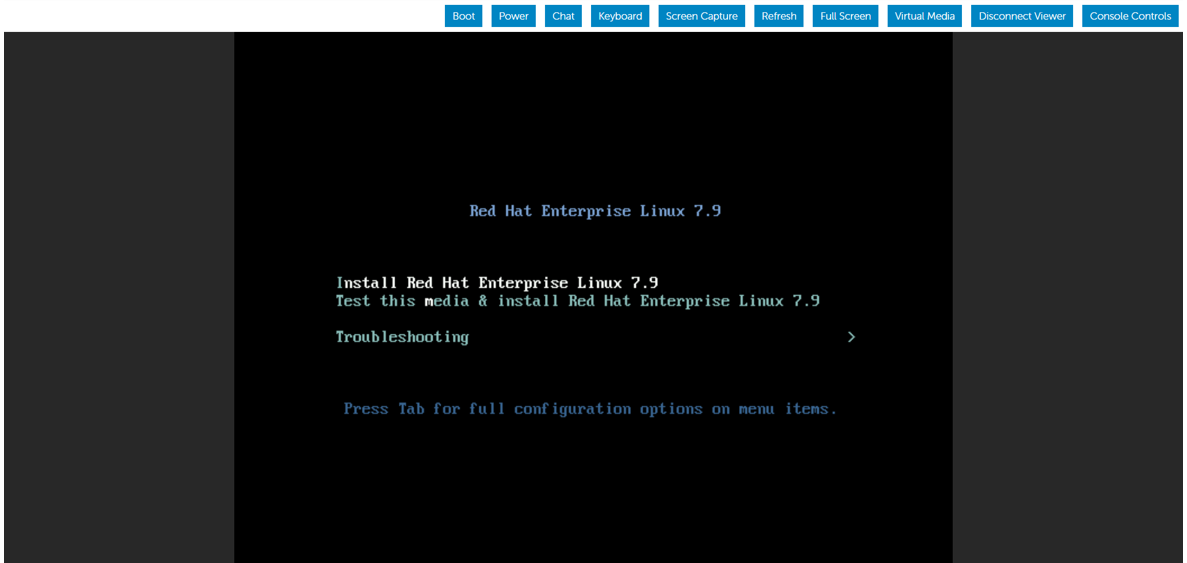
A scopo dimostrativo, abbiamo modificato il BIOS dalla modalità BIOS alla modalità UEFI e abbiamo seguito la procedura per l'installazione del sistema operativo utilizzando lo stesso supporto USB avviabile.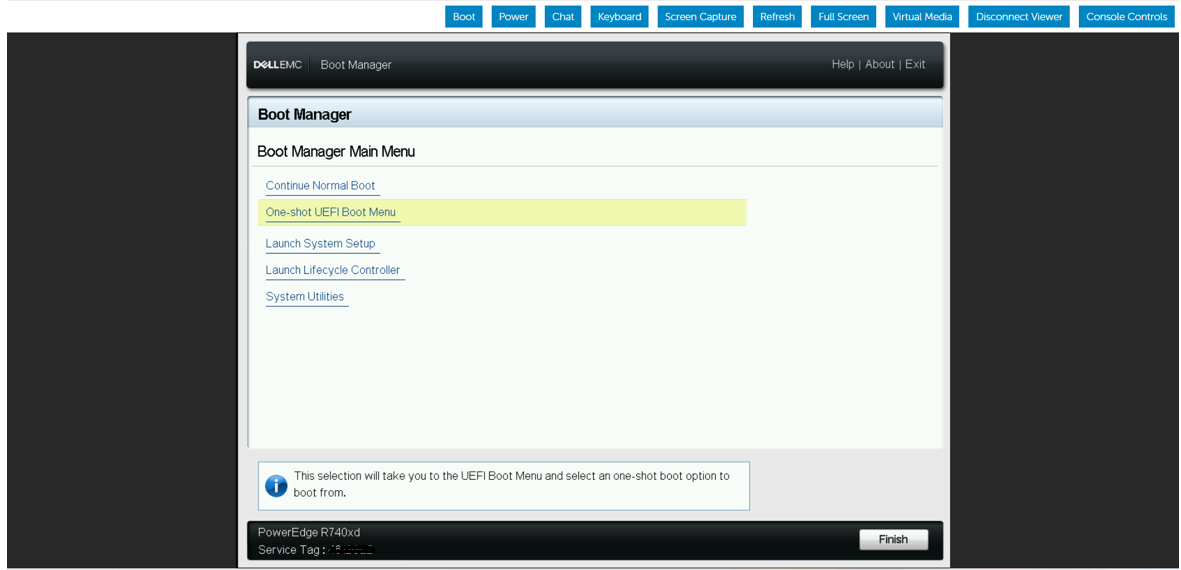
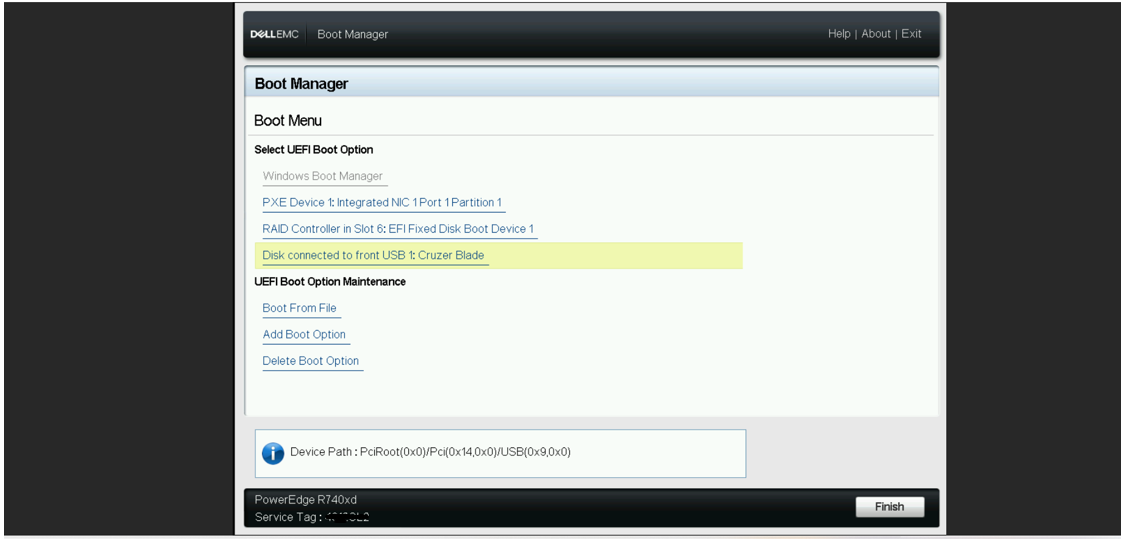
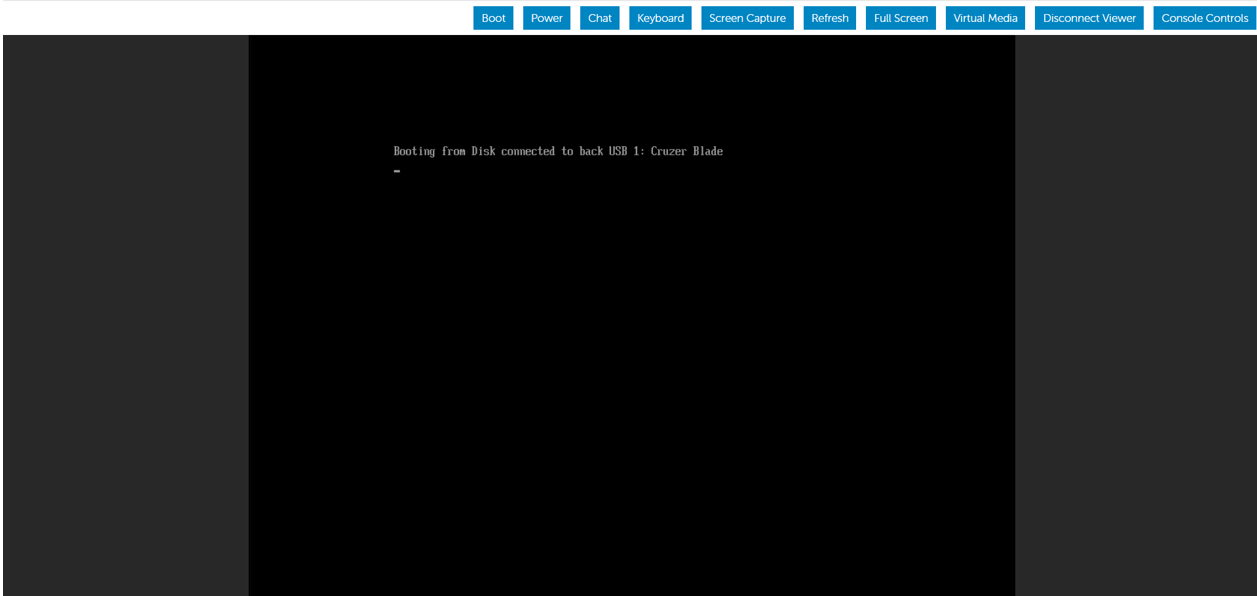
Successivamente, abbiamo scollegato il dispositivo USB avviabile dalla porta USB anteriore e lo abbiamo inserito nella porta USB posteriore del server PowerEdge. Abbiamo quindi riavviato il server per iniziare l'installazione del sistema operativo dal dispositivo USB posteriore.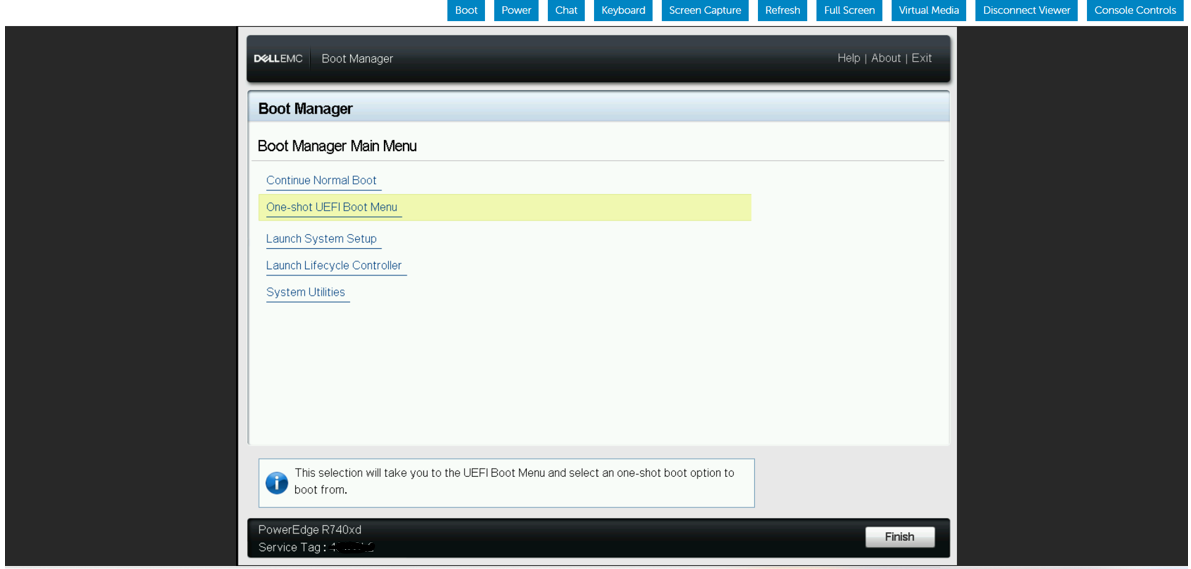

Affected Products
HS Series, Rack Servers, Tower Servers, XE Servers, PowerEdge XR2, PowerEdge C4130, Poweredge C4140, PowerEdge c6320, PowerEdge c6320p, PowerEdge C6420, PowerEdge C6520, PowerEdge C6525, PowerEdge C6615, PowerEdge C6620, Poweredge FC430
, Poweredge FC630, PowerEdge FC640, Poweredge FC830, PowerEdge FM120x4 (for PE FX2/FX2s), PowerEdge M630, PowerEdge M630 (for PE VRTX), PowerEdge M640, PowerEdge M640 (for PE VRTX), PowerEdge M830, PowerEdge M830 (for PE VRTX), PowerEdge MX740C, PowerEdge MX750c, PowerEdge MX760c, PowerEdge MX840C, PowerEdge XR11, PowerEdge XR12, PowerEdge XR5610, PowerEdge XR7620, Red Hat Enterprise Linux Version 7, Red Hat Enterprise Linux Version 9, Red Hat Enterprise Linux Version 8
...
Products
Operating Systems, Microsoft Windows Server 2016, Microsoft Windows Server 2019, Microsoft Windows Server 2022, Microsoft Windows 2012 Server, Microsoft Windows 2012 Server R2, SUSE Linux Enterprise Server 12, SUSE Linux Enterprise Server 15
, Ubuntu Server LTS
...
Article Properties
Article Number: 000215276
Article Type: How To
Last Modified: 18 Dec 2024
Version: 4
Find answers to your questions from other Dell users
Support Services
Check if your device is covered by Support Services.