PowerEdge: Tornando a instalação inicializável Mídia USB para Red Hat Enterprise Linux
Summary: Este artigo explica como criar uma unidade USB inicializável e configurar o sistema operacional Red Hat Enterprise Linux em um servidor Dell PowerEdge.
This article applies to
This article does not apply to
This article is not tied to any specific product.
Not all product versions are identified in this article.
Instructions
Uma unidade USB inicializável pode ser feita com a ajuda de vários softwares de terceiros, que estão prontamente disponíveis.
Um desses softwares é o Fedora Media Writer.
Software 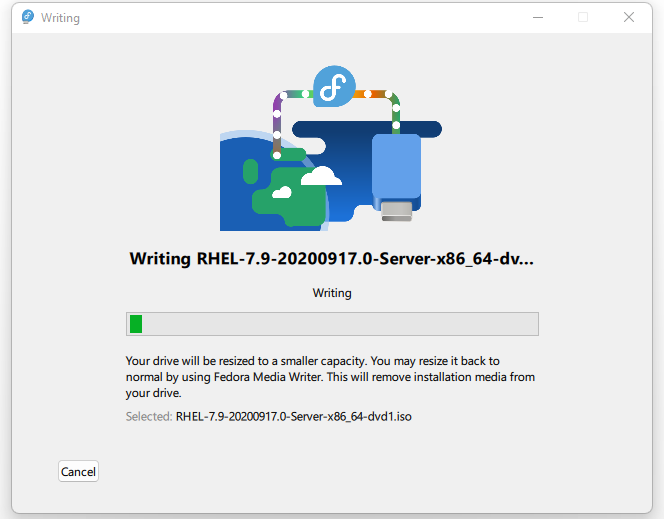
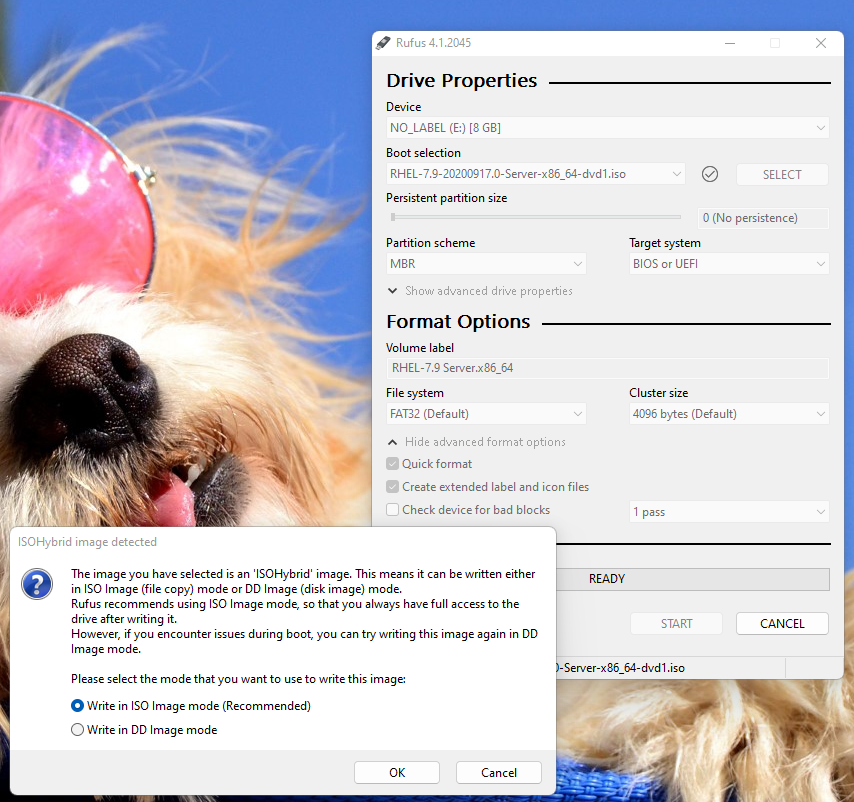
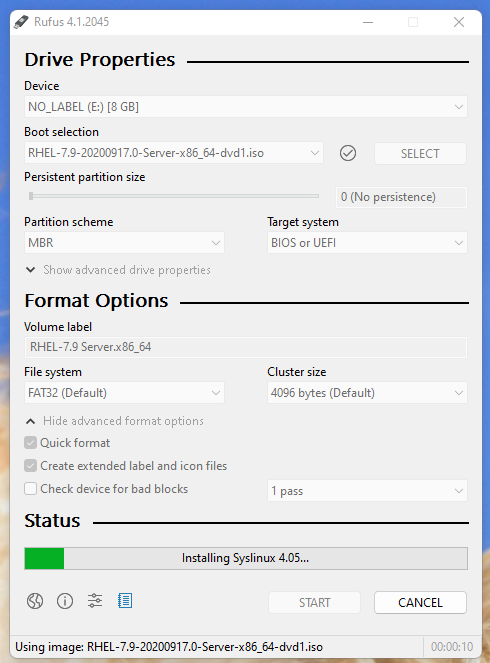
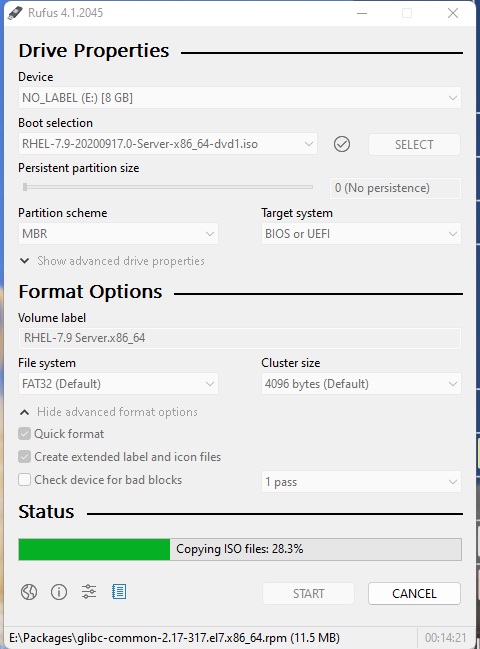
Para criar uma mídia USB inicializável, usando o aplicativo de terceiros chamado Rufus mostrado na captura de tela a seguir.
Como visto abaixo, localize e escolha a imagem ISO do Red Hat Enterprise Linux.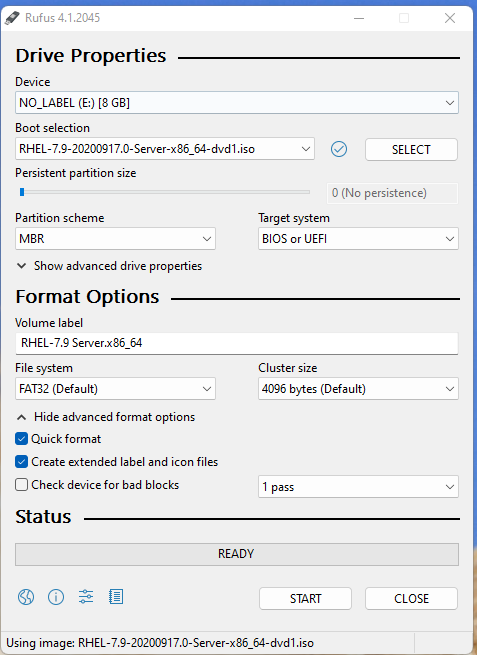
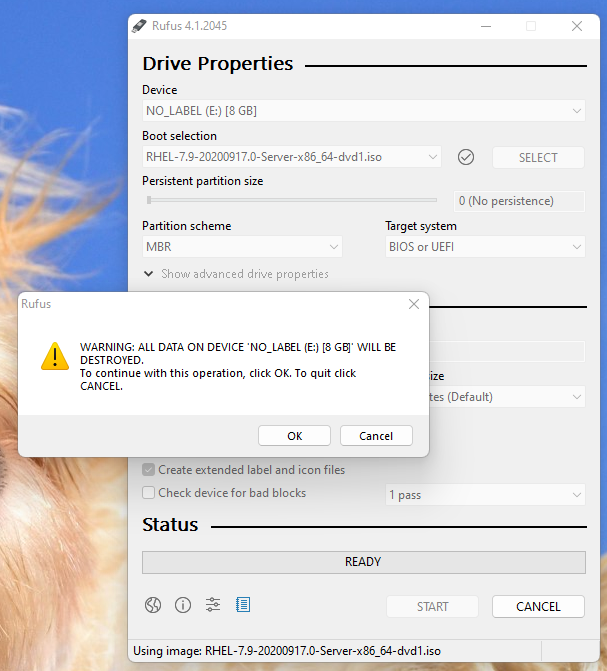
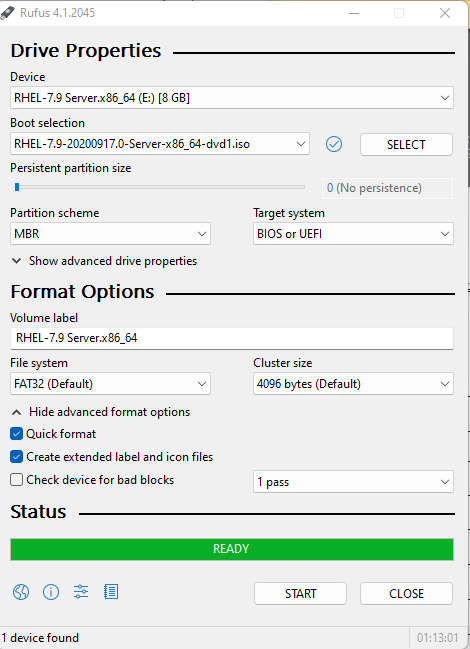
A mídia USB inicializável agora está preparada para uso na instalação de um sistema operacional.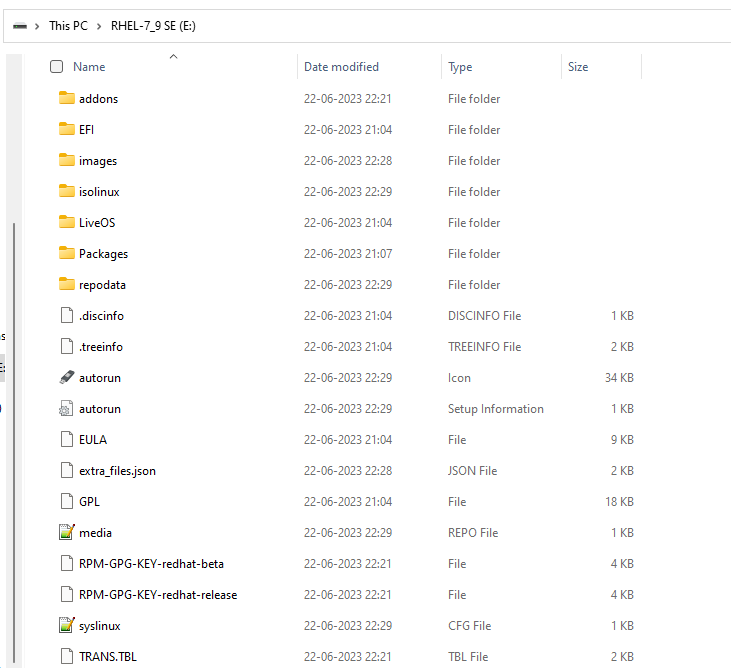
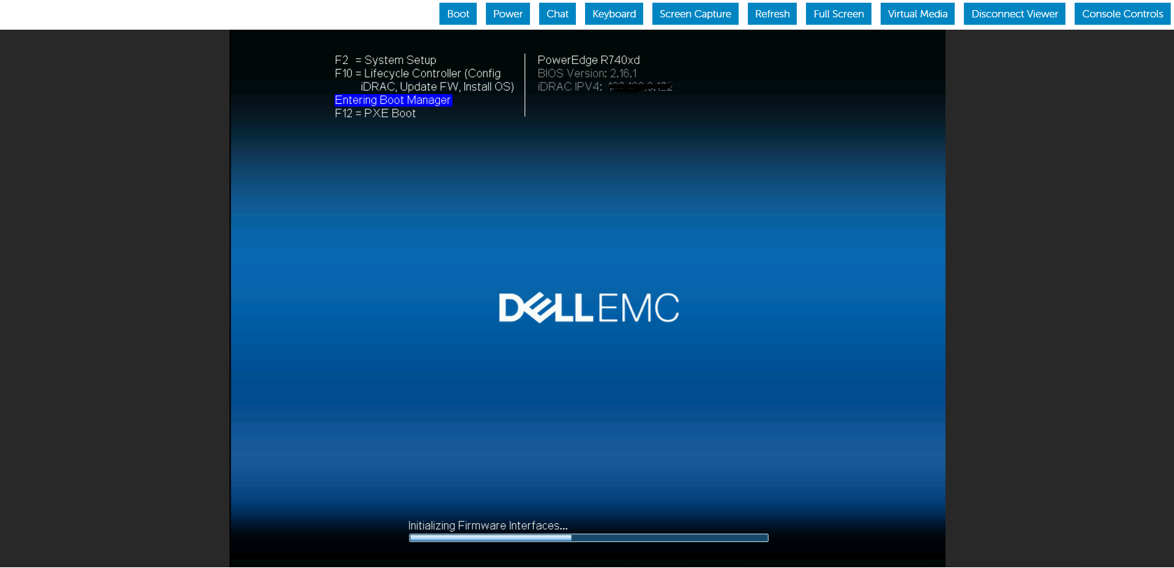
Uma das portas USB frontais dos servidores PowerEdge foi usada para conectar essa unidade USB inicializável. Durante o POST, escolhemos F11 para acessar o Boot Manager.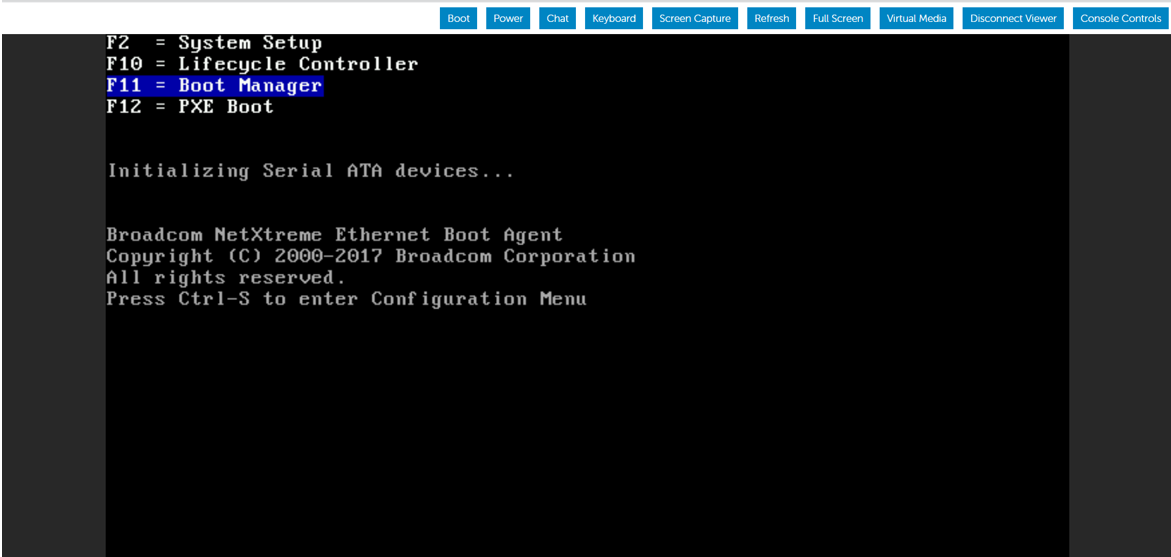
Aqui, Boot Mode (Modo de inicialização) é selecionado como BIOS Mode (Modo de BIOS).
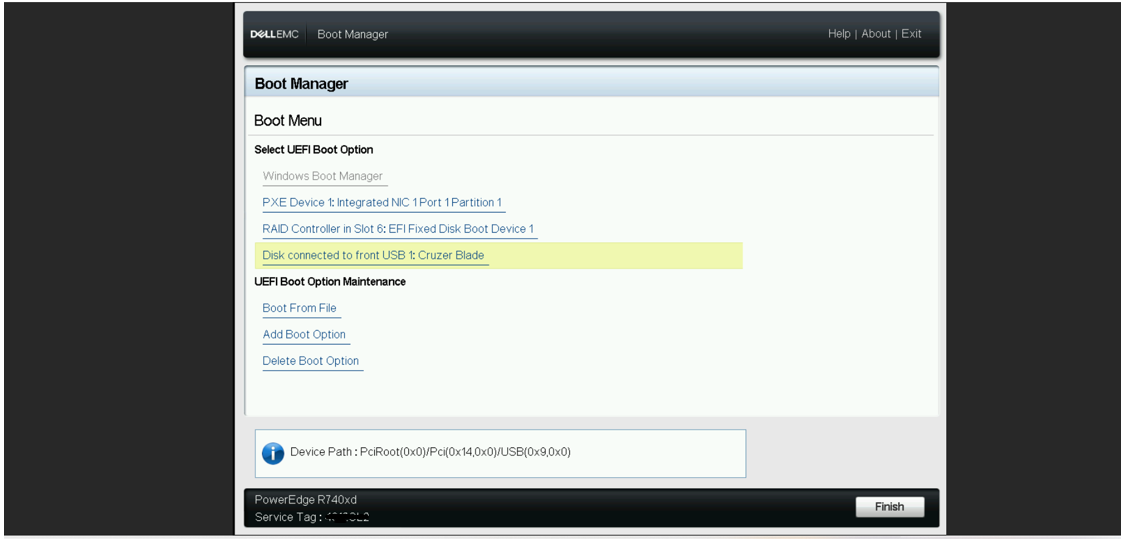
Selecione a opção Legacy Boot - Disk connected to front USB para iniciar a instalação do sistema operacional.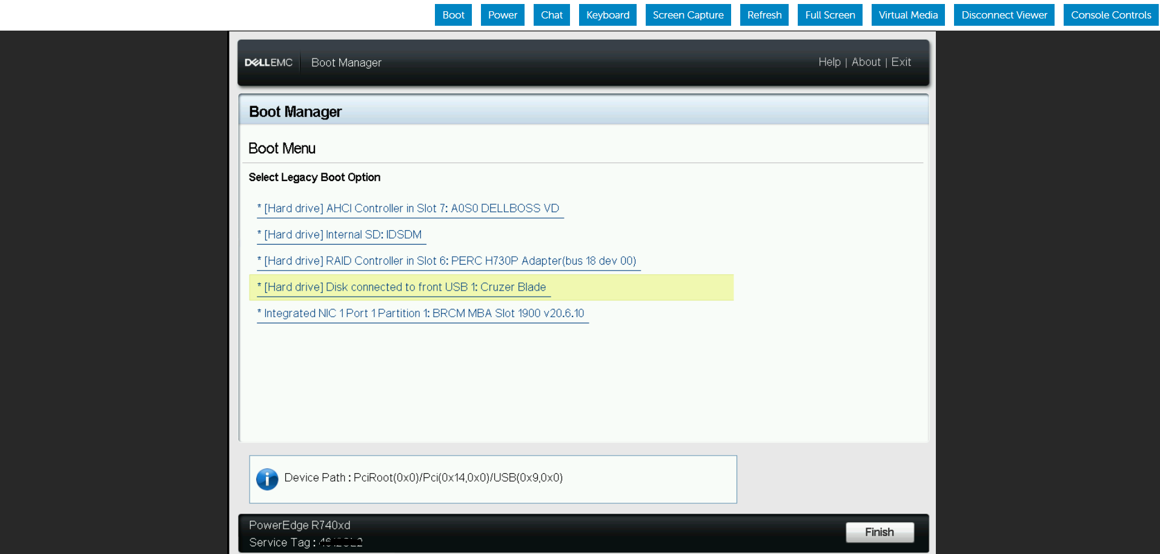
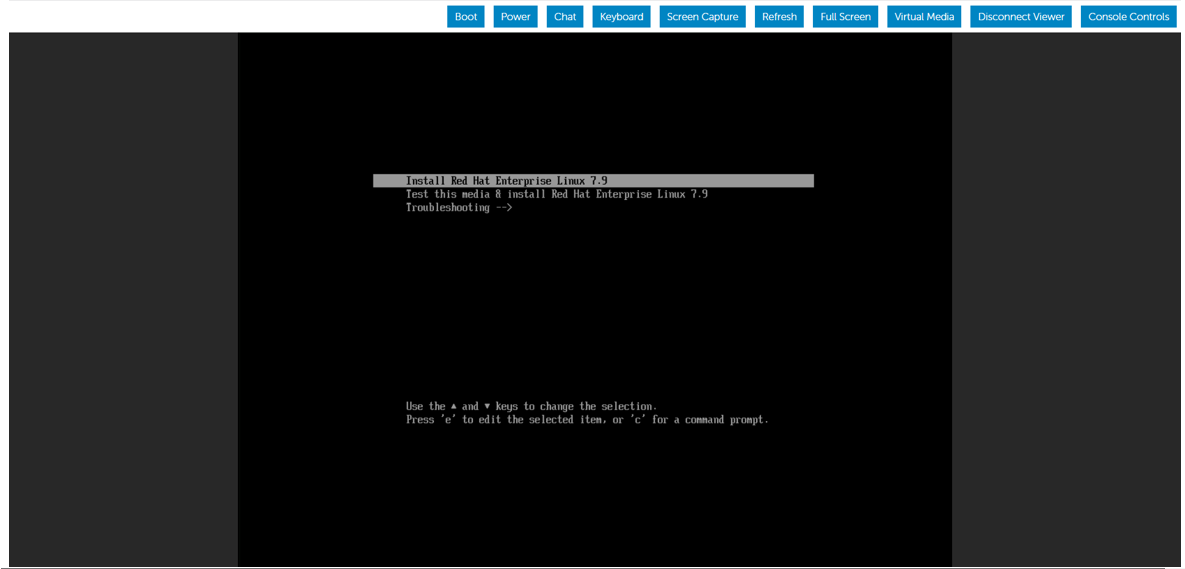
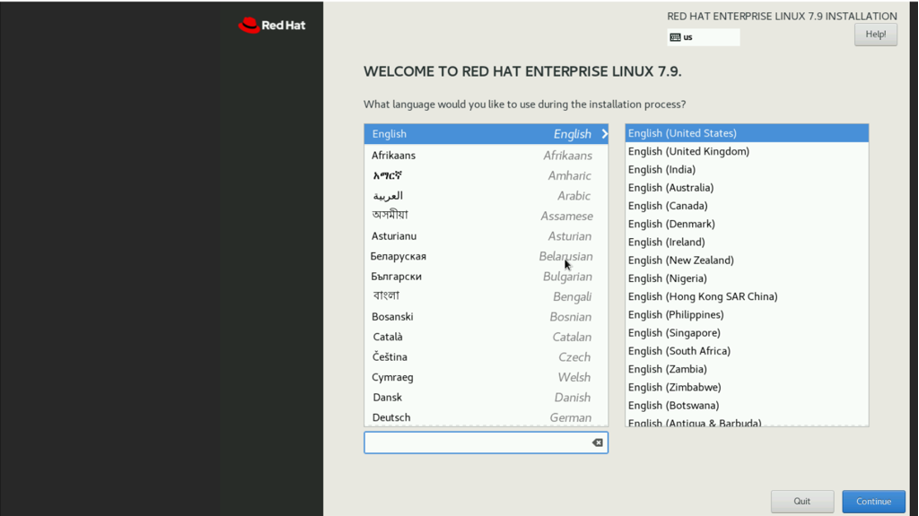
Quando a seleção de instalação do sistema operacional apareceu, optamos por iniciar a instalação escolhendo Instalar o Red Hat Enterprise Linux.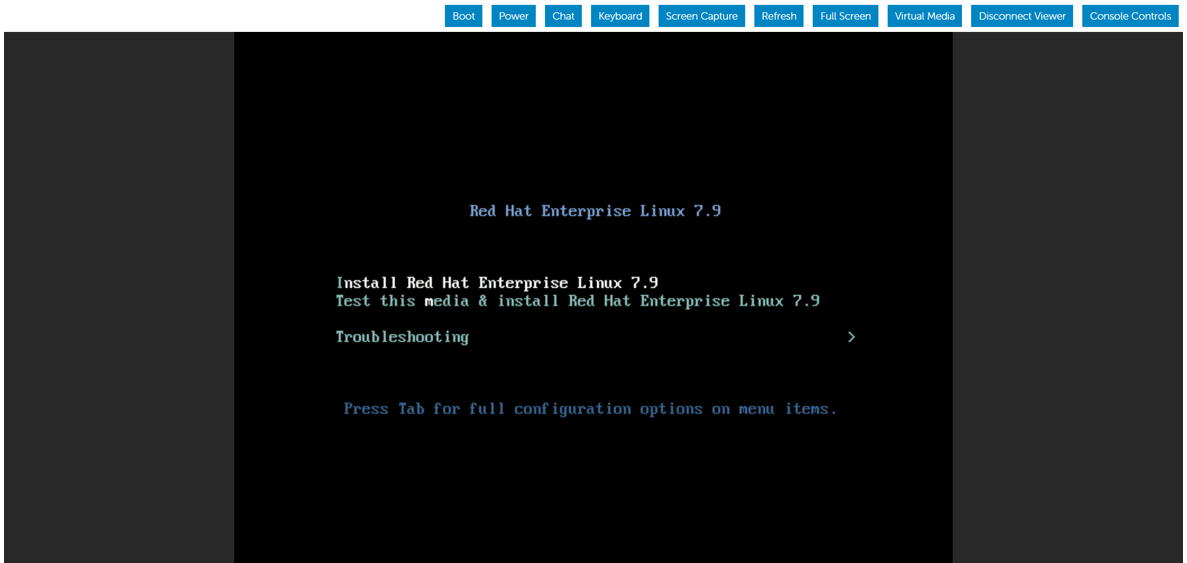
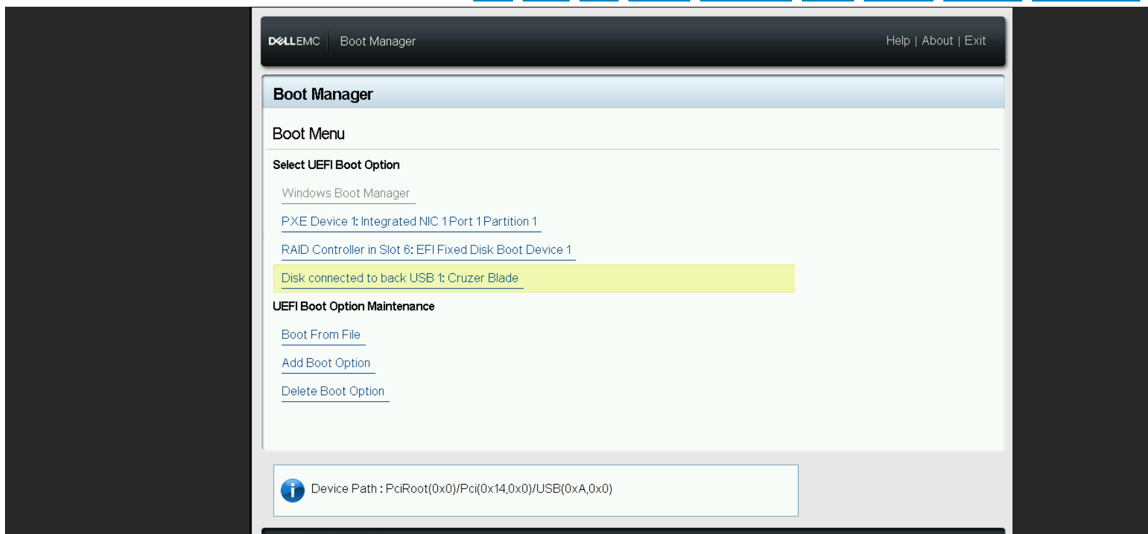
Para fins de demonstração, alteramos o BIOS do BIOS para o modo UEFI e seguimos as etapas para instalação do sistema operacional usando a mesma mídia USB inicializável.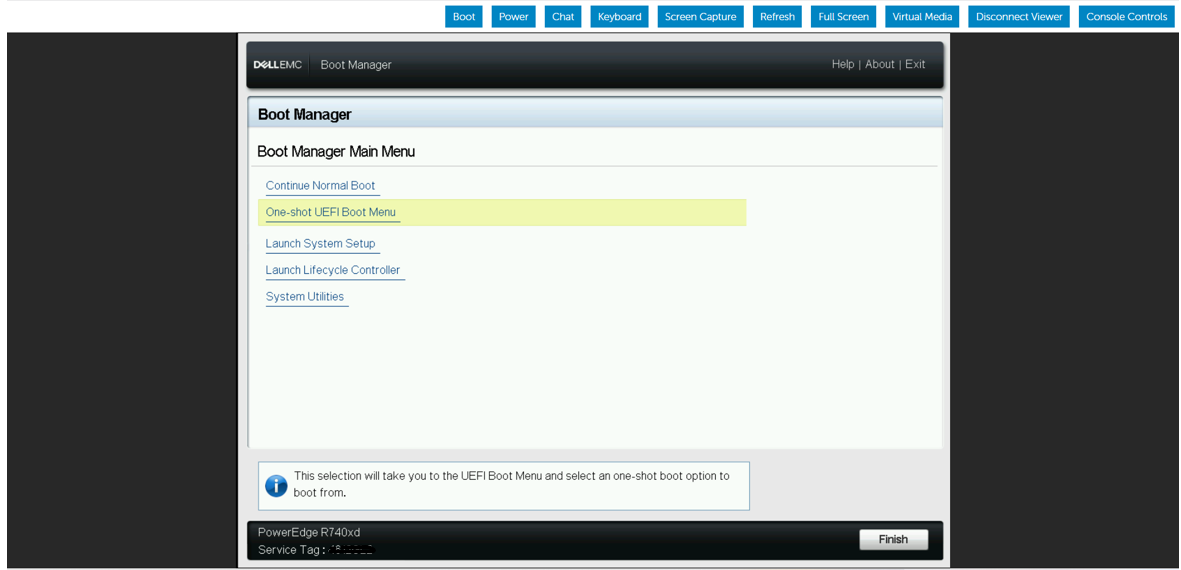
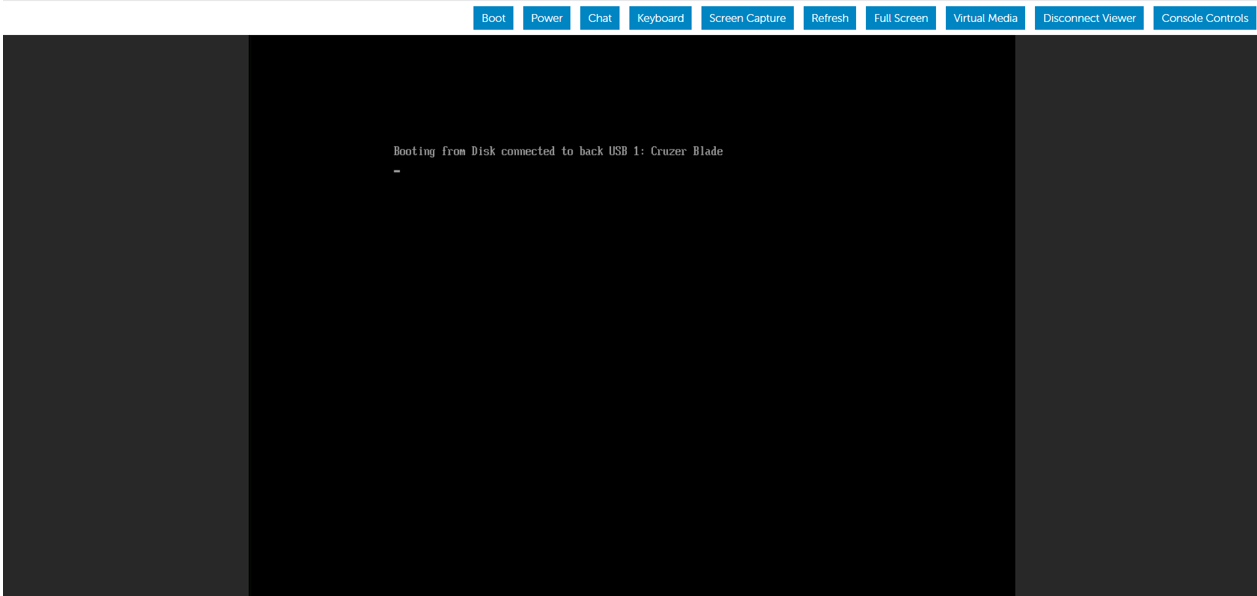
Em seguida, desconectamos o dispositivo USB inicializável da porta USB frontal e o inserimos na porta USB traseira do servidor PowerEdge. Em seguida, reinicializamos o servidor para iniciar a instalação do sistema operacional a partir do dispositivo USB traseiro.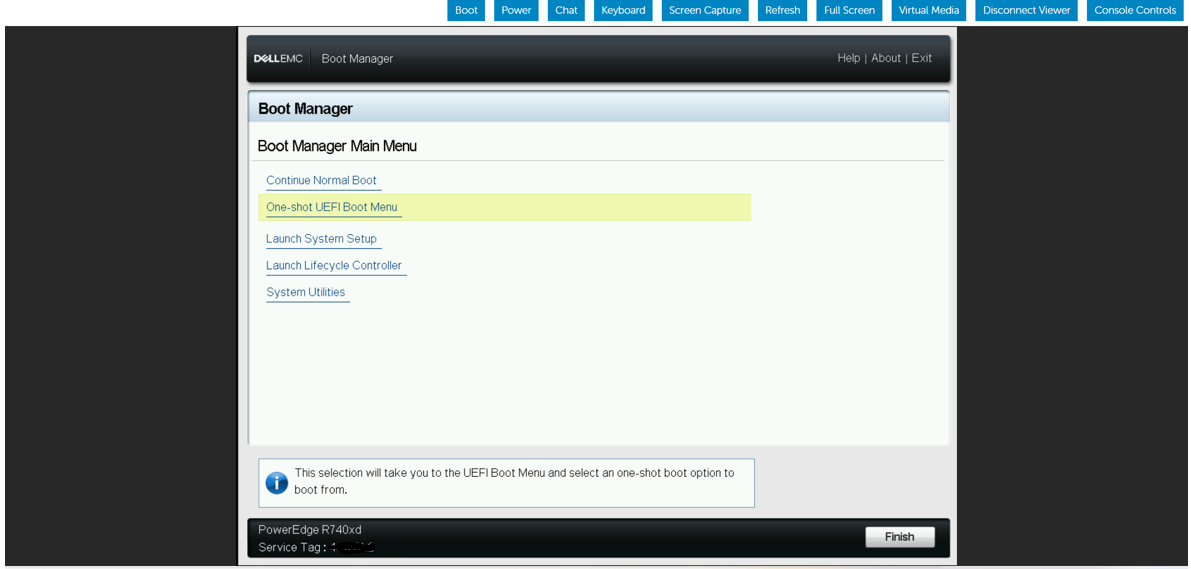

Affected Products
HS Series, Rack Servers, Tower Servers, XE Servers, PowerEdge XR2, PowerEdge C4130, Poweredge C4140, PowerEdge c6320, PowerEdge c6320p, PowerEdge C6420, PowerEdge C6520, PowerEdge C6525, PowerEdge C6615, PowerEdge C6620, Poweredge FC430
, Poweredge FC630, PowerEdge FC640, Poweredge FC830, PowerEdge FM120x4 (for PE FX2/FX2s), PowerEdge M630, PowerEdge M630 (for PE VRTX), PowerEdge M640, PowerEdge M640 (for PE VRTX), PowerEdge M830, PowerEdge M830 (for PE VRTX), PowerEdge MX740C, PowerEdge MX750c, PowerEdge MX760c, PowerEdge MX840C, PowerEdge XR11, PowerEdge XR12, PowerEdge XR5610, PowerEdge XR7620, Red Hat Enterprise Linux Version 7, Red Hat Enterprise Linux Version 9, Red Hat Enterprise Linux Version 8
...
Products
Operating Systems, Microsoft Windows Server 2016, Microsoft Windows Server 2019, Microsoft Windows Server 2022, Microsoft Windows 2012 Server, Microsoft Windows 2012 Server R2, SUSE Linux Enterprise Server 12, SUSE Linux Enterprise Server 15
, Ubuntu Server LTS
...
Article Properties
Article Number: 000215276
Article Type: How To
Last Modified: 18 Dec 2024
Version: 4
Find answers to your questions from other Dell users
Support Services
Check if your device is covered by Support Services.