Data Protection Central 19.8 and later: Re-create Lockbox
Summary: This article discusses re-creating the Lockbox on Data Protection Central (DPC) 19.8 and later. This process is not covered in the DPC Administrator Guide.
This article applies to
This article does not apply to
This article is not tied to any specific product.
Not all product versions are identified in this article.
Instructions
Use the following procedure to re-create the lockbox on DPC 19.8 and later:
-
Download the attached .zip file
dpc_recreatelockbox_pkb.zip, from this article. (The attached file is available only in the English version of this article)- Place the .zip file on the DPC server, in the
/var/tmpdirectory. - Extract this file with the following command:
unzip dpc_recreatelockbox_pbk.zip
- This puts a file called
dpc_recreatelockbox_pbk.shin that directory. Add the permission to that file with the following command:chmod +x dpc_recreatelockbox_pbk.sh
- Place the .zip file on the DPC server, in the
-
When you run the
dpc-recraeatelockbox_pbk.shscript, it asks you for the DPC UI password. Input the current DPC UI password, or the Integrated Data Protection Appliance common password- This is the new password for
administartor@dpc.local, andkcadminusers, and the new lockbox password.
- This is the new password for
-
If this is DPC versions 19.9 or 19.10, or Integrated Data Protection Appliance versions 2.7.6, set the
JAVA_HOMEto the correct setting.- Check the
JAVA_HOMEpath with the following command:echo $JAVA_HOME
/usr/lib64/jvm/jre-11-openjdkis the expected output. If the output is,/usr/lib64/jvm/jre-openjdkthen set theJAVA_HOMEvariable.- Check the
/etc/environmentfile to see if the following line is there. If it is, then source the file, if it is not then add it to the file, then source it.JAVA_HOME=/usr/lib64/jvm/jre-11-openjdk
- Source the file with the following command:
source /etc/environment
- Check the
-
When this script is running, you may see the following warnings or errors. These are expected and can be ignored:
rm: cannot remove '/data01/docker/volumes/keycloak-postgres-db/_data/.com.rsa.cryptoj.fips140.katstatus.properties': No such file or directory

WARNING: An illegal reflective access operation has occurred
WARNING: Illegal reflective access by com.rsa.cryptoj.o.lc$3 (file:/usr/local/dpc/lib/iam/lib/cryptojcommon-6.2.5.jar) to method sun.security.internal.spec.TlsKeyMaterialParameterSpec.getMasterSecret()
WARNING: Please consider reporting this to the maintainers of com.rsa.cryptoj.o.lc$3
WARNING: Use --illegal-access=warn to enable warnings of further illegal reflective access operations
WARNING: All illegal access operations will be denied in a future release
-
As the root user, run the script from the
/var/tmpdirectory with the following command:./dpc_recreatelockbox_pbk.sh
-
Once the script finishes, there are required steps that you have to run in the DPC UI.
- Log in to the DPC UI with
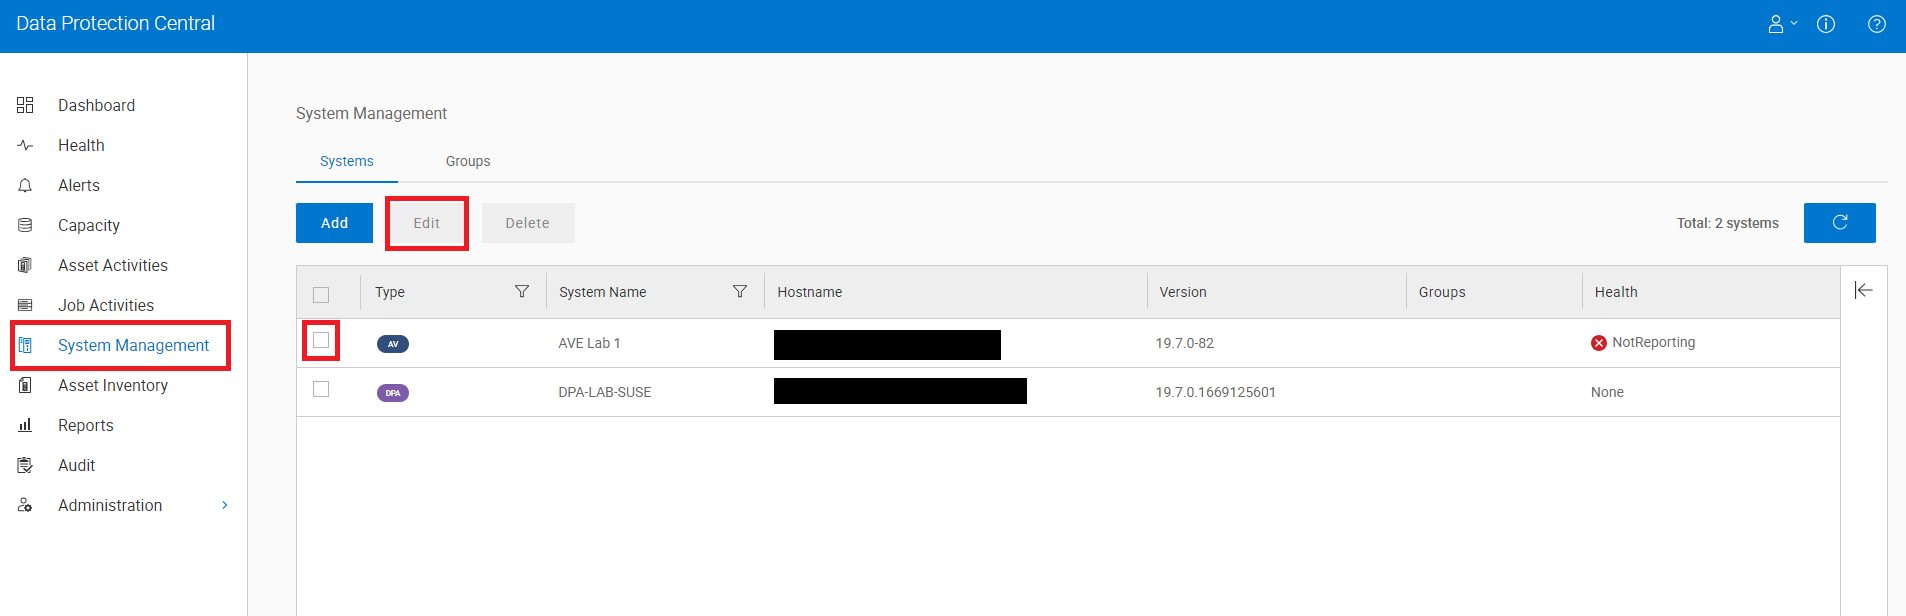
administrator@dpc.localuser and the new password you put in. - Go to the System Management tab and for each system in this tab, click the checkbox net to it and then click Edit.
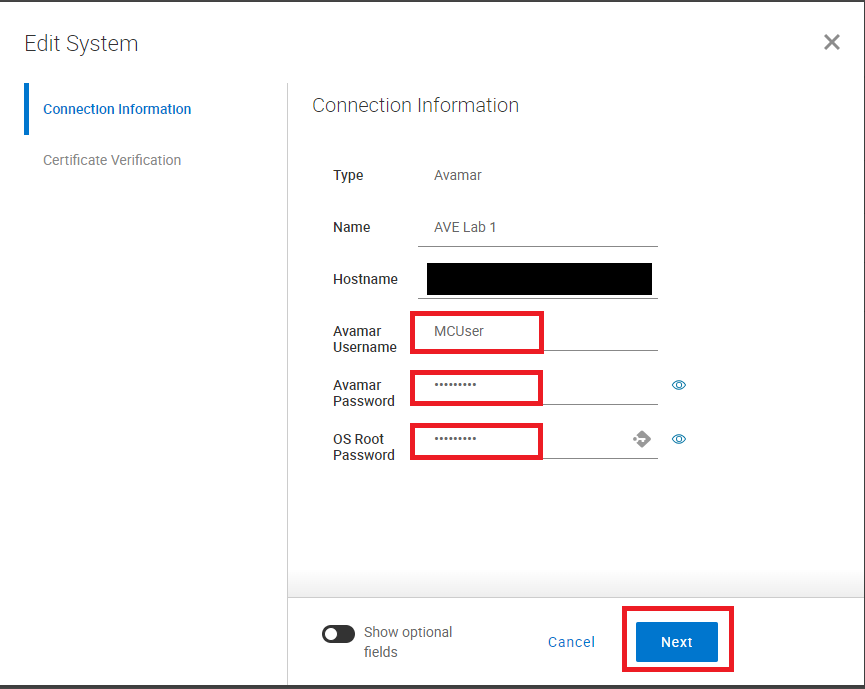
- Input the username and password. Confirm the password and then click the NEXT button.
- On the next screen, click the SAVE button.
- In the DPC UI, go to Administration > Identity Sources, and edit the LDAP/AD username and password. Click Save.
- Log in to the DPC UI with
Article Properties
Article Number: 000222720
Article Type: How To
Last Modified: 27 Aug 2025
Version: 9
Find answers to your questions from other Dell users
Support Services
Check if your device is covered by Support Services.