How to Install and Register Secure Connect Gateway (SCG) on Windows Server
Summary: This article clarifies all the requirements and steps necessary for installing and registering Secure Connect Gateway on Windows Server.
This article applies to
This article does not apply to
This article is not tied to any specific product.
Not all product versions are identified in this article.
Instructions
Caution: Before installation, ensure that the minimum requirements, which vary by the number of devices and Secure Connect Gateway features. Also, note the minimum network requirements. For more information, go to this link for documentation.
Go to this link and sign in with your enterprise purchase.
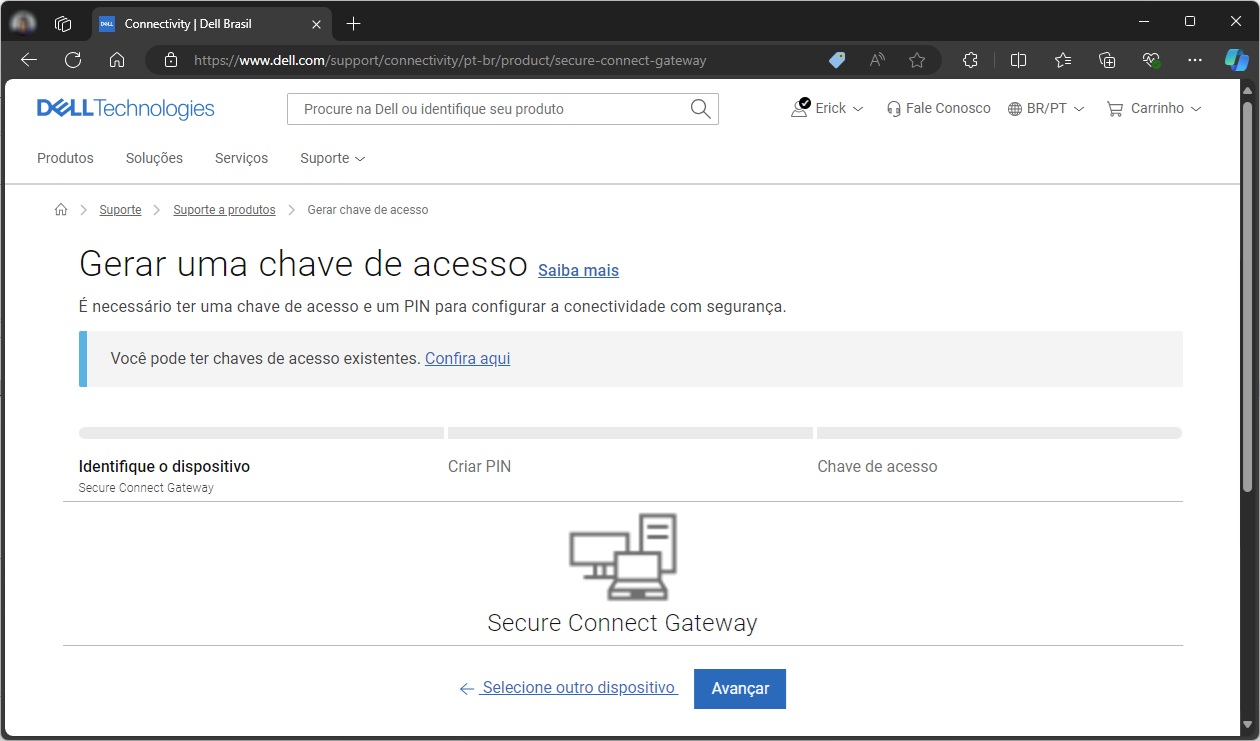
Ensure that the selected device is Secure Connect Gateway and then select the Next button.
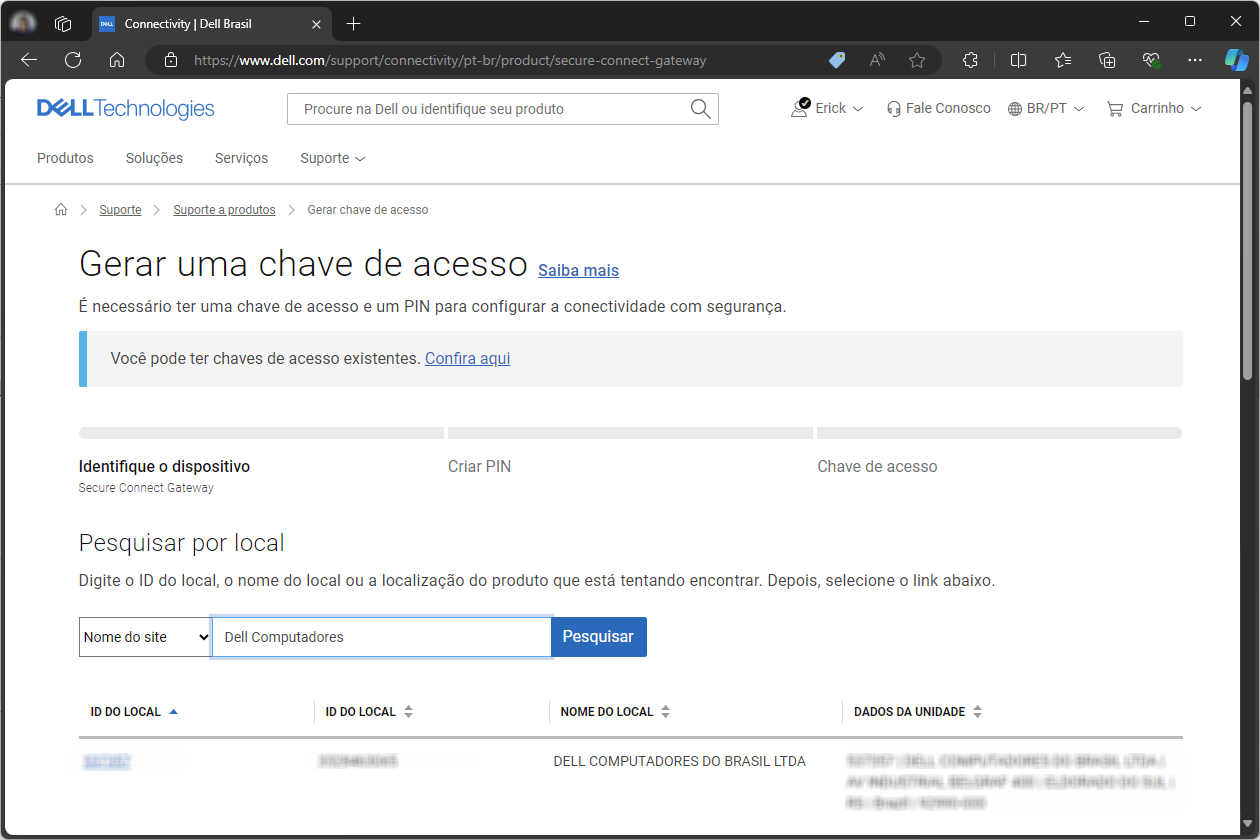
Enter your Site ID or Name and select the Search button.
Then select a Site ID to continue.
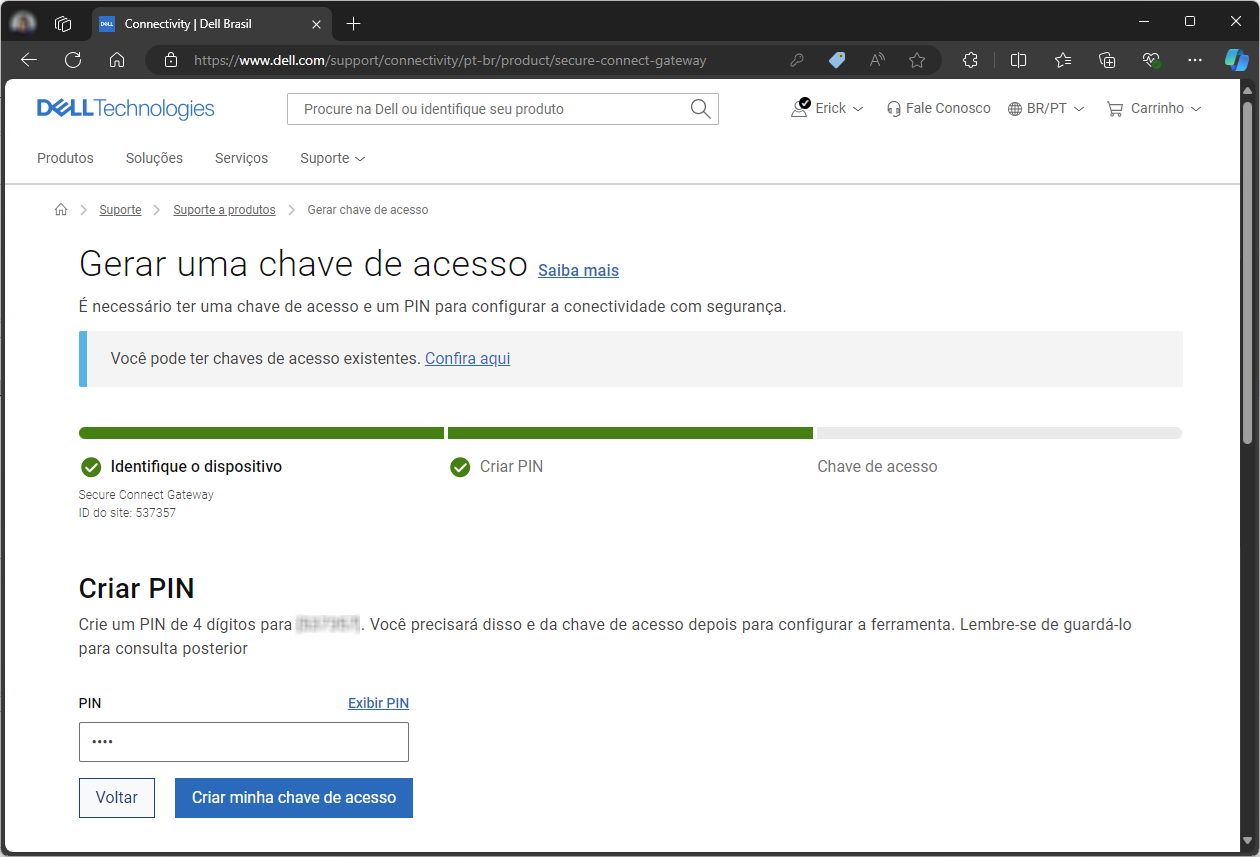
Choose a 4-digit PIN and select the "Create my access key" button.
PIN created successfully!
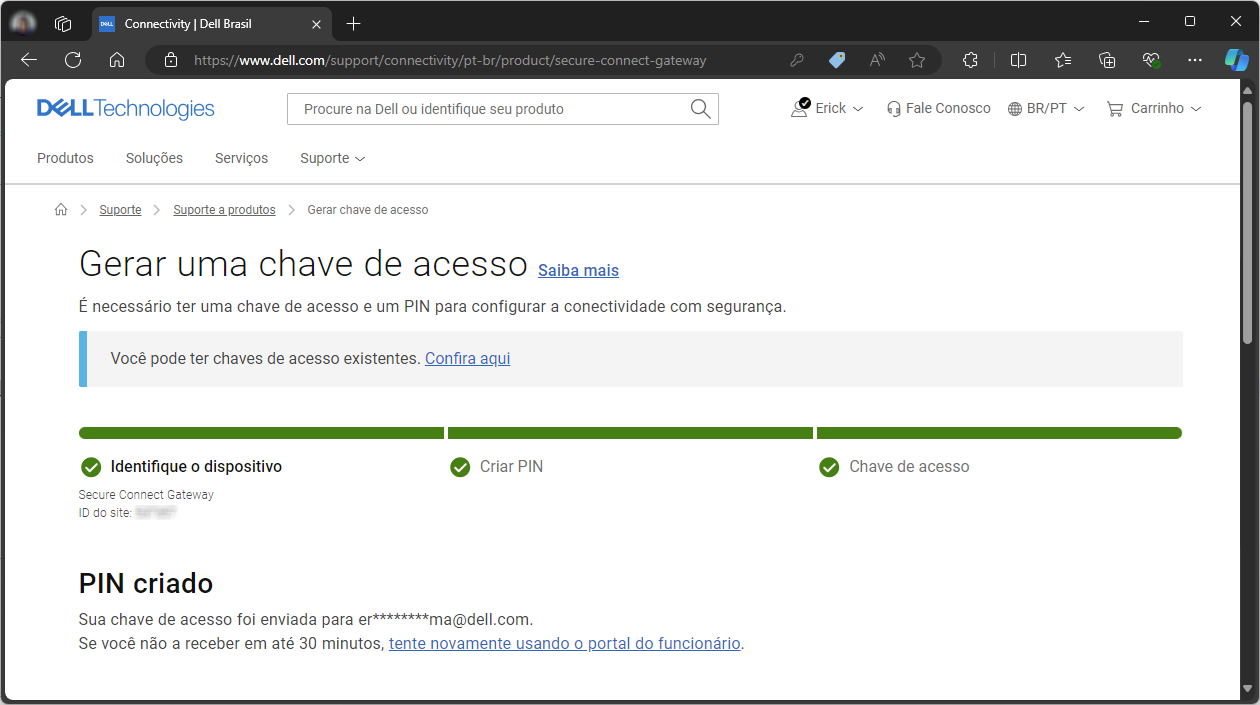
That is it, now have your Access Key and PIN, both of which are required for Secure Connect Gateway registration.

Ensure that the selected device is Secure Connect Gateway and then select the Next button.
NOTE: If you do not have a business account or have any questions, check out this article.
Enter your Site ID or Name and select the Search button.
Then select a Site ID to continue.
Choose a 4-digit PIN and select the "Create my access key" button.
NOTE: Write down and save the chosen PIN.
PIN created successfully!
NOTE: The access key is forwarded to the account email.
That is it, now have your Access Key and PIN, both of which are required for Secure Connect Gateway registration.
NOTE: In the email, note the Access Key value and the key expiration date.
Go to this link and bookmark the latest available version of Secure Connect Gateway.
In the list of downloads, locate the Windows app and select the Download button.

In the list of downloads, locate the Windows app and select the Download button.
Once the Secure Connect Gateway download is complete, run the downloaded file.
Wait for the setup to open and load, then select the Next button.

Check the "I Agree" box and select the Next button.

Confirm that it presents port 162 available, check the "I want…" and select the Next button.

Check the "IPv4" option and select the Install button.

A message is presented stating that the protocol switch cannot be done without reinstalling Secure Connect Gateway.
Select Ok and select the Install button again.

Wait for the installation to complete.

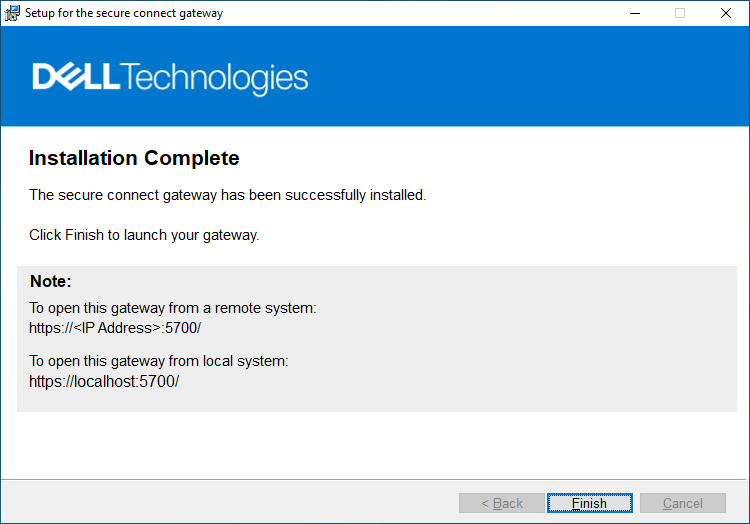
Installation finished! Select the Finish button.
Wait for the setup to open and load, then select the Next button.
Check the "I Agree" box and select the Next button.
Confirm that it presents port 162 available, check the "I want…" and select the Next button.
Check the "IPv4" option and select the Install button.
A message is presented stating that the protocol switch cannot be done without reinstalling Secure Connect Gateway.
Select Ok and select the Install button again.
Wait for the installation to complete.
NOTE: This step may take several minutes.
Installation finished! Select the Finish button.
Caution: Set up the Secure Connect Gateway services before attempting the first access.
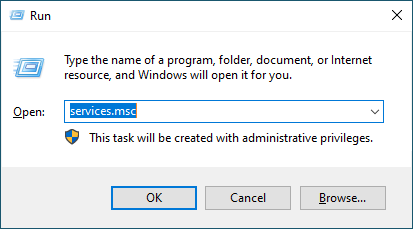
Open run and enter command: services.msc
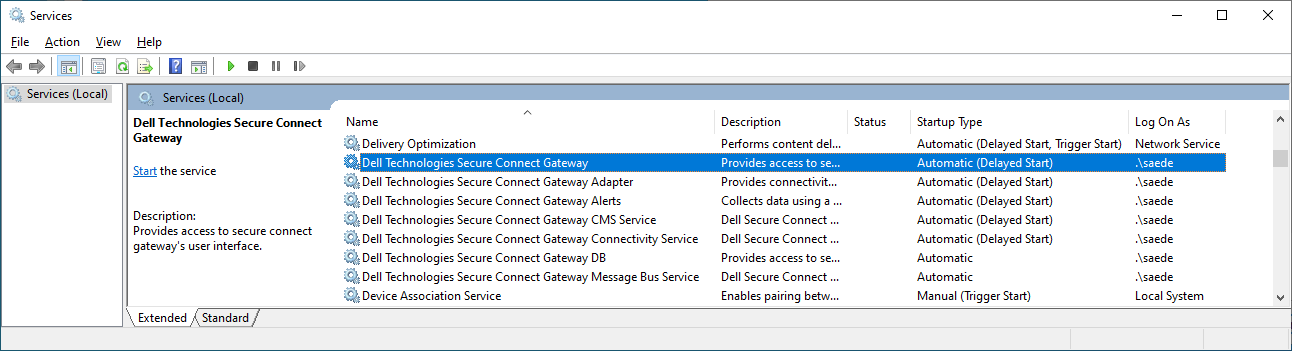
Locate the seven services whose name starts with "Dell Technologies Secure Connect Gateway."
Select the first service by double-clicking, enter the "Log On" tab and check the "Local System Account" option.
Select the "Apply" button and then the "OK" button.

Repeat the same process for all seven services.

Finally, select the "Start the service" option for all seven services.
<
Locate the seven services whose name starts with "Dell Technologies Secure Connect Gateway."
NOTE: Notice that everyone is configured with Log On As: .\saede
Select the first service by double-clicking, enter the "Log On" tab and check the "Local System Account" option.
Select the "Apply" button and then the "OK" button.
Repeat the same process for all seven services.
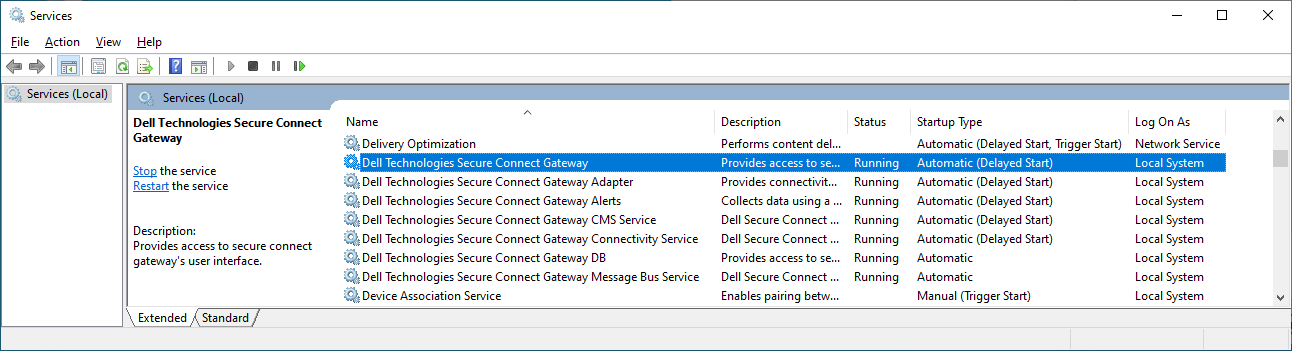
NOTE: Ensure that everyone is logged on as: Local System
Finally, select the "Start the service" option for all seven services.
NOTE: Ensure that everyone is in Status: Running
<
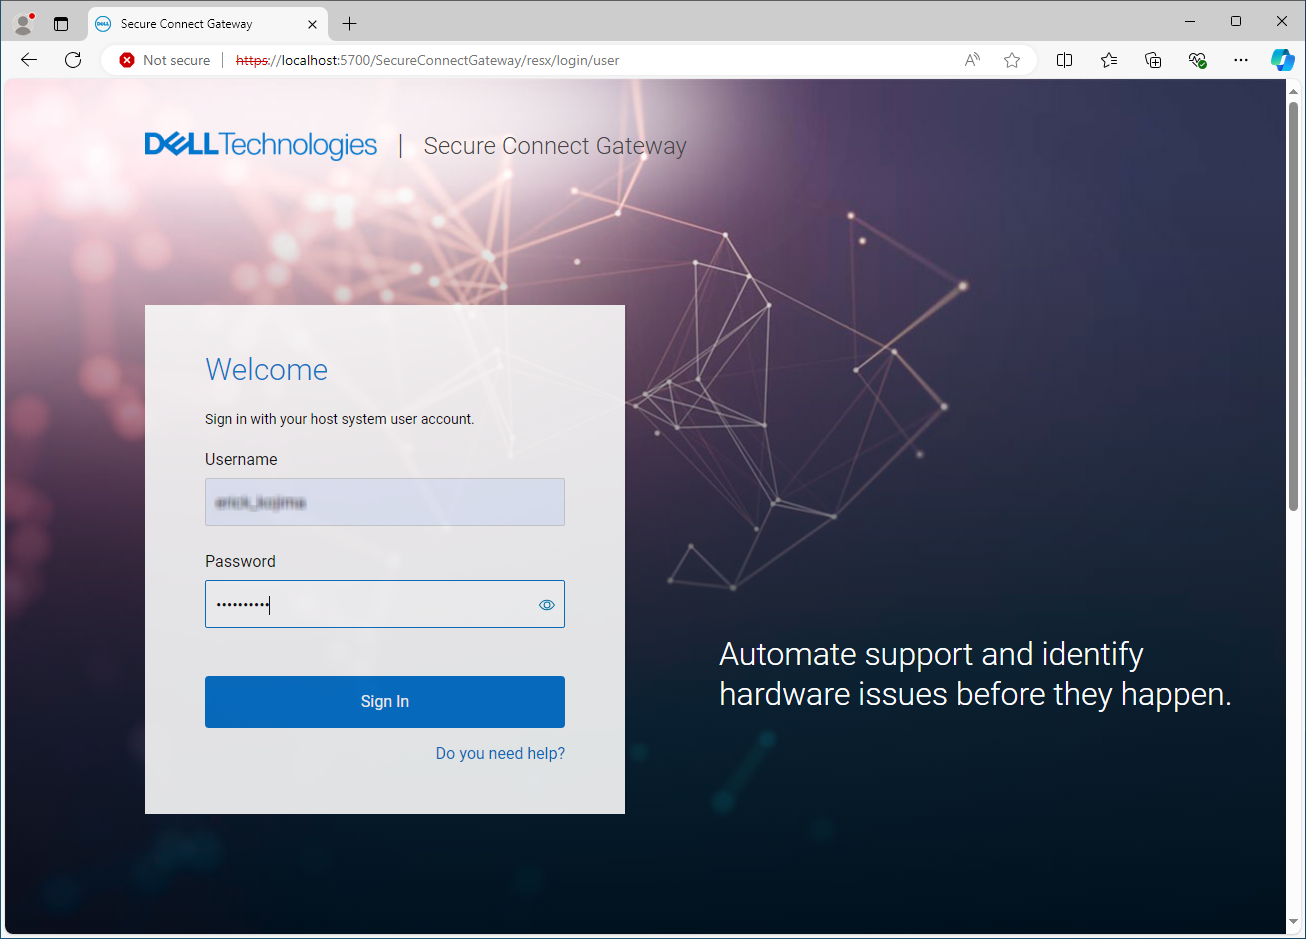
From the desktop, launch the Secure Connect Gateway icon.
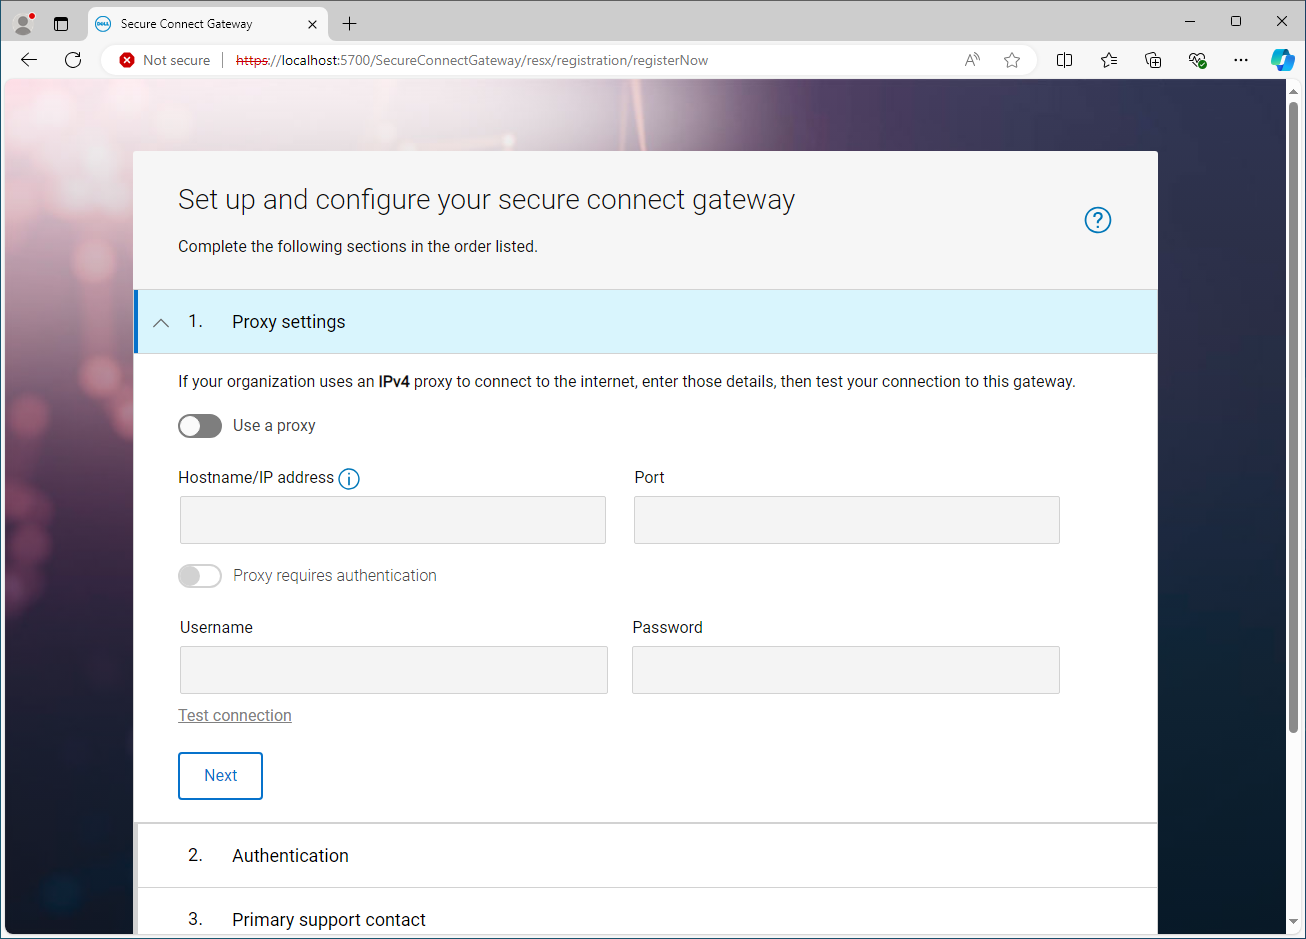
In step 1, configure the proxy, if required, and select Next.
In step two, provide the Access Key and PIN.

In step 3, update the contacts.

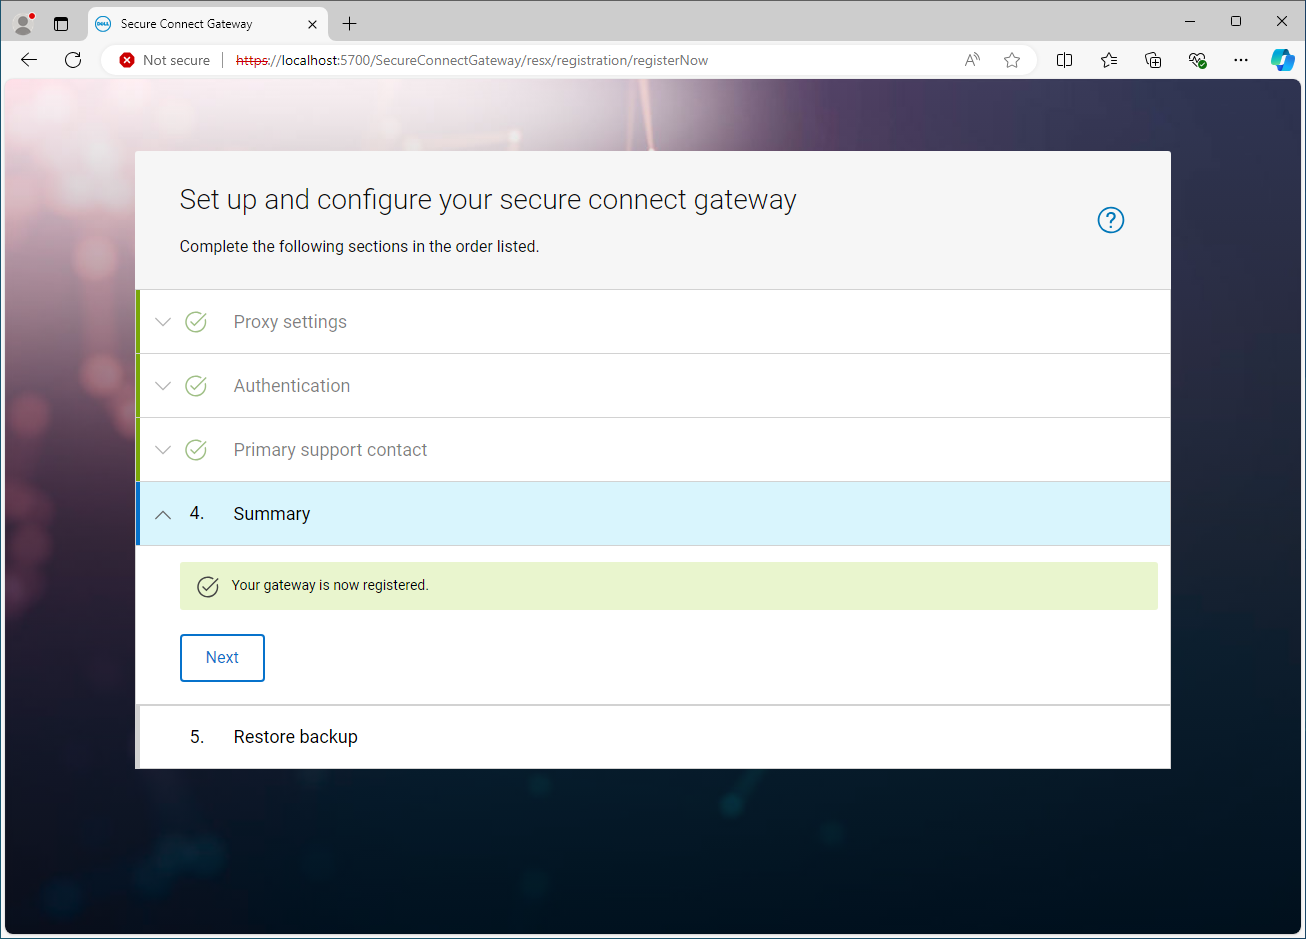
In Step 4, it should be stated that the registration is complete.
In step 5, select Skip.

Secure Connect Gateway installation is successful!

Caution: Sign in with your business account, the same used to generate the access key.
In step 1, configure the proxy, if required, and select Next.
In step two, provide the Access Key and PIN.
In step 3, update the contacts.
Caution: The telephone number and email address are the same as what Dell support use to contact you. Ensure that the number is available to receive calls and that the email inbox is monitored.
In Step 4, it should be stated that the registration is complete.
NOTE: A confirmation email is also sent.
In step 5, select Skip.
Secure Connect Gateway installation is successful!
Affected Products
Secure Connect Gateway - Application EditionArticle Properties
Article Number: 000228281
Article Type: How To
Last Modified: 05 Sep 2024
Version: 2
Find answers to your questions from other Dell users
Support Services
Check if your device is covered by Support Services.