VxRail: The VxRail EVC Design and How to Downgrade the Cluster EVC Mode Without Adjusting Default vCenter VM Hardware Version
Summary: This KB describes the VxRail cluster Enhanced vMotion Compatibility (EVC) design and how to downgrade the cluster EVC without adjusting the default vCenter Virtual Machine (VM) hardware version. ...
This article applies to
This article does not apply to
This article is not tied to any specific product.
Not all product versions are identified in this article.
Instructions
VxRail cluster EVC design
Based on the hardware model and its Central Processing Unit (CPU) model generation, VxRail has defined the following compatible EVC baseline.
For 8.0.320 and newer releases
|
Vendor |
Model |
Generation |
EVC Baseline |
|
Intel |
E560/F/N P570/F V570/F S570 G560/F P580/F/N D560/F |
14G |
Intel "Skylake" Generation |
|
E660/F/N V670F P670F/N S670 VD-4510c VD-4520c |
15G |
Intel "Ice Lake" Generation |
|
|
VE-660 |
16G |
Intel "Sapphire Rapids" Generation |
|
| AMD |
E565/F |
14G |
AMD "Zen" Generation |
|
E665/F/N |
15G |
AMD "Zen2" Generation |
|
|
VE-6615 |
16G |
AMD "Zen4" Generation |
For releases older than 8.0.320
|
Vendor |
EVC Baseline |
|
Intel |
Intel "Haswell" Generation |
|
AMD |
AMD "Zen" Generation |
Note: You cannot add a node running an older CPU mode to an existing cluster with a higher EVC mode. The node addition reports incompatible error:
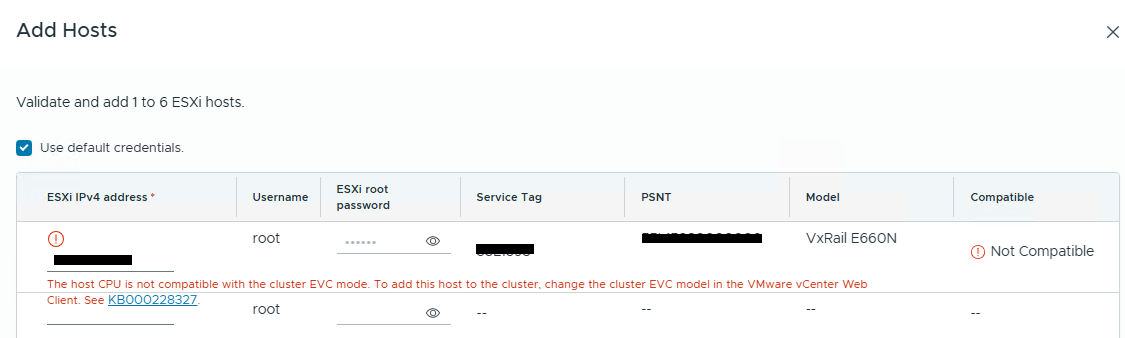
To ensure compatibility between hosts in the cluster to support smooth migrations and other operations, all hosts must present a consistent set of advanced CPU features to the virtual machines, regardless of the physical CPU model. Since the node with the older CPU lacks the advanced features required by the cluster current EVC mode, you must lower the cluster EVC mode to match the oldest CPU feature set.
Steps required to update (downgrade) the cluster EVC mode.
When lowering the cluster EVC mode, all running virtual machines must be powered off if they are operating at a higher EVC mode than the intended setting.
- Check the current cluster and VM EVC mode
- Determine the cluster EVC mode
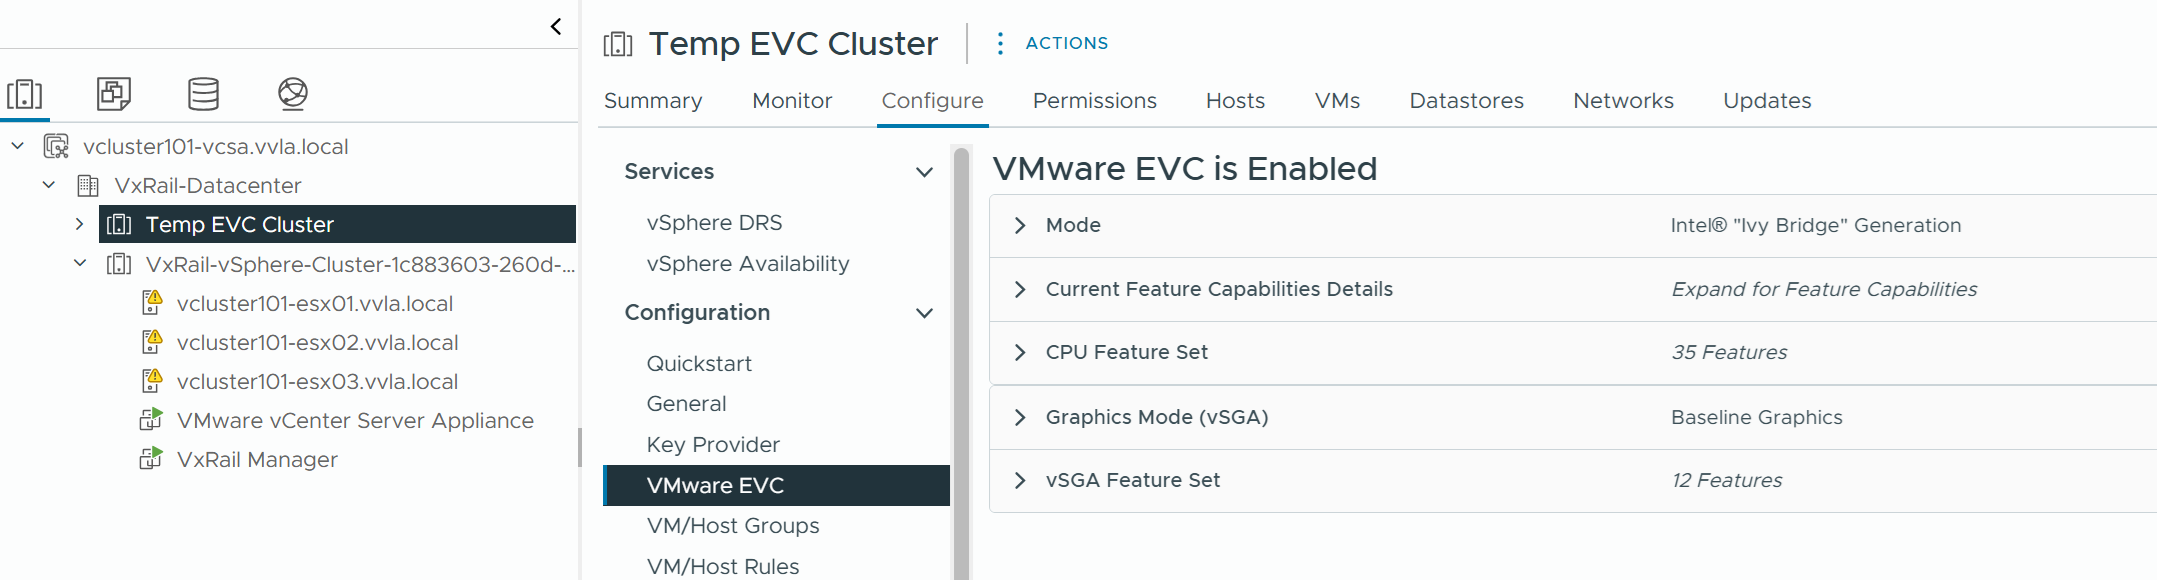
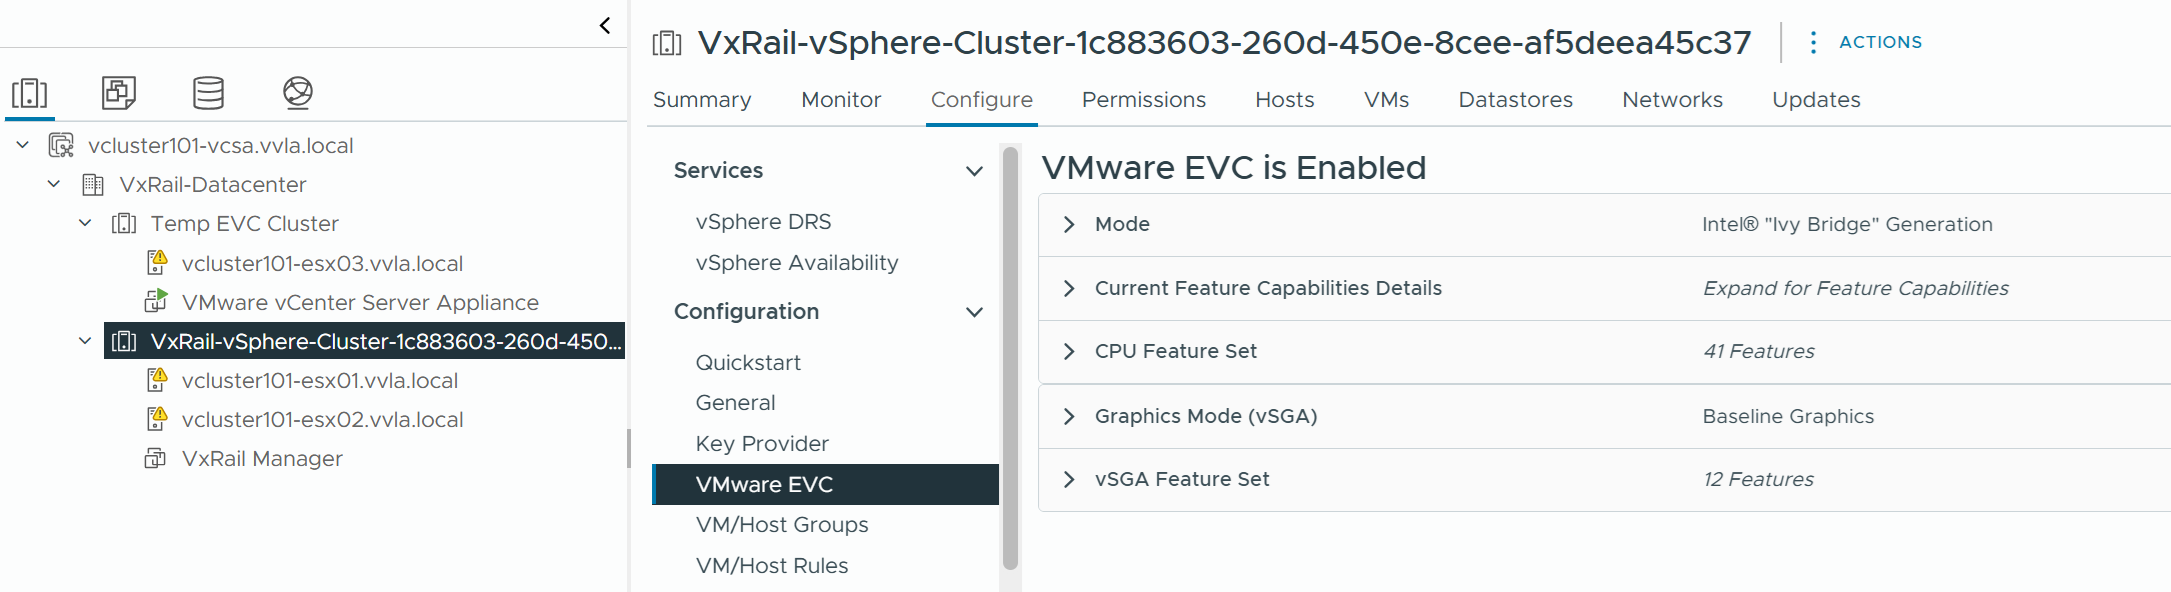
- Navigate to the cluster.
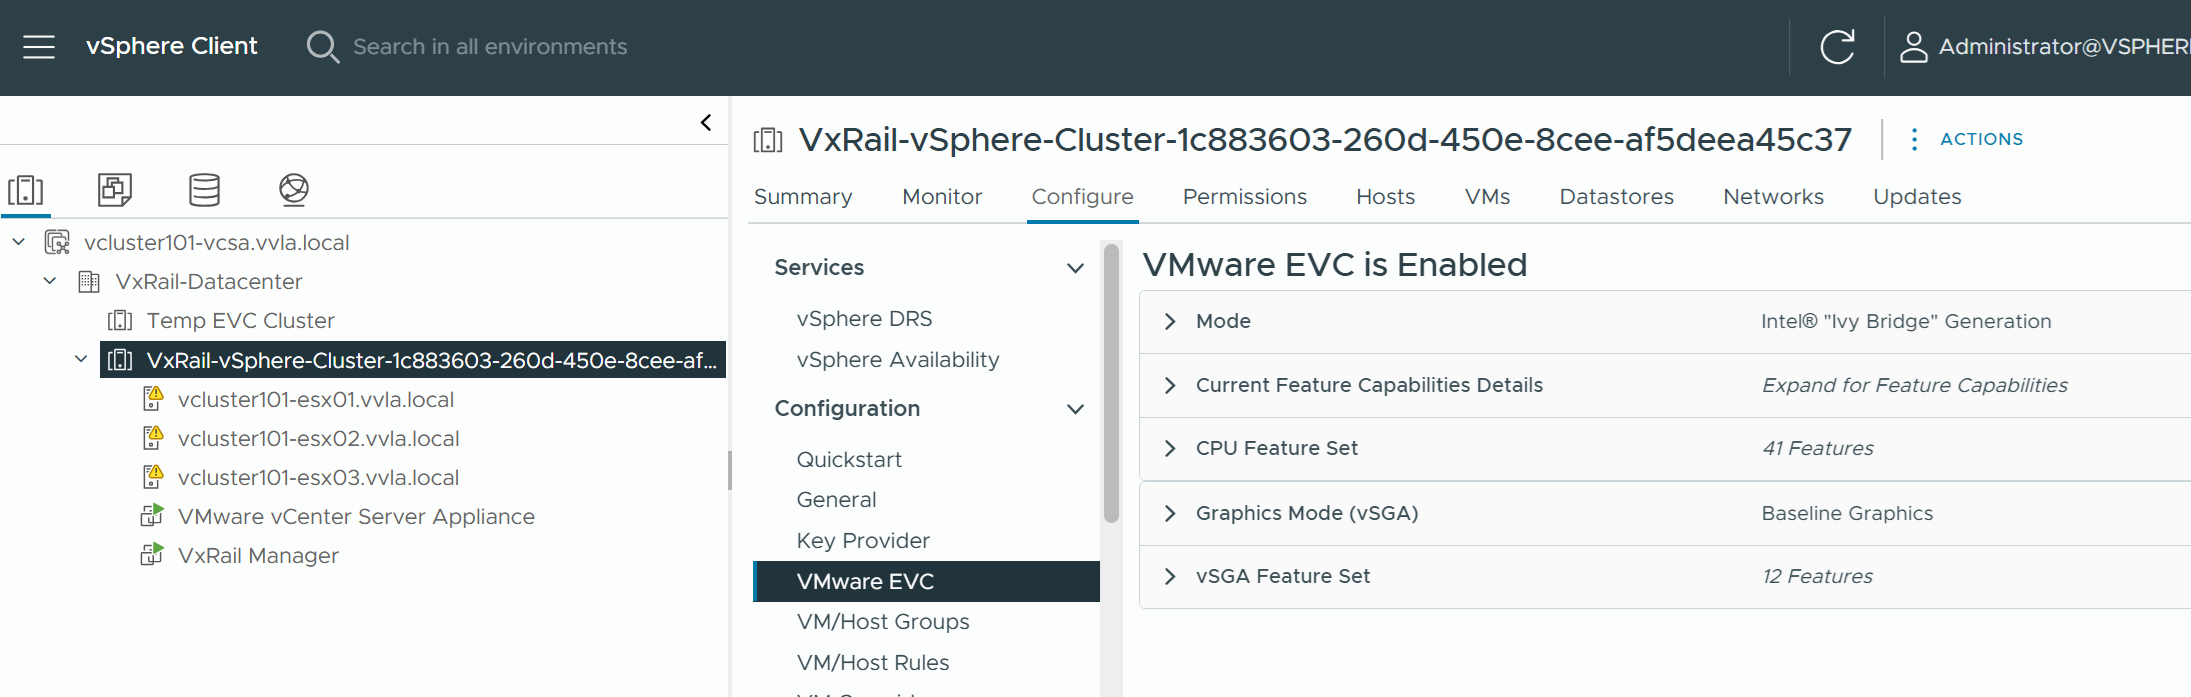
- Click the Configure tab, select VMware EVC pane under Configuration.
- If the VMware EVC is enabled, the Mode shows the current cluster EVC mode.
- Determine the VM EVC mode
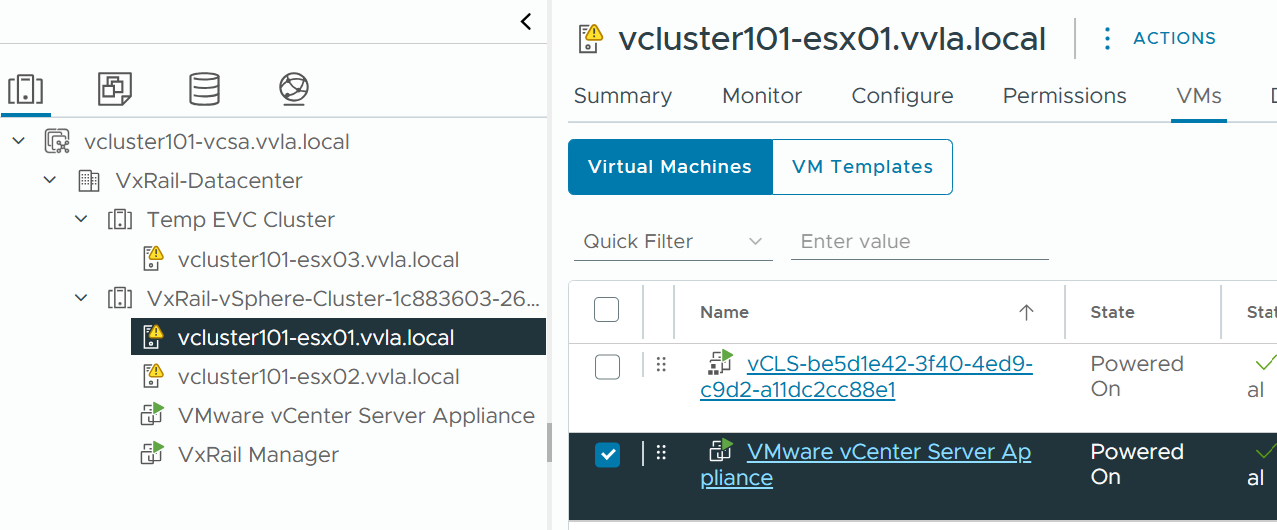
- Navigate to the cluster or to the host in the same cluster.
- Click the VMs > Virtual Machines tab. A list of virtual machines in the selected cluster or on the selected host appears.
- To verify the status of the CPU mode, check the EVC CPU Mode column.
- If the column is not visible, click Manage Columns at the bottom left corner of the Virtual Machines table. The Show Columns pop-up appears.
- To show the EVC CPU Mode column, locate and select the respective checkbox from the list.
- The EVC CPU Mode column shows the CPU modes of all virtual machines in the cluster or on the host.
- Determine the cluster EVC mode
- Lower the cluster EVC mode
Scenario 1: If the vCenter VM is NOT running in the cluster or the vCenter VM EVC mode is NOT higher than the adding node, follow the link below to lower the cluster EVC.
How to Change the vSphere EVC Mode for Your Cluster (External Link)
Scenario 2: If the vCenter VM is running in the cluster at a higher EVC mode than the node being added, you must power off the vCenter VM to lower the cluster EVC, which is not possible when the vCenter server is off. To resolve this, follow the below steps to lower the cluster EVC mode.
1. Create a new temporary cluster and configure the cluster to the target (lower) EVC mode.
For example, the original cluster EVC mode is "Broadwell".

Configure the new temporary cluster EVC mode as "Ivy Bridge".
2. If using vSAN, enable vSAN on the new cluster, and SSH to all member hosts in the original vSAN cluster, run the following command to disable vSAN unicast update.
esxcfg-advcfg -s 1 /VSAN/IgnoreClusterMemberListUpdates
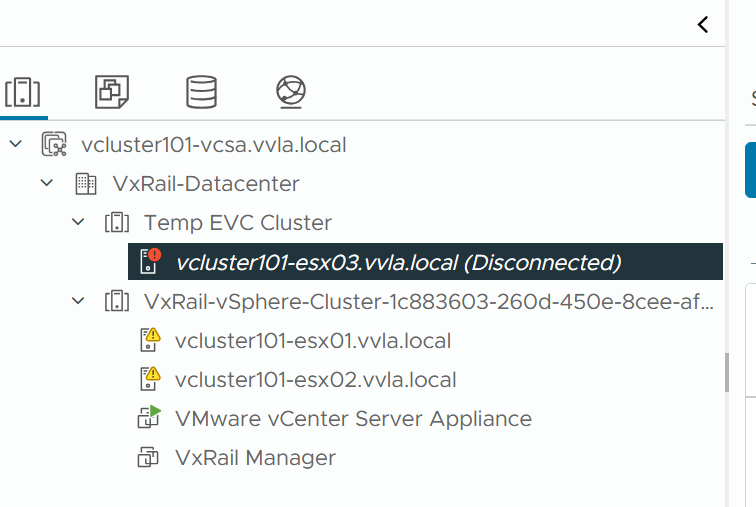
3. Choose a host in the original cluster and migrate all the virtual machines off the host and put the host into maintenance mode.

4. Drag and drop the host into the new temporary cluster and exit it from maintenance mode.

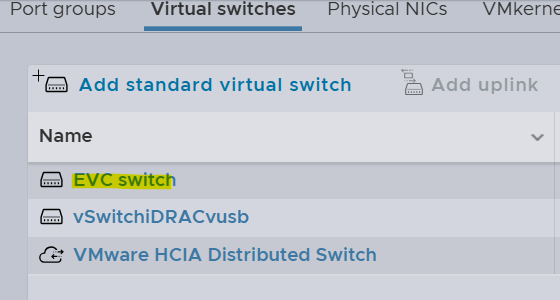
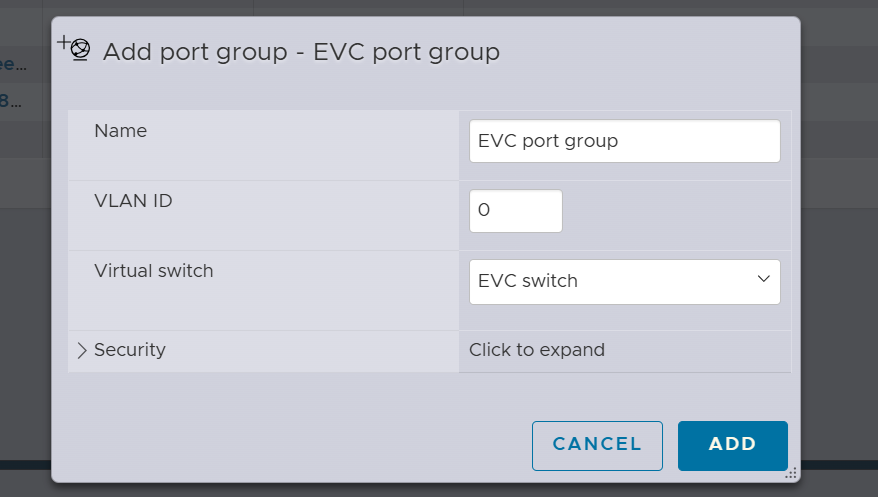
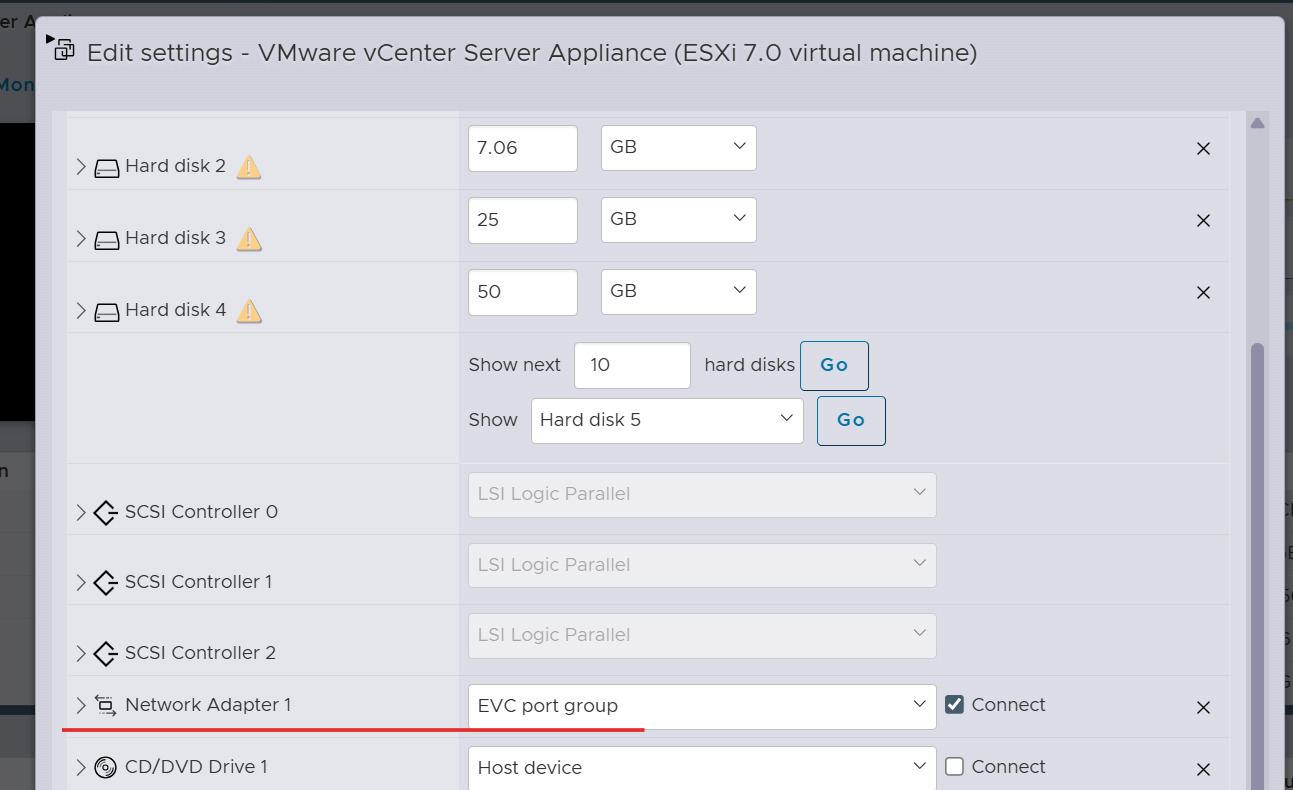
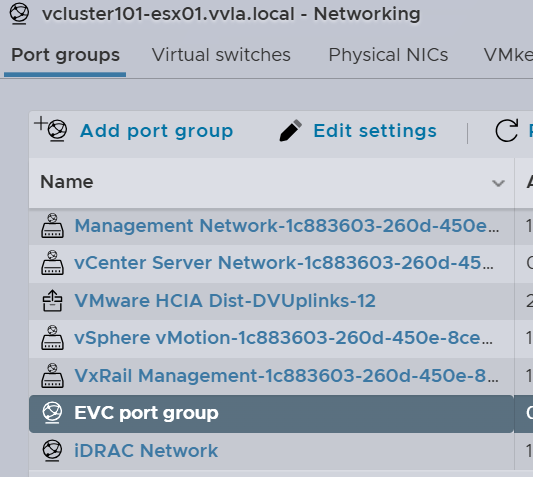
5. Create a new VSS and port group (PG) on the host.
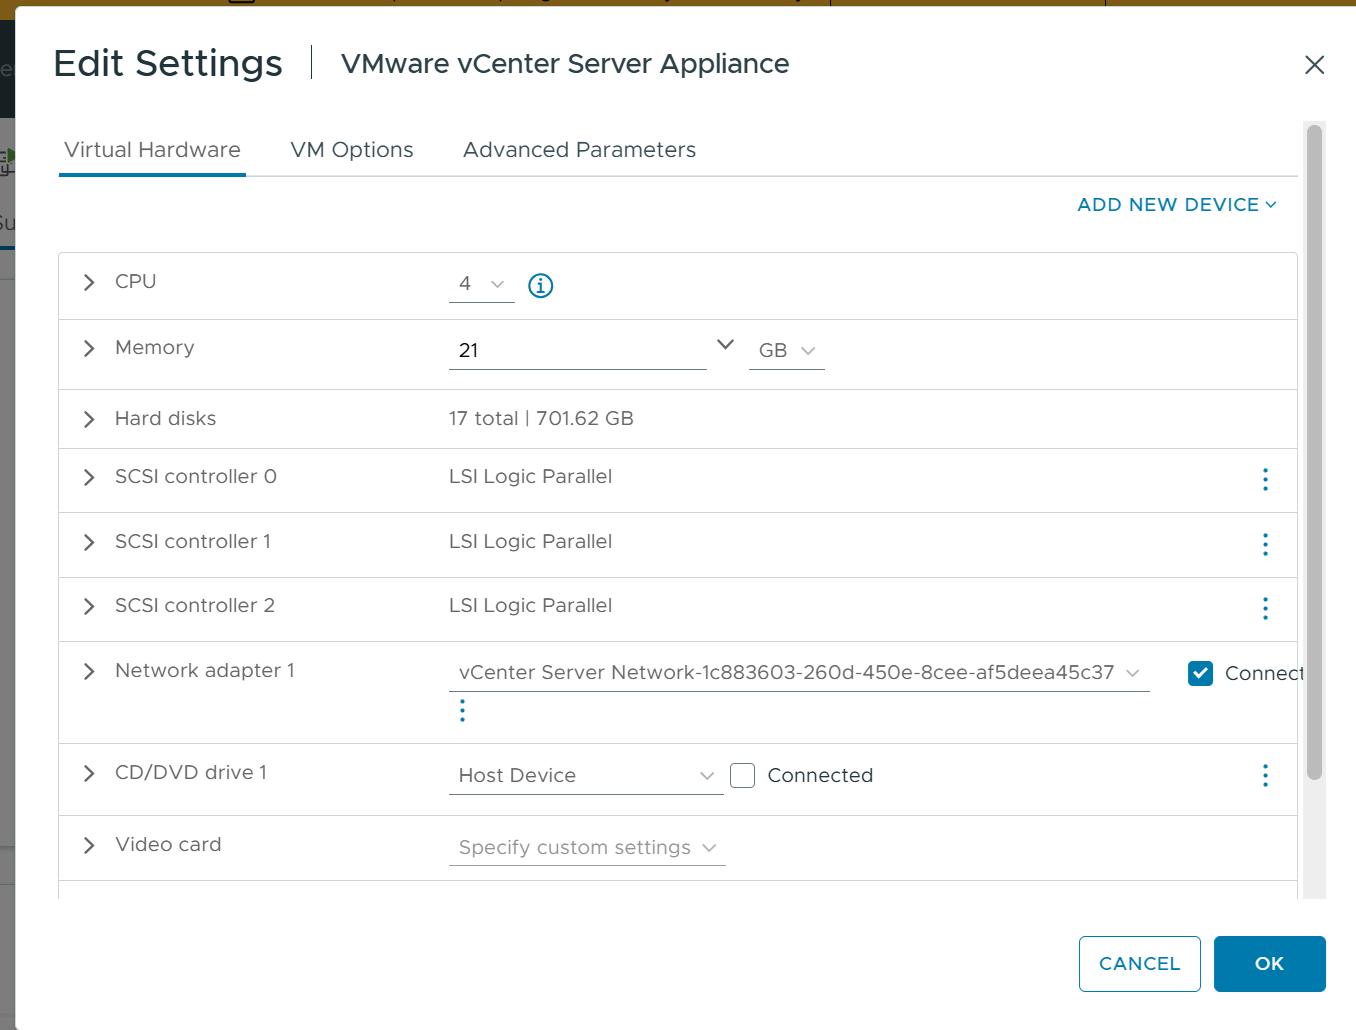
6. Take a note of the host that the vCenter virtual machine is running on, and the virtual machine configuration file (.vmx) name and location on the datastore.

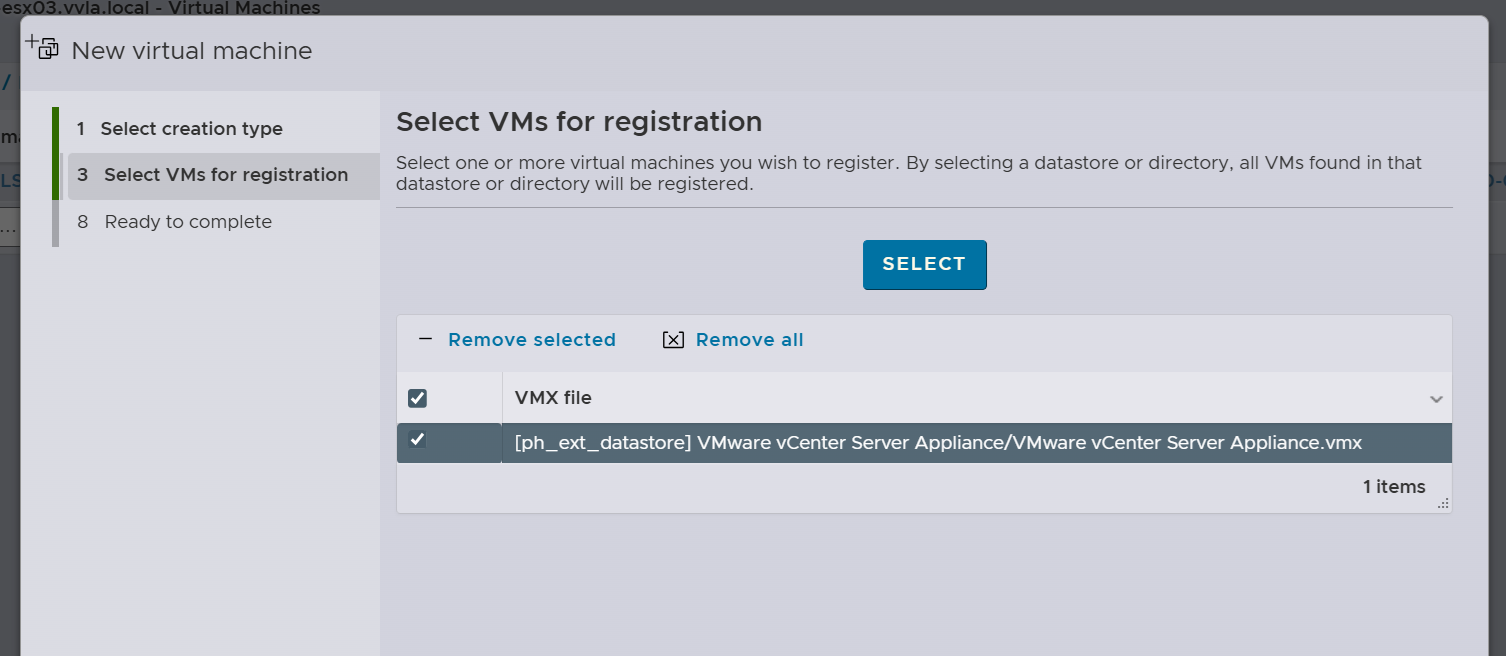
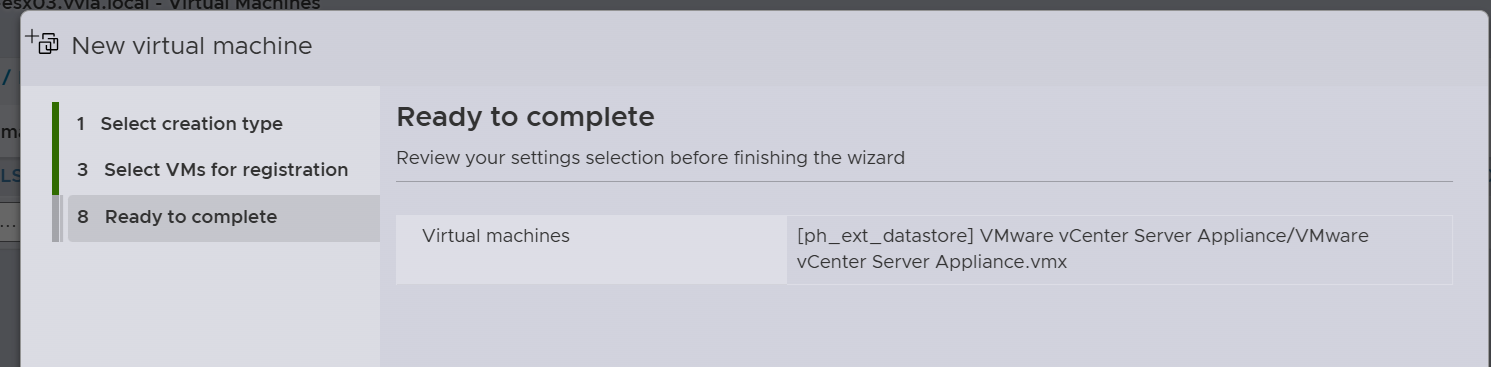
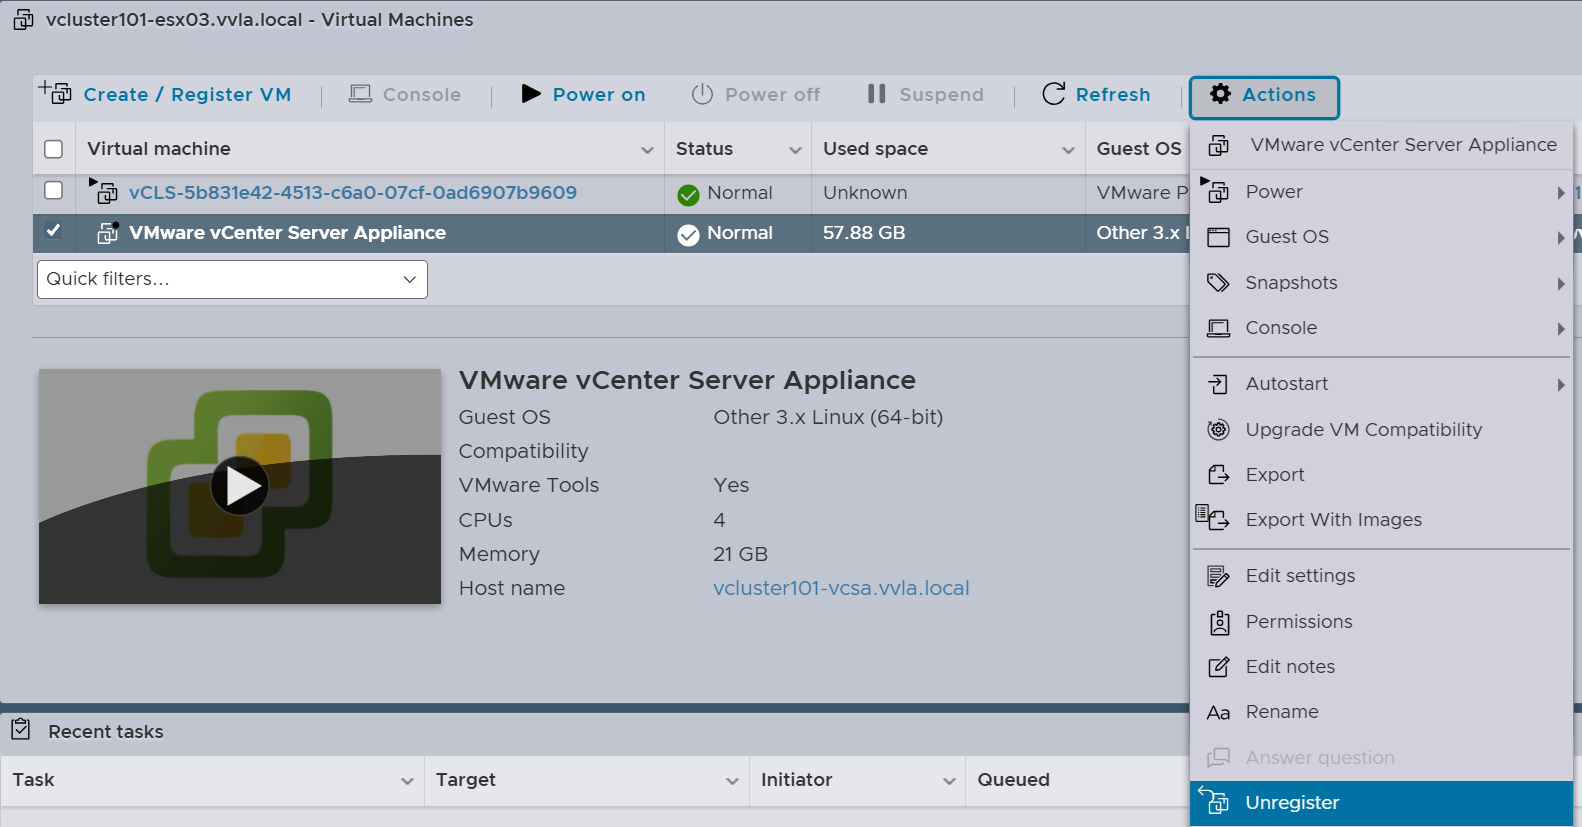
7. Power off and unregister the vCenter Server virtual machine.
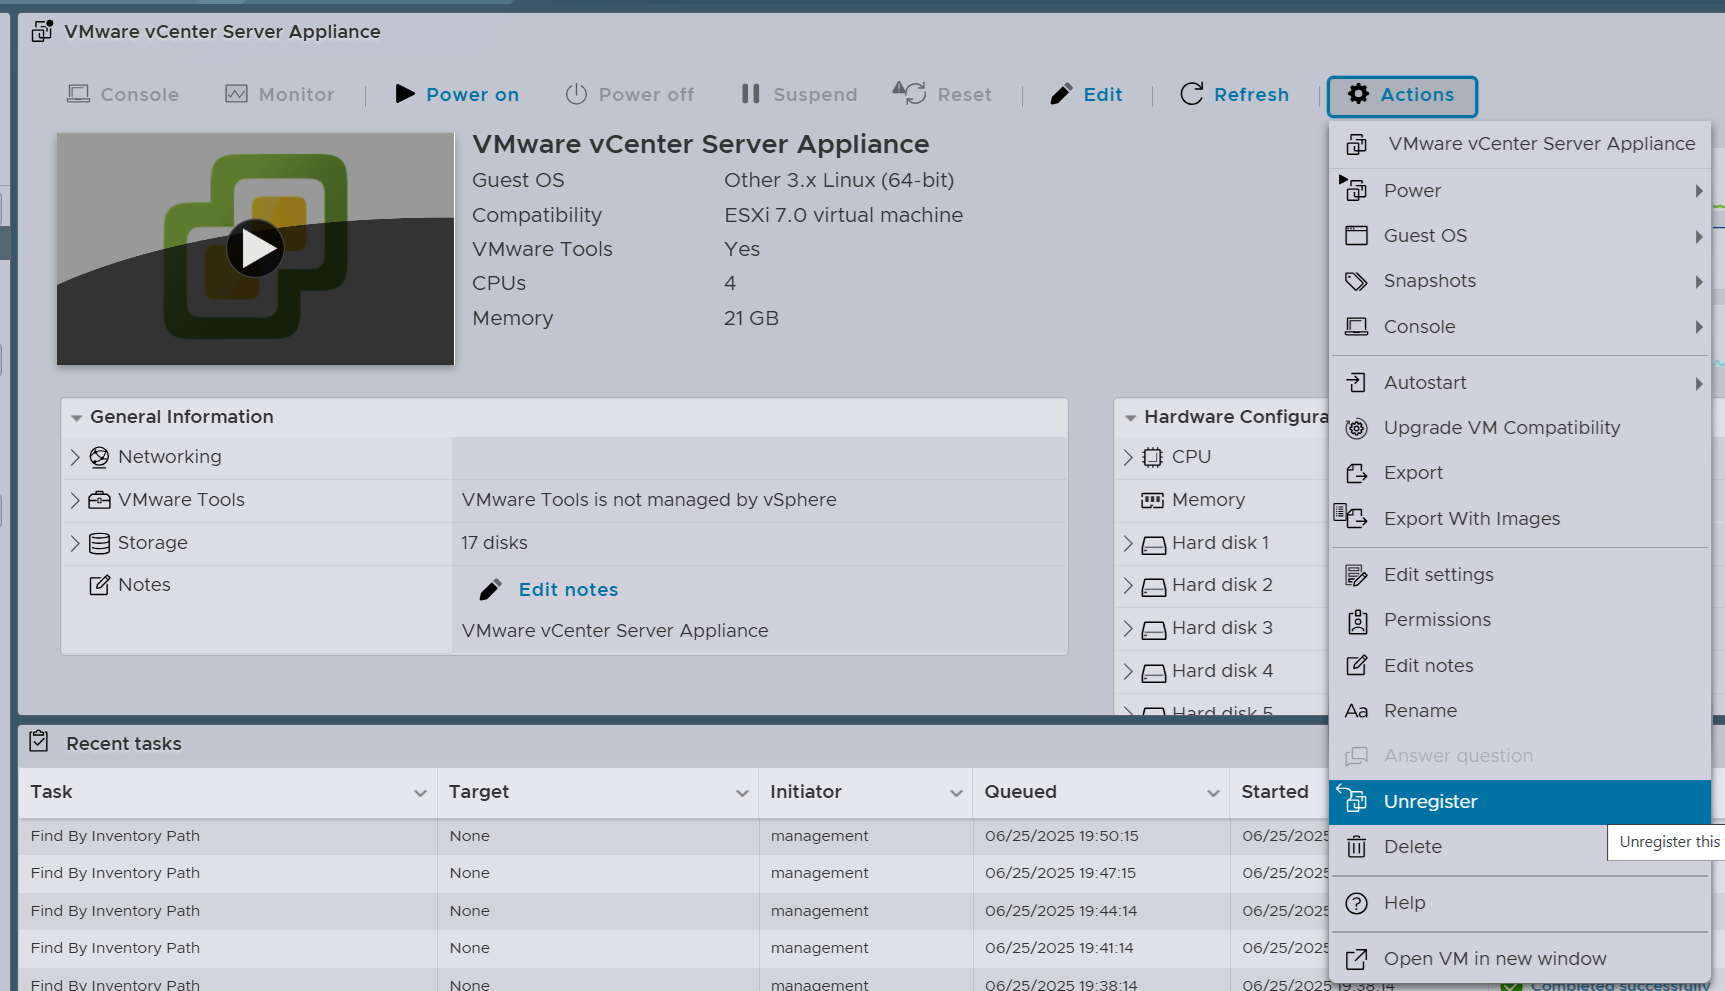
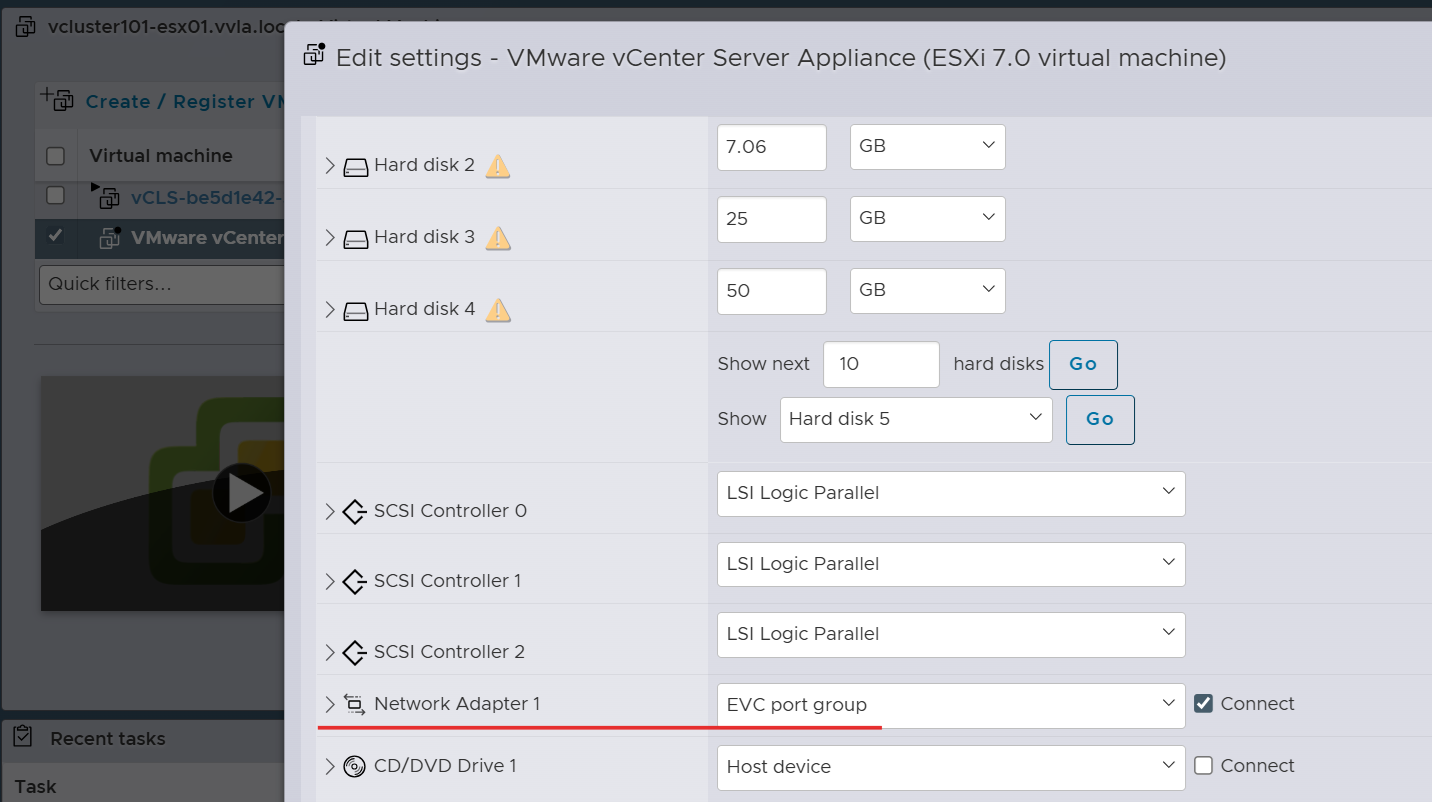
8. Using the Host Client, connect directly to the ESXi host that is in the new cluster. Register the vCenter Server virtual machine, using the PG created in step 5. Power on the vCenter Server virtual machine.
9. Connect to the vCenter Server, power off all the VMs in the original cluster and adjust EVC to the target EVC mode.
10. Same as Step 5, create a new VSS and PG on one of the hosts in the original cluster.
11. Power off and unregister the vCenter Server virtual machine.
12. On the selected host in step 10, register the vCenter Server virtual machine, using the PG created on VSS. Power on the vCenter Server virtual machine.
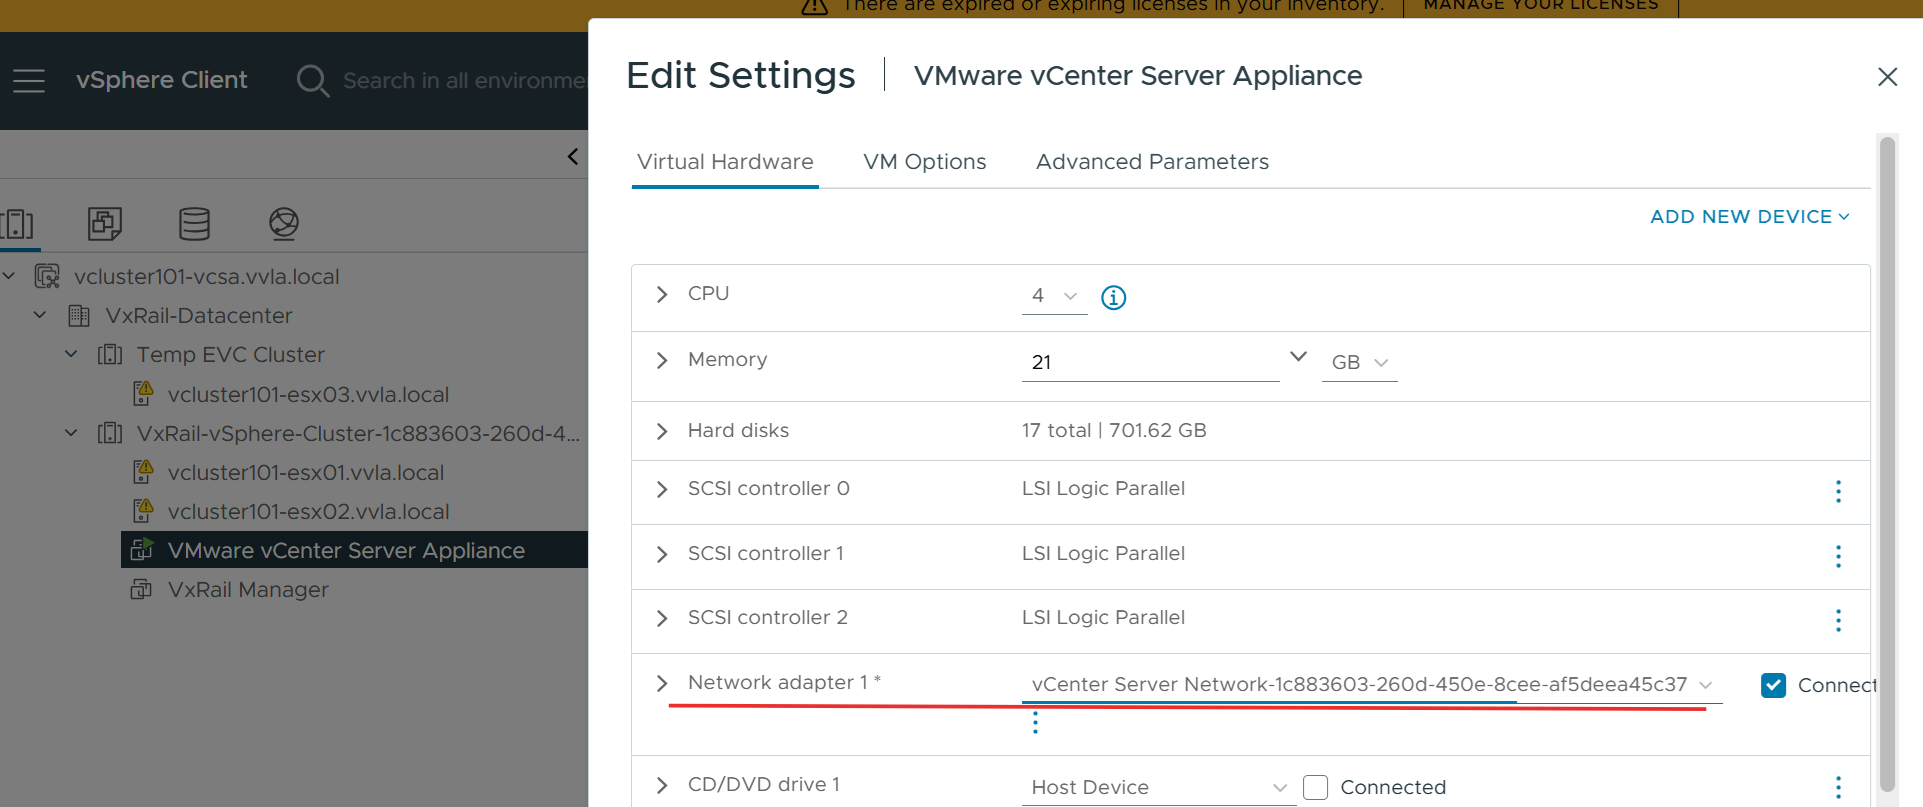
13. Connect to the vCenter Server, add a new NIC adapter on vCenter Server virtual machine and connect to VDS.
14. Connect directly to the ESXi host in the new cluster and remove the VSS PG created in Step 5. Shutdown and power on the vCenter Server virtual machine (Do not use reset).
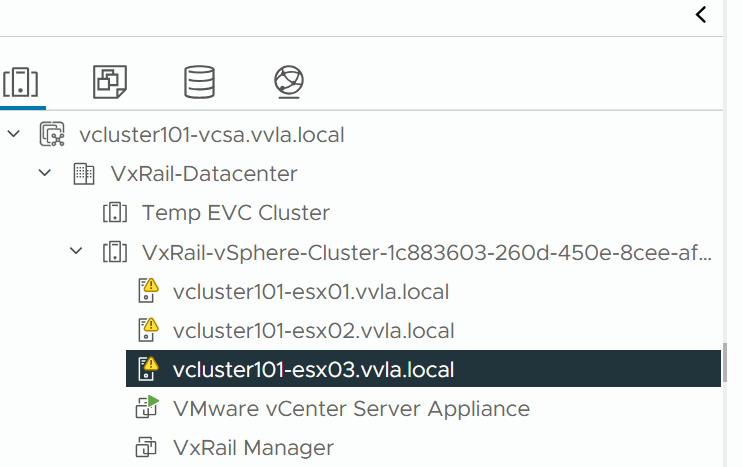
15. Put the host in the temporary cluster into maintenance mode and disconnect it.
16. Drag and drop the host into the original cluster, connect, and exit maintenance mode.
17. If using vSAN, SSH to all hosts in the cluster, run the following command to renable the vSAN unicast update.
esxcfg-advcfg -s 0 /VSAN/IgnoreClusterMemberListUpdates
18. Power on all VMs, downgrading EVC on the original cluster succeeded.
Lower the hardware version of vCenter VM
If the vCenter VM is running in the cluster and VxRail is deployed on version 8.0.320, 8.0.321, 8.0.322, 8.0.330 or 8.0.331, VxRail configures the vCenter VM hardware version as vm-17, while the default value should be vm-10.
According to Broadcom KB 315390(External Link), modifying the VM hardware version is not supported.
To align with Broadcom default configurations, follow the steps below to revert the vCenter VM hardware version to vm-10 for the affected VxRail versions.
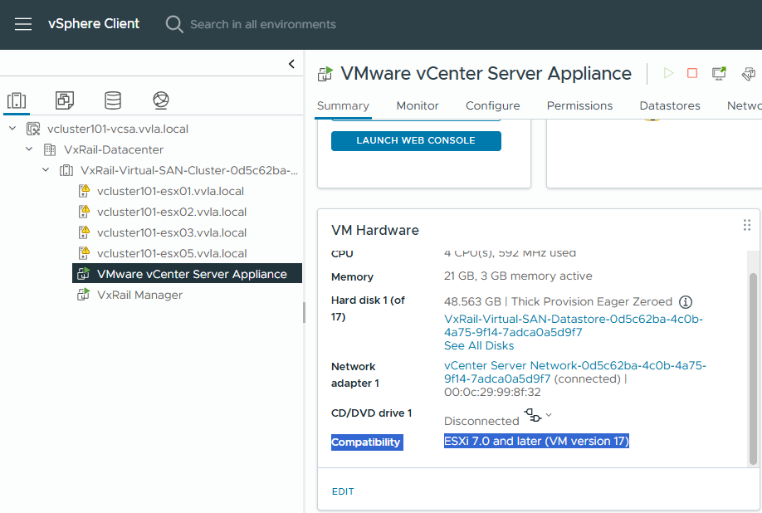
1. Confirm that the VM hardware version is not vm-10.
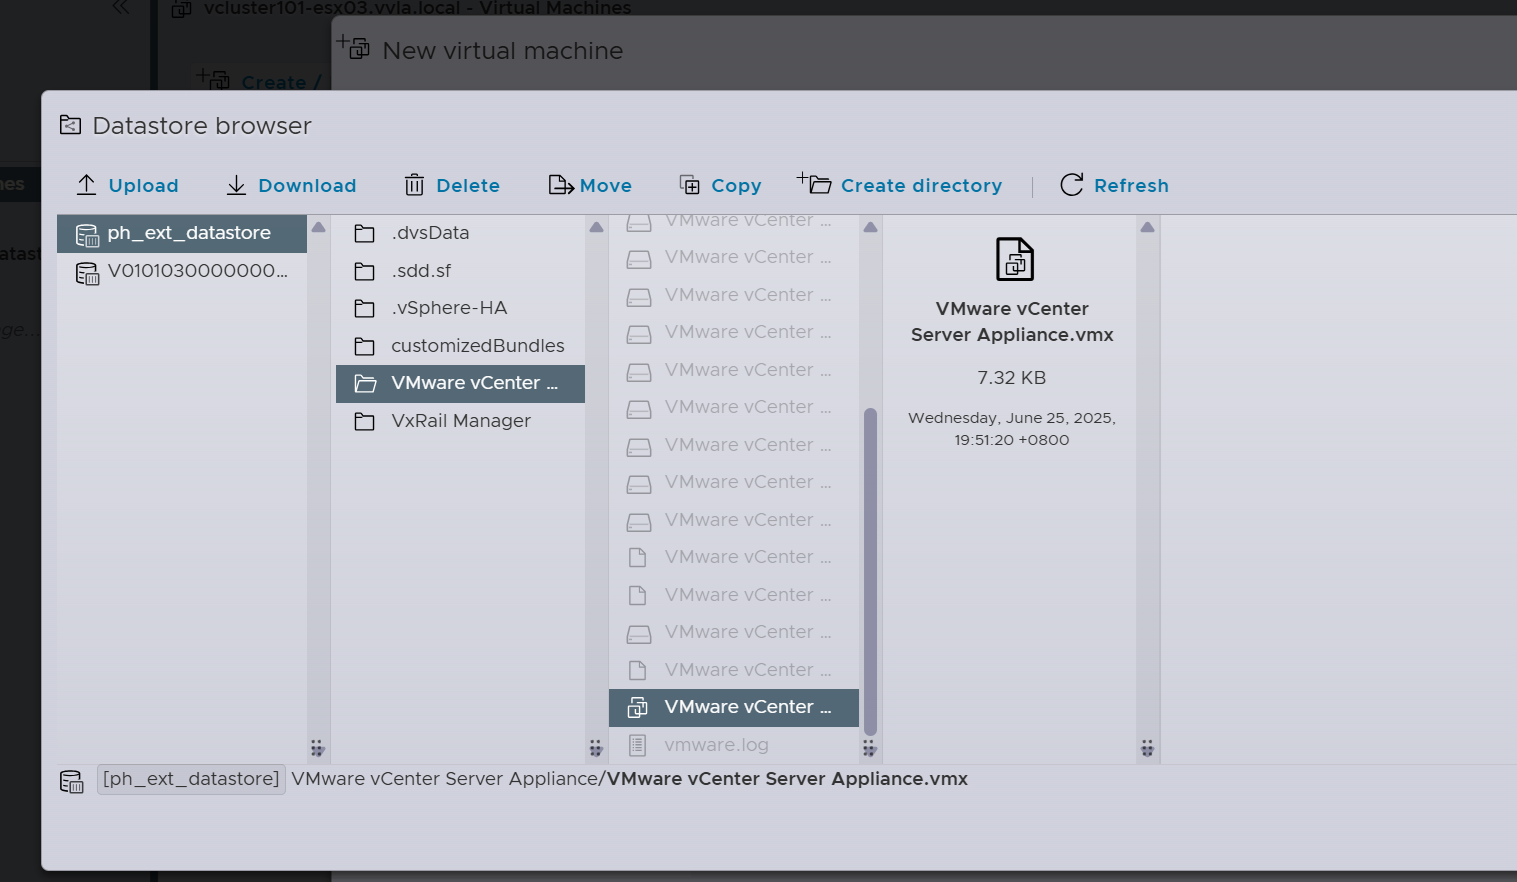
2. Shutdown the vCenter VM and download the .vmx file from ESXi datastore browser.
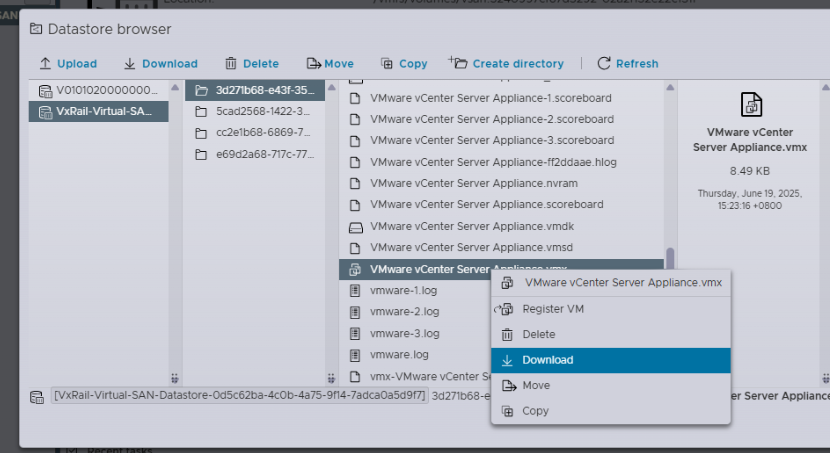
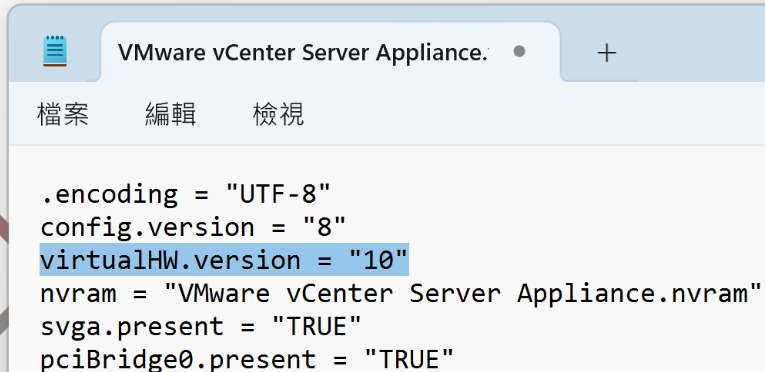
3. Edit the vmx file, update the virtualHW.version to 10.
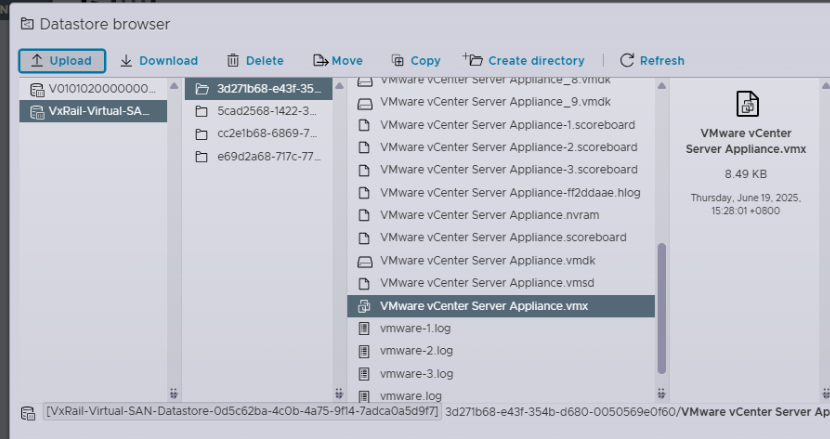
4. Upload the updated vmx file back to the datastore, replace the original file.
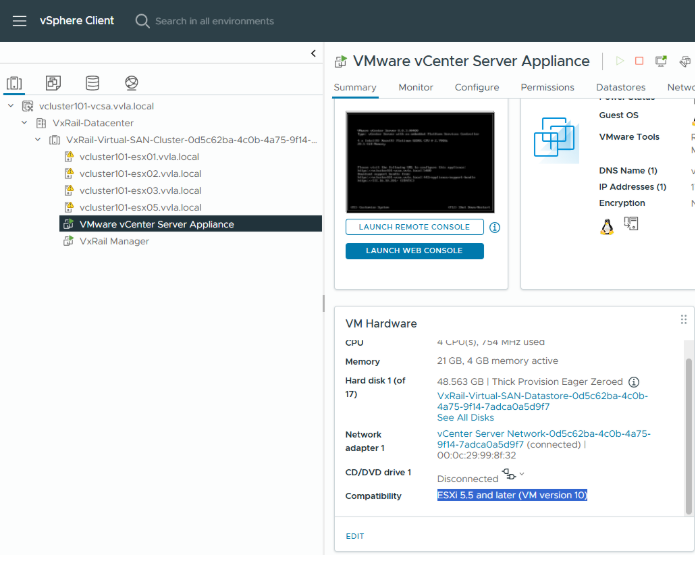
5. Power on the vCenter VM and confirm that the hardware version is vm-10.
Additional Information
References:
VMware EVC and CPU Compatibility FAQ (broadcom.com)(External Link)
Enhanced vMotion Compatibility as a Virtual Machine Attribute(External Link)
Change the EVC Mode for a Cluster(External Link)
"The target host does not support the virtual machine’s current hardware requirements" error vMotioning a VM(External Link)
Upgrading a virtual machine to the latest hardware version (multiple versions(External Link)
How to enable EVC in vCenter Server 6.5/6.7/7.0/8.0 if VC VM is part of the same vSAN cluster(External Link)
Enable EVC in vCenter Server 6.5/6.7/7.0/8.0 if VC VM is part of the same cluster(External Link)
Affected Products
VxRail SoftwareArticle Properties
Article Number: 000228327
Article Type: How To
Last Modified: 26 Mar 2026
Version: 5
Find answers to your questions from other Dell users
Support Services
Check if your device is covered by Support Services.