How to Decommission an FS8600
Summary: This article explains the steps to decommission an FS8600. This article is valid for FluidFS V5 and FluidFS V6.
This article applies to
This article does not apply to
This article is not tied to any specific product.
Not all product versions are identified in this article.
Instructions
CAUTION:
Any data on the FS8600 is lost during this process.
This process is irreversible. Ensure that all data is backed up to another location and accessible.
Ensure that all necessary approvals are obtained before proceeding.
Process:
Any data on the FS8600 is lost during this process.
This process is irreversible. Ensure that all data is backed up to another location and accessible.
Ensure that all necessary approvals are obtained before proceeding.
Process:
-
SSH into the FS8600
Log in with "cli" and provide the username and password when prompted.
-
Set the System to No Service Mode:
For FluidFS V6:
- Run the command:
CLI> maintenance internal service-mode set NoService
- Verify No Service mode activation with:
CLI> maintenance internal service-mode view
For FluidFS V5:
- Run the command:
CLI> system internal file-system service-mode set NoService
- Verify No Service mode activation with:
CLI> system internal file-system service-mode view- Destroy the Cluster:
CAUTION:
Running this command is destructive. This is the last chance to confirm that all the data is backed up to a safe location.
Running this command is destructive. This is the last chance to confirm that all the data is backed up to a safe location.
- Run the
destroy clustercommand:
hardware destroy-cluster destroyExample of the "destroy cluster" command and its output.

-
Post-Destruction Steps:
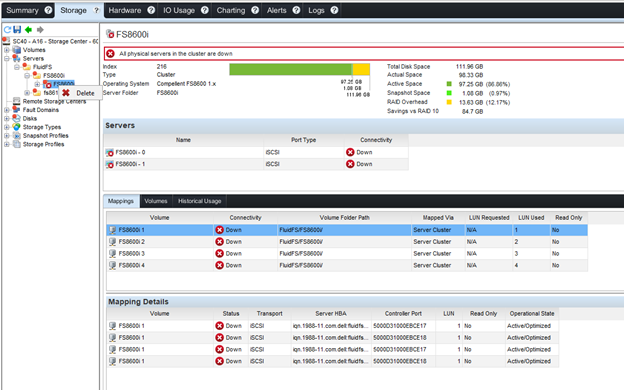
- FluidFS objects remain locked on Dell Storage Manager (DSM) if nodes are online and connected to backend LUNs (FC only, as iSCSI configuration is wiped when the destroy command is run).
- FluidFS related objects in DSM are locked to prevent changes.
- Once the FluidFS cluster is destroyed and LUN connections are down, right-click the server object to clear all FluidFS mappings, volumes, server objects, so on.
- Instructions to remove those objects are listed below.
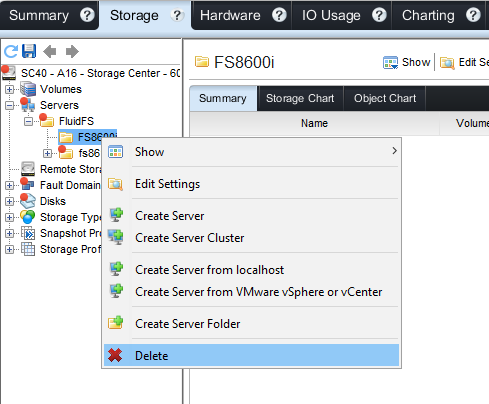
- Delete the FluidFS Appliance:
- Go to the Storage tab on the Storage Center (SC), expand servers, and locate the FluidFS folder.
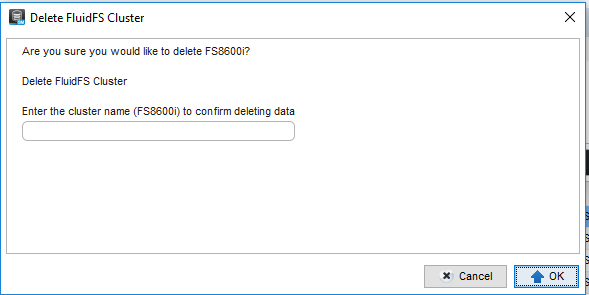
- Select the correct FluidFS appliance, right-click, and delete. The deletion option appears only after destroying the cluster.
- Confirm deletion by typing the cluster name in the dialog box (case sensitive).
- Final Deletion:
- Delete the related FluidFS folder, which is the last remnant of the deleted cluster.
Affected Products
FS Series, Dell Compellent FS8600Article Properties
Article Number: 000232741
Article Type: How To
Last Modified: 29 Jul 2025
Version: 4
Find answers to your questions from other Dell users
Support Services
Check if your device is covered by Support Services.