How to Schedule Managed Reports for Dell Data Security Servers
Summary: Learn about how to schedule managed reports on Dell Data Security Server and Dell Data Security Server Virtual by following these instructions.
Αυτό το άρθρο ισχύει για
Αυτό το άρθρο δεν ισχύει για
Αυτό το άρθρο δεν συνδέεται με κάποιο συγκεκριμένο προϊόν.
Δεν προσδιορίζονται όλες οι εκδόσεις προϊόντων σε αυτό το άρθρο.
Instructions
An administrator can schedule Managed Reports to be sent to a list of email recipients for Dell Data Security servers (Dell Security Management Server or Dell Security Management Server Virtual).
Affected Products:
- Dell Security Management Server
- Dell Security Management Server Virtual
Affected Versions:
- Version 10.1.0 and later
A New or Existing managed report may be scheduled to send to one or more email addresses. Click the appropriate task for more information.
Note:
- Email notifications require SMTP settings to be configured on the Dell Data Security server.
- For more information, reference How to Configure SMTP Settings for Dell Data Security Servers.
New
- Sign in to the Dell Data Security administration console.
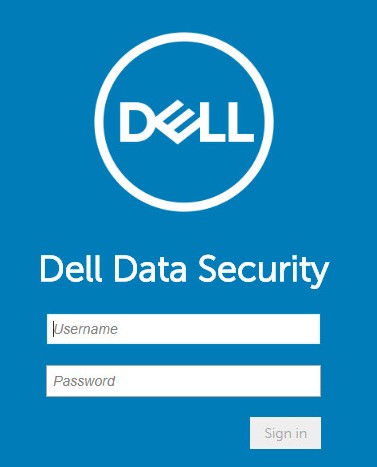 Note: For more information, reference How to Access the Dell Data Security Server Administration Console.
 - From the left menu pane, click Reporting and then Manage Reports.
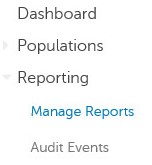
- Click the Create New Report drop-down and then select the appropriate report.

- Change the default report filters as is appropriate. Once finished, click Save As.

- From the Report - Save As menu:
- Populate a Report Name.
- Populate a Description.
- Optionally, select Private.
- Click Save.
 Note: Only the owner and report administrator have visibility to a Private report.
 - Click Schedule.

- Click Add Schedule.

- From the Add Schedule menu:
- Populate an Email to receive the report.
- Select a Schedule for the report to run.
- Select a Time to run.
- Select a Locale.
- Click Save.
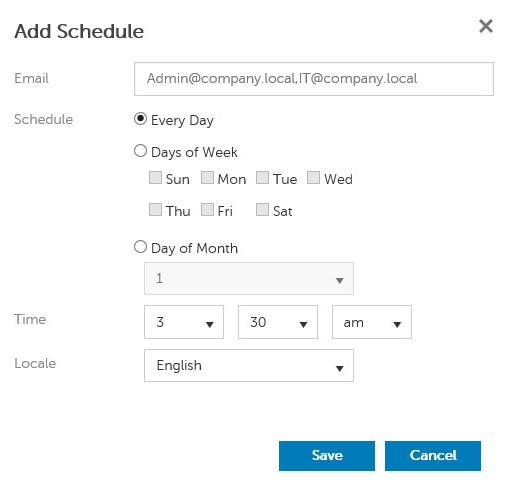 Note: Separate multiple email addresses with commas.
Existing
- Sign in to the Dell Data Security administration console.
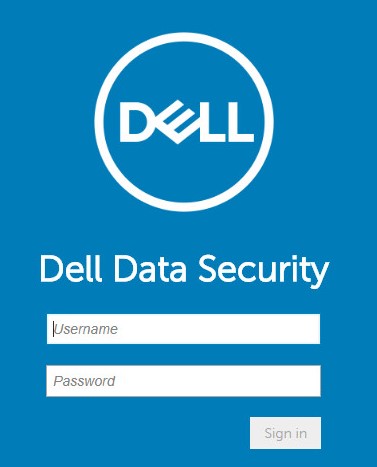 Note: For more information, reference How to Access the Dell Data Security Server Administration Console.
 - From the left menu pane, click Reporting and then Manage Reports.

- Select the report to be scheduled.
 Note: The report information (Name, Description, and Report Type) may differ in your environment.
 - Click Schedule.

- Click Add Schedule.

- From the Add Schedule menu:
- Populate an Email to receive the report.
- Select a Schedule for the report to run.
- Select a Time to run.
- Select a Locale.
- Click Save.
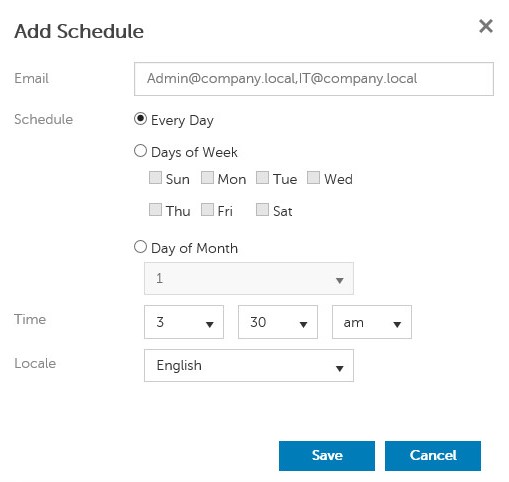 Note: Separate multiple email addresses with commas.
To contact support, reference Dell Data Security International Support Phone Numbers.
Go to TechDirect to generate a technical support request online.
For additional insights and resources, join the Dell Security Community Forum.
Επηρεαζόμενα προϊόντα
Dell EncryptionΙδιότητες άρθρου
Article Number: 000125166
Article Type: How To
Τελευταία τροποποίηση: 19 Ιουν 2026
Version: 9
Βρείτε απαντήσεις στις ερωτήσεις σας από άλλους χρήστες της Dell
Υπηρεσίες υποστήριξης
Ελέγξτε αν η συσκευή σας καλύπτεται από τις Υπηρεσίες υποστήριξης.