How to recover a Dell Ubuntu Image on your Dell Computer
Summary: This article takes you through the Ubuntu operating system reinstallation process on a Dell computer.
This article applies to
This article does not apply to
This article is not tied to any specific product.
Not all product versions are identified in this article.
Instructions
Table of Contents:
- Recovering the Dell Ubuntu Image on your Dell Computer
- Reinstalling from the Hard Drive
- Reinstalling from DVD or USB drive
- Directions for using a Dell Hosted Recovery Image
- Reinstalling from Live Media
Recovering the Dell Ubuntu Image on your Dell computer
These instructions assume that you have purchased a Dell computer with an Ubuntu recovery partition already installed.
You can find the instructions for this process below. However, your machine must be in a working condition for this to work. It is best to do this before you load any information onto the computer.
Note: The images used may be from various versions of Ubuntu. However, the steps listed are still valid for the latest Long-Term Support (LTS) versions.
If you do not have a recovery partition or media, then you should go to one of the links below. If you have a laptop or desktop, select another article that better suits your requirements.
If you do not have a recovery partition or media, then you should go to one of the links below. If you have a laptop or desktop, select another article that better suits your requirements.
Note: Before you attempt a reinstall or restore of your operating system, Dell Technologies recommends that you back up your data.
Reinstalling from the Hard Drive
This Operating System reinstall option is used to restore the computer to its original factory settings from a partition on your Hard Drive.
-
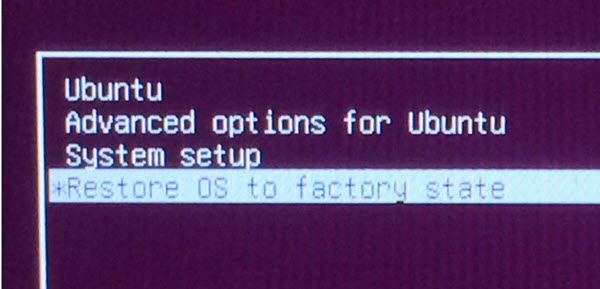
Restart your computer. Press the SPACE BAR key once after you see the Dell logo to invoke the Grand Unified Bootloader (GRUB) menu on computers with a Unified Extensible Firmware Interface (UEFI) BIOS. (You may need several attempts at this. It is common to press the key more than once and have the computer skip GRUB and go to a command prompt.)
-
Choose Restore OS to Factory State.
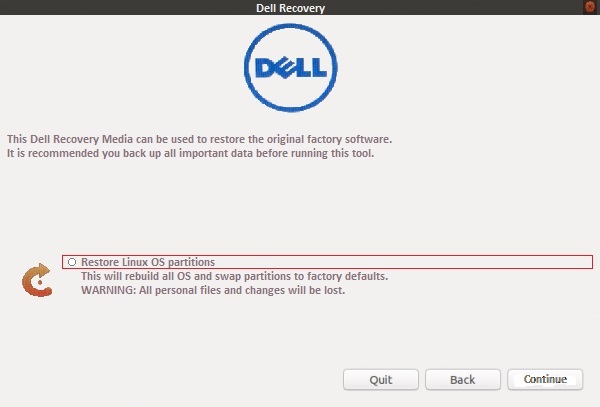
-
Choose Restore Linux OS partitions and click Continue.
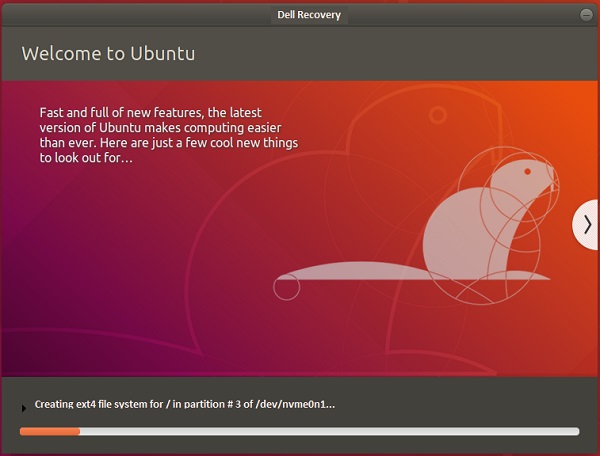
-
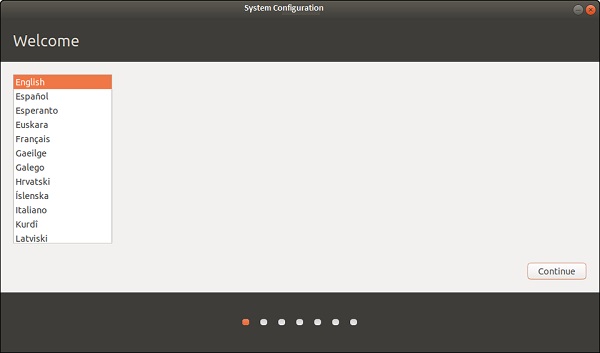
The computer runs the OEM Configuration Wizard when it is finished. This allows you to choose language and location, time zone, keyboard layout, and first user.
Note: Recovery options have been included under Advanced options for Ubuntu, on more recent Ubuntu revisions using
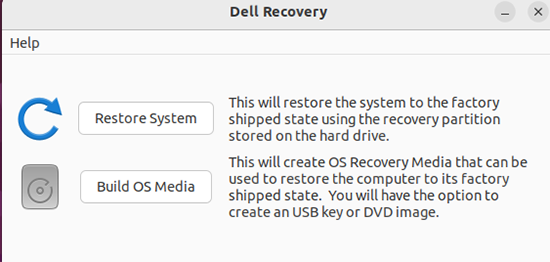
GRUB2. You can use the Dell Recovery application to restore your computer to the original factory settings from a partition on your hard drive.
Reinstalling from the DVD or USB drive
Directions for recovering from a DVD or USB drive that is created from an ISO that the Recovery Media Creator created.
-
Restart the computer and tap rapidly on the F12 key, when you see the Dell logo appear. Select the CD drive, DVD drive, or USB drive from the boot once menu that appears. Whichever is appropriate to the media that you have.
-
The boot menu is similar to an Ubuntu disk. Choose the appropriate recovery option:

-
Restore Entire Hard Drive - causes all your data to be erased. This is the closest to a factory installation.
-
Restore only Linux OS Partition.
-
The installation proceeds, and you see an on-screen prompt to complete the first-time setup process.
Directions for using a Dell Hosted Recovery Image
You should switch to the following Dell Knowledge Base article for the latest information and instructions on this topic:
Reinstalling from Live Media
When an upgrade or driver has failed, sometimes reinstalling the operating system is the quickest way to solve the problem.
When reinstalling, the two things you want to keep are:
Starting with Version 8.04 you can reinstall the Ubuntu operating system without losing the content of the /home folder. (The folder that contains program settings, Internet bookmarks, email messages and all your documents, music, videos, and other user files.) This can be done even if /home is not on a separate partition. (Which is the case by default if you did not manually separate it when installing Ubuntu originally.)
Note: This operation should not damage your documents. However, the best practice when dealing with operating system files is to backup your documents and settings (including
/home hidden files) on external media.
- The
/homefolder which contains all your files and settings - The boot menu entries, where you have multiple Operating Systems installed
-
Run the Ubuntu installer.
-
Follow the prompts until the Installation type (or Allocate disk space) menu.
-
Choose manual partitioning (Something-else option), then select Ubuntu partition, set its mount point as /. Be sure to keep the same format type, the same size, and untick the Format checkbox or it deletes all the data! Set any other partitions (
/boot,/home) as needed. -
Then finish the installation process. (This may take several hours, like a normal install)
-
After reinstalling, user accounts must be re-created with the same login and password.
Additional Information
Note: Canonical provides software support through the following methods:
Dell provides technical support: Contact Us
See these Dell Knowledge Base articles for related information:
Affected Products
Inspiron, Latitude, Vostro, XPS, Fixed WorkstationsArticle Properties
Article Number: 000131480
Article Type: How To
Last Modified: 04 Nov 2025
Version: 18
Find answers to your questions from other Dell users
Support Services
Check if your device is covered by Support Services.