PowerEdge: Assign and Unassign Hot Spare in System Setup in PERC Controller 10
Summary: This article provides the information of how to assign or unassign a global dedicated hot spare for a hard drive.
Instructions
This article provides the information of how to assign or unassign a global dedicated hot spare for a hard drive.
- A dedicated hot spare is assigned to only one virtual disk on the controller.
- A Global hot spare is assigned to all virtual disks on the controller.
Dell PowerEdge RAID Controller 10 (PERC H740P, PERC H745P MX, PERC H840) supports this feature.
See the Dell PowerEdge RAID Controller manual for more information.
Table of Contents
- Going to Dell PERC 10 configuration utility
- Assign a global hot spare
- Assign a dedicated hot spare
- Unassign a hot spare
Going to the Dell PERC 10 configuration utility
Perform the following steps to boot to the Human Interface Infrastructure (HII) configuration utility:
- Turn on the system.
- When the system starts up, press F2 to enter System Setup.

- Click Device Settings, all RAID controllers in the system list in the Device Settings screen.
To access the main menu for the controller, use the arrow keys or the mouse. |
|
Assign a global hot spare
To assign a global hot spare from the HII Configuration Utility, perform the following steps:
- Enter the Dell PERC 10 Configuration Utility. See Going to Dell PERC 10 configuration utility.
- Click Main Menu > Physical Disk Management. The list of hard drives is displayed.

- Select the hard drive.

- From the Operations drop-down menu, select Assign Global Hot Spare.

- Click Go. A screen is displayed asking if you are sure that you want to perform the operation.

- Select the Confirm option.
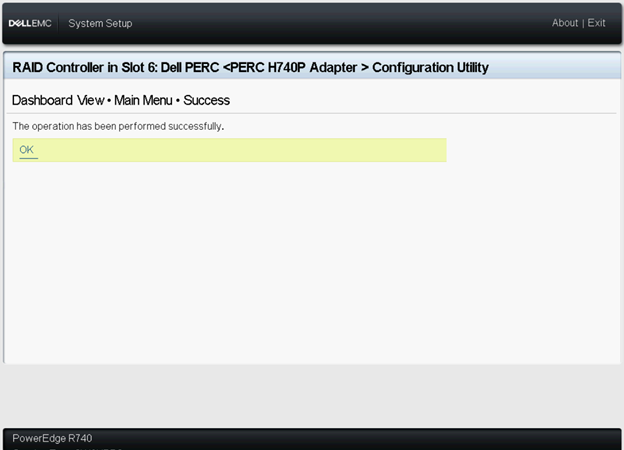
- Click Yes. The global hot spare disk is created successfully.

- You can check the status of the hard drive.

Assigning dedicated hot spare
To assign a dedicated hot spare from the HII Configuration Utility, perform the following steps:
- Enter the Dell PERC 10 Configuration Utility. See Going to Dell PERC 10 configuration utility.
- Click Main Menu > Physical Disk Management. The list of hard drives is displayed.

- Select the hard drive.

- From the Operations drop-down menu, select Assign Dedicated Hot Spare.

- Click Go. Select the associate virtual to the dedicated hot spare.

- Select the Confirm option.
- Click Yes. The dedicated hot spare disk is created successfully.

- You can check the status of the hard drive.

Unassign a hot spare
To unassign a hot spare from the HII Configuration Utility, perform the following steps:
- Enter the Dell PERC 10 Configuration Utility. See Going to Dell PERC 10 configuration utility.
- Click Main Menu > Physical Disk Management, and the list of hard drives is displayed.

- Select the hot spare you want to unassign.
- From the Operations drop-down menu, select Unassign Hot Spare.

- Select the Confirm option.
- Click Yes. The hot spare disk is unassigned successfully.

- You can check the status of the hard drive.

Additional Information
How To Configure Hot Spare Drive On It PowerEdge Server.
Duration: 00:03:13 (hh:mm:ss)
When available, closed caption (subtitles) language settings can be chosen using the CC icon on this video player.