PowerEdge: Force Manual Memory Dump on Windows Hyper-V Virtual Machine
Summary: Process activity is halted on the VM. Forcing a manual memory dump can provide information that may help determine what is causing the Server to stop responding condition.
This article applies to
This article does not apply to
This article is not tied to any specific product.
Not all product versions are identified in this article.
Instructions
Below are steps to force a manual memory dump on a Windows Hyper-V VM, when the VM Operating System has gone into an unavailable state not allowing external access.
- Log in to the virtual machine to be configured for the eventual memory dump.
- Open an Administrative PowerShell ISE window and run as Administrator.
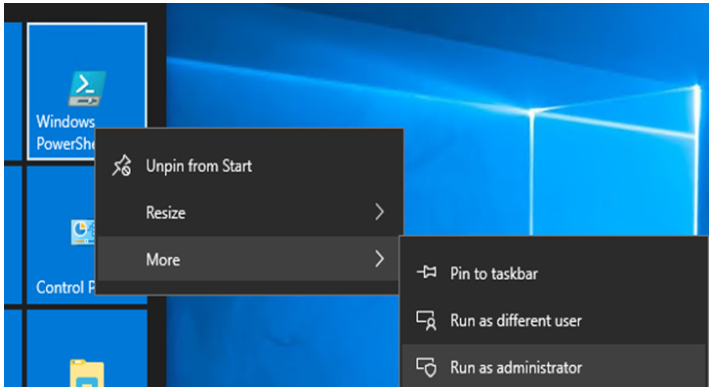
Figure 1: Open an Administrative PowerShell ISE window on the VM.
- Copy the below PowerShell commands into the PowerShell ISE window:
wmic recoveros set DebugInfoType = 2

Control Panel
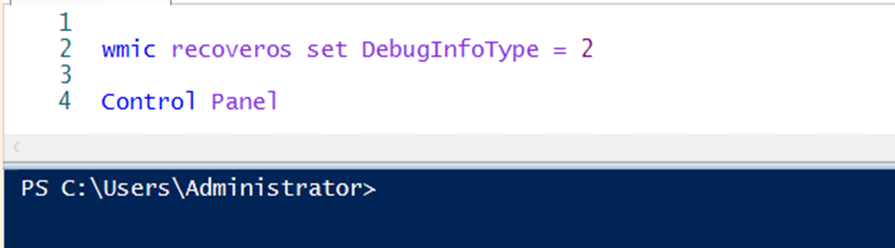
Figure 2: Copy the below PowerShell commands into the PowerShell ISE window.
- Select and run the below command:
wmic recoveros set DebugInfoType = 2”
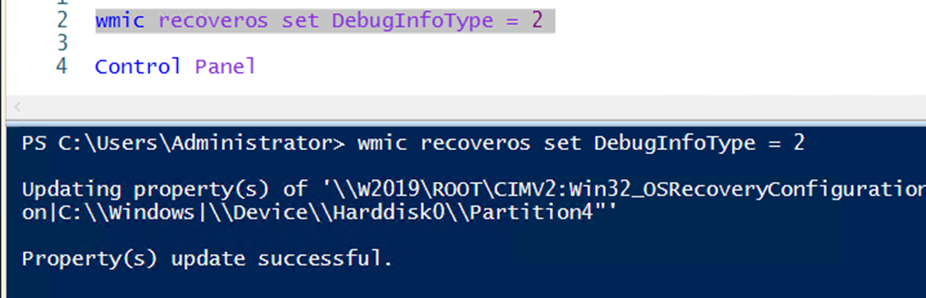
Figure 3: Select and run the "
wmic recoveros set DebugInfoType = 2" command.
- Confirm that the result is update successful.
- Select Control Panel, and click System and Security.
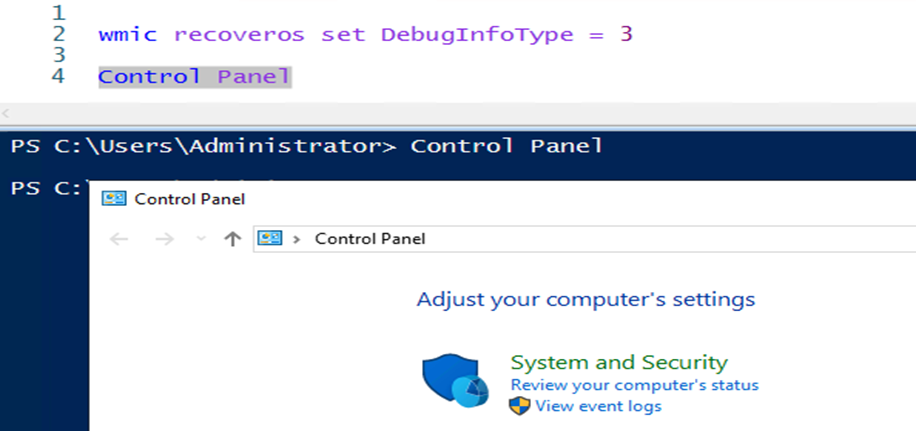
Figure 4: Select Control Panel > System and Security.
- Click System
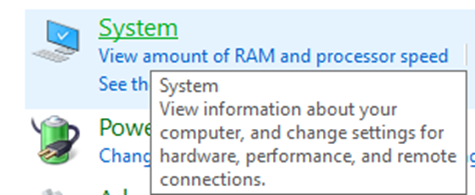
Figure 5: Click System
- Select Advanced System Settings
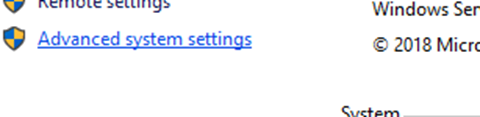
Figure 6: Select Advanced System Settings in the System.
- Click Settings in the Startup and Recovery section of pallet.

Figure 7: From the Startup and Recovery section, click Settings.
- Confirm that the Automatically Restart setting is NOT Selected. Other settings should match what is seen below:
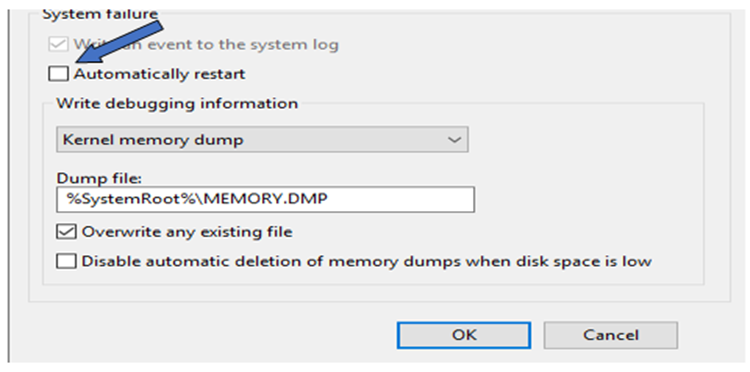
Figure 8: Confirm that the Automatically Restart setting is NOT Selected.
- If settings match screenshot in step 10, click OK to close the Startup and Recovery configuration pallet.
- When the event VM is not responding occurs again, force a manual memory dump. The dump file should be located in the "
%SystemRoot%\MEMORY.DMP" location which is usually "C:\Windows".
Steps to force a Manual Memory Dump from a Hyper-V host.
- Log in to the Hyper-V host of the virtual machine to be configured for the manual memory dump.
- Open an Administrative PowerShell window and run the below command:
Get-VM -Name “W2019” | Debug-VM -InjectNonMaskableInterrupt
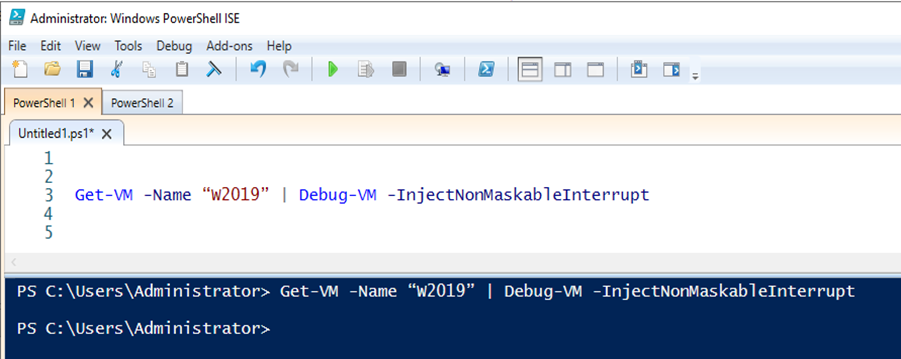
Figure 9: From an Administrative PowerShell window run "
Get-VM -Name "W2019" | Debug-VM -InjectNonMaskableInterrupt" command
- Running the above command should bring up what is seen in the screenshot below:
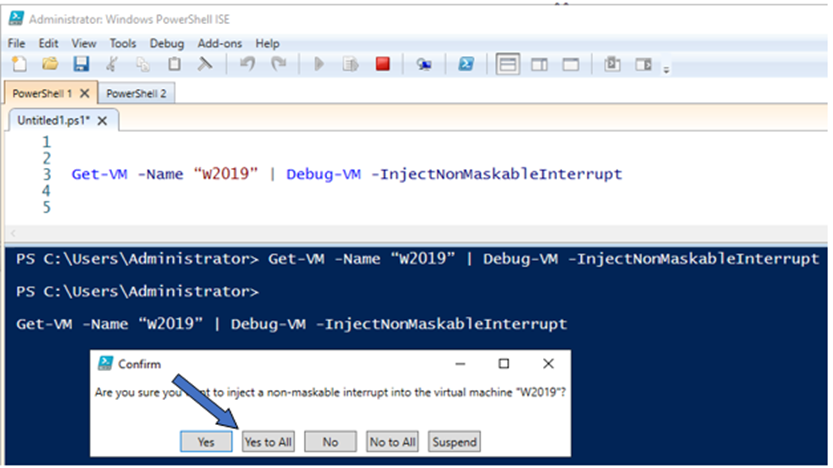
Figure 10: Screenshot of the results from the previous command
- Click Yes to All to complete the forced memory dump process.
- The below message with the option to reconnect to the VM should appear:
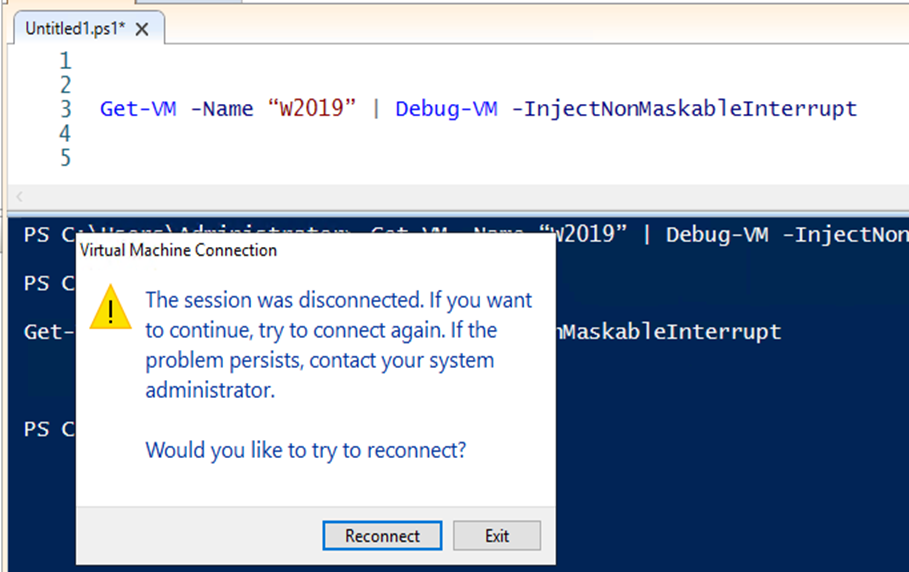
Figure 11: A screenshot with the message to reconnect to the VM appears.
- Connecting to the VM in Hyper-V Manager should display a screen similar to the below:
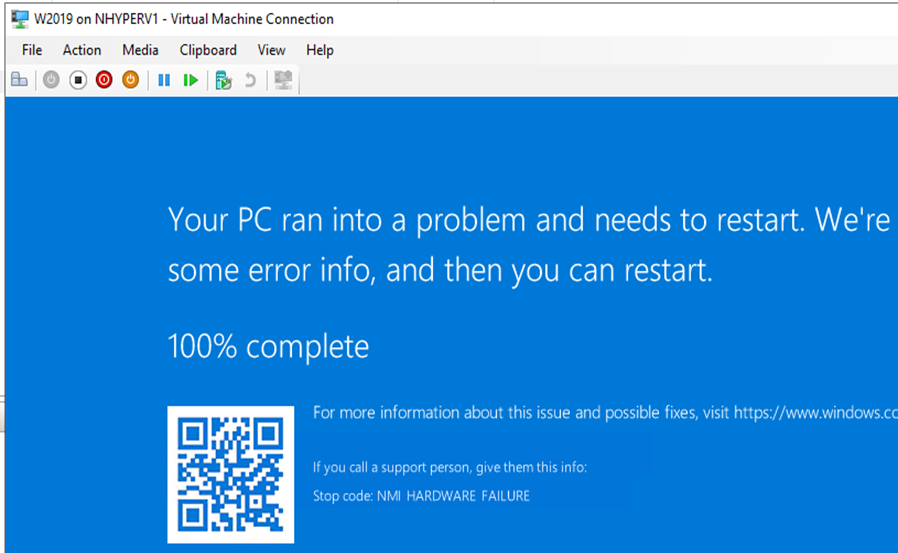
Figure 12: Screenshot of the VM in Hyper-V Manager connection display
- Do a Reset of the VM to boot back into the operating system:
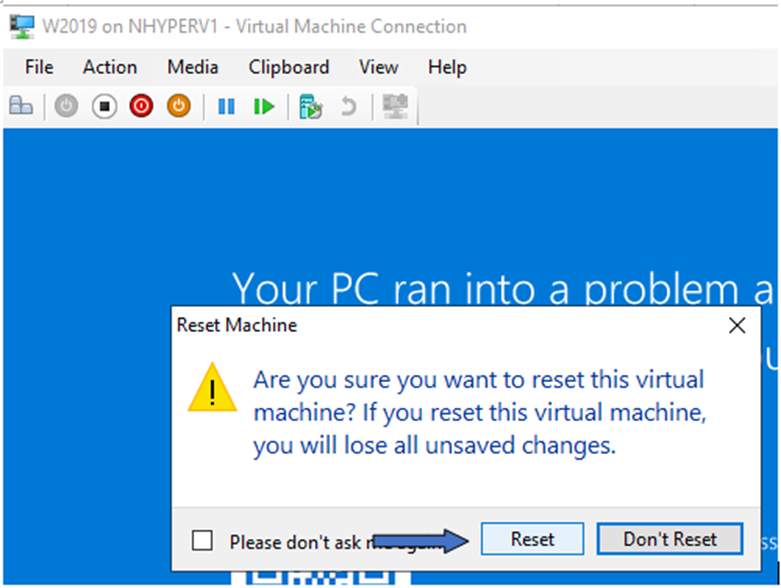
Figure 13: Do a Reset of the VM to boot back to the operating system.
- The newly created memory dump file should be in the "
C:\Windows" directory:
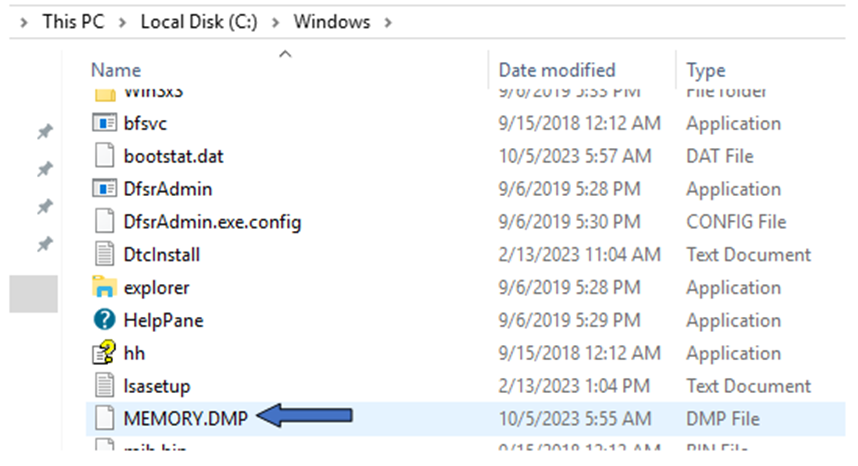
Figure 14: Screenshot of a newly created memory dump file in the "
C:\Windows" directory
- The
MEMORY.DMPfile can be removed for analysis.
Additional Information
Force a Memory Dump in Hyper-V Windows VMs.
Duration: 00:03:35 (hh:mm:ss)
When available, closed caption (subtitles) language settings can be chosen using the CC icon on this video player.
Affected Products
Microsoft Windows Server 2016, Microsoft Windows Server 2019, Microsoft Windows Server 2022, Microsoft Windows Server 2025, Prosupport for Microsoft SoftwareProducts
PowerEdge FC640, PowerEdge M640, PowerEdge M640 (for PE VRTX), PowerEdge MX5016s, PowerEdge MX740C, PowerEdge MX750c, PowerEdge MX760c, PowerEdge MX840C, PowerEdge R240, PowerEdge R250, PowerEdge R260, PowerEdge R340, PowerEdge R350, PowerEdge R360
, PowerEdge R440, PowerEdge R450, PowerEdge R540, PowerEdge R550, PowerEdge R640, PowerEdge R6415, PowerEdge R650, PowerEdge R650xs, PowerEdge R6515, PowerEdge R6525, PowerEdge R660, PowerEdge R660xs, PowerEdge R6615, PowerEdge R6625, PowerEdge R740, PowerEdge R740XD, PowerEdge R740XD2, PowerEdge R7415, PowerEdge R7425, PowerEdge R750, PowerEdge R750XA, PowerEdge R750xs, PowerEdge R7515, PowerEdge R7525, PowerEdge R760, PowerEdge R760XA, PowerEdge R760xd2, PowerEdge R760xs, PowerEdge R7615, PowerEdge R7625, PowerEdge R840, PowerEdge R860, PowerEdge R940, PowerEdge R940xa, PowerEdge R960, PowerEdge T150, PowerEdge T160, PowerEdge T340, PowerEdge T350, PowerEdge T360, PowerEdge T440, PowerEdge T550, PowerEdge T560, PowerEdge T640
...
Article Properties
Article Number: 000218315
Article Type: How To
Last Modified: 19 May 2026
Version: 8
Find answers to your questions from other Dell users
Support Services
Check if your device is covered by Support Services.