How to Create New Unified Computing System Manager vNIC Templates Using New MAC Pools
Riepilogo: This document explains how to create vNIC templates in Unified Computing System (UCS) Manager that use newly created MAC pools.
Questo articolo si applica a
Questo articolo non si applica a
Questo articolo non è legato a un prodotto specifico.
Non tutte le versioni del prodotto sono identificate in questo articolo.
Istruzioni
Create vNIC templates to use new MAC pool in Unified Computing System (UCS) Manager.
Facts:
MAC
UCSM
vNIC
Template
Solution:
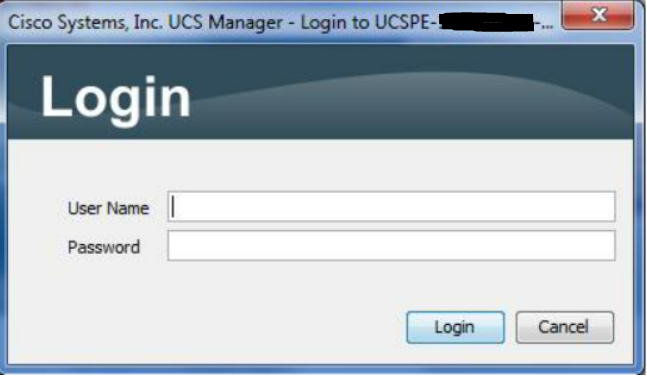
Figure 1: Login Screen
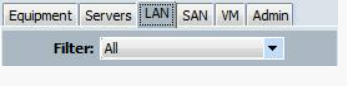
Figure 2: Select LAN Tab
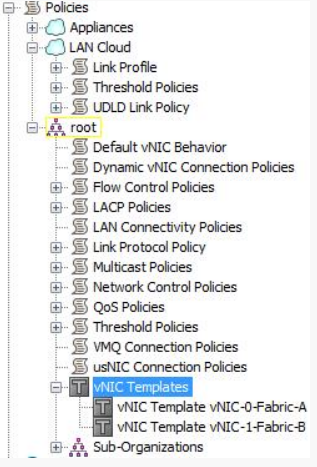
Figure 3: Select vNIC Template from Tree
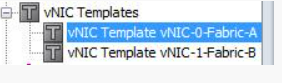
Figure 4: Choose vNIC Template
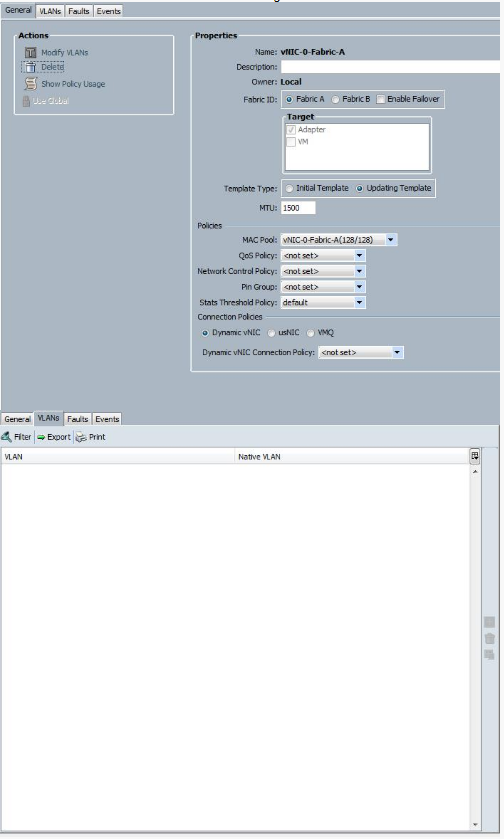
Figure 5: Record Settings on General and VLANs tabs
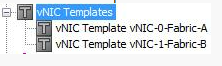
Figure 6: Select vNIC Template from Tree

Figure 7: Click Add Button to Start Wizard

Figure 8: Use Recorded Data to Create vNIC Template
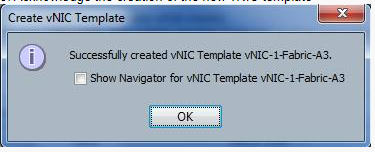
Figure 9: Acknowledgement of New Template
Facts:
MAC
UCSM
vNIC
Template
Solution:
- Log in to UCSM.
Figure 1: Login Screen
- Select LAN tab.
Figure 2: Select LAN Tab
- Select vNIC Templates on the tree.
Figure 3: Select vNIC Template from Tree
- Select one of the existing vNIC Templates.
Figure 4: Choose vNIC Template
- Take screenshots of or record all the settings on the General and VLANs tabs.
Figure 5: Record Settings on General and VLANs tabs
- Select vNIC Templates on the tree.
Figure 6: Select vNIC Template from Tree
- Click the green plus button for Add in the bottom of the UI in order to start the wizard to create a vNIC Template.
Figure 7: Click Add Button to Start Wizard
- Use the screenshots or recorded data to fill out the Create vNIC Template display. Change the name to the new name and the Mac pool to the new MAC pool associated with this vNIC Template and click the OK button.
Figure 8: Use Recorded Data to Create vNIC Template
- Acknowledge the creation of the new vNIC Template by clicking OK.
Figure 9: Acknowledgement of New Template
- Repeat steps 4-9 to create vNIC Templates using the new MAC pools for all the vNIC Templates.
Prodotti interessati
SwitchesProprietà dell'articolo
Numero articolo: 000205560
Tipo di articolo: How To
Ultima modifica: 24 gen 2023
Versione: 4
Trova risposta alle tue domande dagli altri utenti Dell
Support Services
Verifica che il dispositivo sia coperto dai Servizi di supporto.