Importing PFX fails with parseAlgParameters error
Podsumowanie: When trying to update the certificate, using the Server Configuration Tool or Java keytool, on Dell Security Management Server the process fails with a parseAlgParameters error when the PFX is encrypted with AES256-SHA256. ...
Ten artykuł dotyczy
Ten artykuł nie dotyczy
Ten artykuł nie jest powiązany z żadnym konkretnym produktem.
Nie wszystkie wersje produktu zostały zidentyfikowane w tym artykule.
Objawy
Affected Products:
- Dell Security Management Server
Przyczyna
Not Applicable
Rozwiązanie
The PFX file must be exported using the TripleDES-SHA1 encryption option, to allow the Server Configuration Tool and Java keytool to use it.
- Click the search option from the taskbar and type MMC.
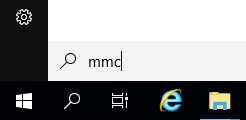
- Click the MMC application in the results.

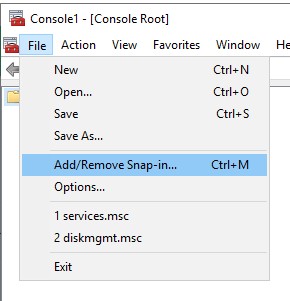
- Click File in the top menu of the MMC and select Add/Remove Snap-in.
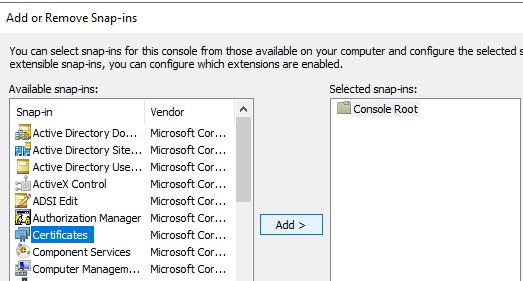
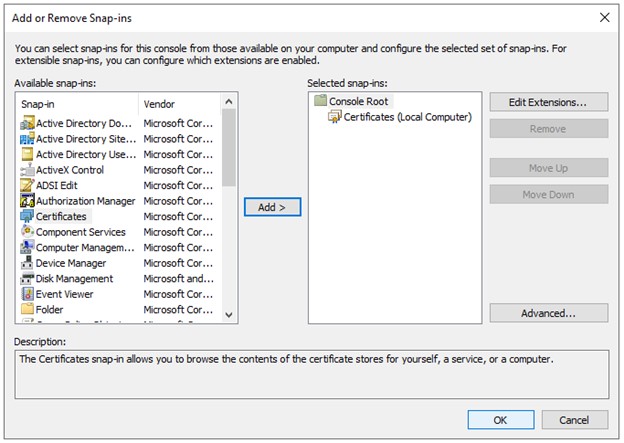
- From the Available snap-ins pane of the Add or Remove Snap-ins window, select Certificates then click the Add > button which opens the Certificates snap-in window.
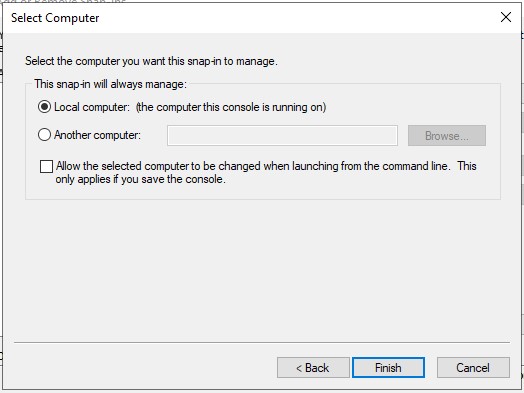
- Select the Computer Account radio button then click the Next > button.
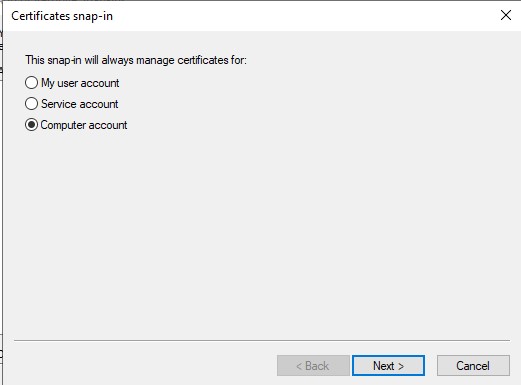
- Click the Finish button to close the Certificates snap-in window.
- Click OK on the Add or Remove Snap-ins window to finish adding the snap in.
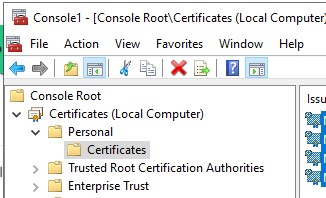
- In the MMC window, expand Certificates (Local Computer) and the Personal folder. Then select the Certificates folder.
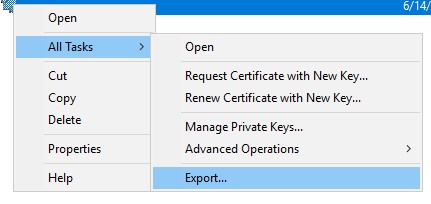
- Determine the certificate that you want to export. Right-click the certificate and select All Tasks and choose Export.
- On the Certificate Export Wizard, click the Next button.

- On the Export Private Key screen select the Yes, export the private key radio button, and click the Next button.

- On the Export File Format screen:
- Select the Personal Information Exchange - PKCS #12 (.PFX) radio button.
- If not already selected, select the Include all certificates in the certification path if possible, checkbox.
- If not already selected, select the Export all extended properties checkbox
- If not already selected, select the Enable Certificate Privacy checkbox.
- Click Next.

- Check the Password checkbox, assign a password to the file, ensure the Encryption: Dropdown is set to TripleDES-SHA1, and click the Next button.

- Choose the location, and name of the export file then click the Next button.
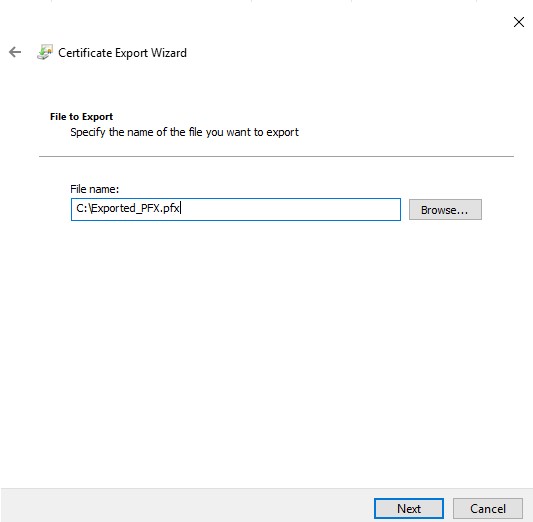
- Click the Finish button.

To contact support, reference Dell Data Security International Support Phone Numbers.
Go to TechDirect to generate a technical support request online.
For additional insights and resources, join the Dell Security Community Forum.
Produkty, których dotyczy problem
Dell EncryptionWłaściwości artykułu
Numer artykułu: 000200901
Typ artykułu: Solution
Ostatnia modyfikacja: 15 lip 2024
Wersja: 4
Znajdź odpowiedzi na swoje pytania u innych użytkowników produktów Dell
Usługi pomocy technicznej
Sprawdź, czy Twoje urządzenie jest objęte usługą pomocy technicznej.