Avamar: How to manager Session Security with the Avinstaller Installation Package (AVP)
Summary: This article explains how to manage the Avamar Session Security settings by using the Avinstaller installation package (AVP).
This article applies to
This article does not apply to
This article is not tied to any specific product.
Not all product versions are identified in this article.
Instructions
Warning: Running the Session Security AVP procedure may restart the Management Console Service (MCS)
1. Download Session Security AVP:
a. Go to the Dell product support link
b. Log in to view the downloads.
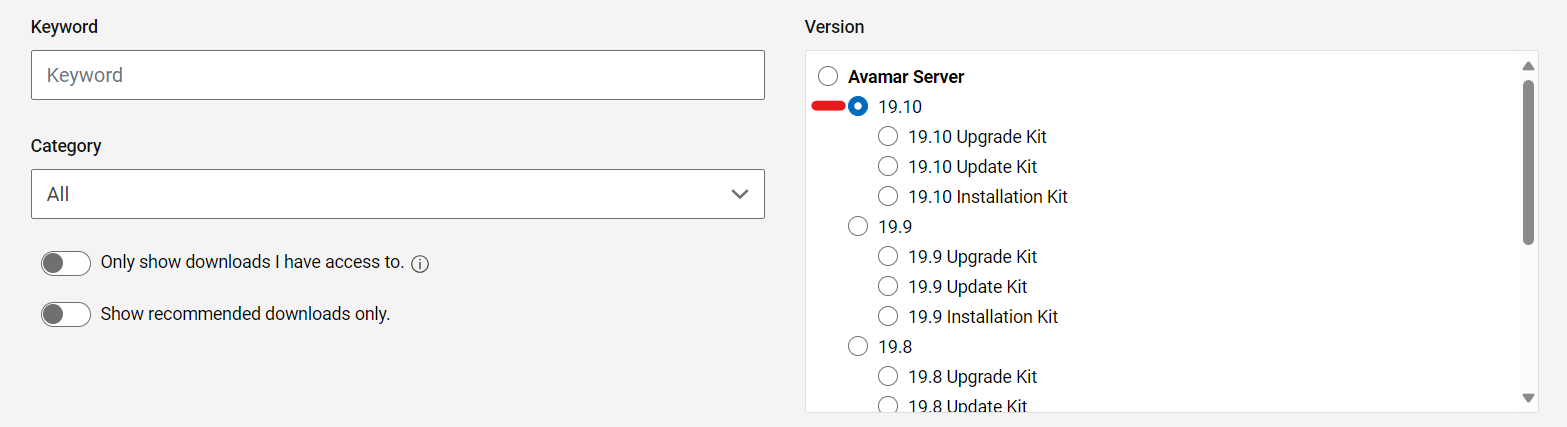
For example, select the appropriate Avamar version:
Search for the Avamar Session Security Configuration workflow package:

c. Download the package.
2. Prior to installation:
It is best practice to perform the following before running the Session Security configuration package:
-
Stop all backups, replication, and ensure that no maintenance is running (checkpoint, checkpoint validation (
hfscheck), and garbage collection). -
Check that there is a valid checkpoint.
3. Upload the Session Security AVP to the package repository:
Once the appropriate Session Security configuration package is downloaded, there are two options for installation:
Option 1:
a. Upload the package to a temporary directory such as /home/admin on the Avamar Utility Node.
b. Move the package to the directory /data01/avamar/repo/packages:
mv <package-name> /data01/avamar/repo/packages/
The AVinstaller service detects changes to the directory and automatically starts loading the package into the package repository.
Option 2:
a. Open the AVinstaller web service page:
https://<avamar_server_ip_or_hostname>/avi
b. Go to the Repository section:

c. Browse the local machine for the downloaded Session Security configuration package:

The package processes:

Once it is ready, the status is "Accepted":

4. Install Session Security AVP:
a. If the package was not uploaded using the AVinstaller, open the AVinstaller web service page:
https://<avamar_server_ip_or_hostname>/avi
b. Go to the "Maintenance" tab to run the package.

c. Select Run.
d. On the "Installation Setup" screen, select the Security Settings tab and check the "Show advanced settings" checkbox.

Manage Session Security Settings:
The "Client-Server Communication and Authentication Type" dropdown selection allows selection of the four supported Session Security modes:
1. Disabled
2. Mixed-Single
3. Authenticated-Single
4. Authenticated-Dual
For more information about the different modes, see Avamar: Session Security
Note: If the settings are changed, an MCS restart occurs during the running the package.
Generate Certificates:
There are two selection options for generating certificates:
1. Generate Server Certificates Only.
2. Generate All New Certificates.
-
-
- Generate Server Certificates Only:
- When selected alone, only regenerates the
GSANserver certificates.- The description on the screen states "Creates and propagates server certificates on the Avamar server and storage nodes, to be used for server and/or client authentication using the
CA certificateinstalled in the keystore."
- The description on the screen states "Creates and propagates server certificates on the Avamar server and storage nodes, to be used for server and/or client authentication using the
- This performs the following actions on the Avamar grid:
- Runs the
enable_secure_config.shscript (enable_secure_config.sh --certs), which does the following:- Exports the Avamar internal root certificate from the Avamar keystore:
- Runs the
- When selected alone, only regenerates the
- Generate Server Certificates Only:
-
keytool -export -rfc -keystore /usr/local/avamar/lib/avamar_keystore -alias mcrsaroot
-
-
-
-
-
- Saves this root certificate to the following two locations:
-
-
-
-
/home/admin/chain.pem
/usr/local/avamar/etc/chain.pem
-
-
-
-
-
- The root certificate in the avamar_keystore is then used to sign a new certificate keypair for the
GSAN, and saved to the following locations:
- The root certificate in the avamar_keystore is then used to sign a new certificate keypair for the
-
-
-
-
mcrootca rsatls <nodename> <subject_alt_names>

/home/admin/key.pem
/home/admin/cert.pem
/usr/local/avamar/etc/key.pem
/usr/local/avamar/etc/cert.pem
-
-
-
-
-
- These certificates are then propagated to any storage nodes.
- Lastly, the
GSAN SSL socketis reloaded so new connections to port 29000 to serve the regenerated certificates.
-
-
-
-
Note: As the Avamar internal root certificate is not changed, the registered clients, proxies, and Data Domains do not require re-registering.
-
-
- Generate All New Certificates
- When this checkbox is selected, it automatically also selects the "Generate Server Certificates Only" checkbox as well.
This is because of the process which occurs when generating all new certificates.- The description on the screen states: "Re-creates
mcrootcaand generates all new root,TLS, and EC root certificates."
- The description on the screen states: "Re-creates
- This performs the following actions:
- Regenerate the Avamar internal root certificate authority (CA)
mcrootca all(This replaces the Avamar internal root CA stored in the avamar_keystore
/usr/local/avamar/lib/avamar_keystore) - Regenerates the
GSANcertificates as described in the previous "Generate Server Certificates Only" section.
- When this checkbox is selected, it automatically also selects the "Generate Server Certificates Only" checkbox as well.
- Generate All New Certificates
-
The Avamar internal root certificate can be viewed with the following command:
keytool -list -v -keystore /usr/local/avamar/lib/avamar_keystore -alias mcrsaroot
Warning: As the Avamar internal root CA is regenerated, registered proxies, clients, and Data Domains must be re-registered in order to acquire the new Avamar
root CA and a signed certificate from the Avamar MCS allowing secure mutual TLS communication with Avamar.
Note: if the procedure to replace the Avamar internal root CA with a user supplied internal root CA has been followed previously (using importcert.sh), then this wipes that configuration and generate Avamar internally trusted self-signed certificates.
See the following for more information: Avamar: Install or Replace Avamar Certificate Authority (CA) with User Supplied Certificate Authority (CA)
See the following for more information: Avamar: Install or Replace Avamar Certificate Authority (CA) with User Supplied Certificate Authority (CA)
e. When ready, continue to run the package.
The package can be used multiple times to configure these settings as required.
Affected Products
AvamarArticle Properties
Article Number: 000222279
Article Type: How To
Last Modified: 19 Dec 2025
Version: 8
Find answers to your questions from other Dell users
Support Services
Check if your device is covered by Support Services.