How to: Connect to iDRAC over USB (All Data Protection Appliances on the Dell PowerEdge Platform)
Summary: Data Protection Appliances using the Dell PowerEdge (Gen13 & Gen14) platforms can establish a direct connection to iDRAC over the USB Service Port.
This article applies to
This article does not apply to
This article is not tied to any specific product.
Not all product versions are identified in this article.
Instructions
Data Protection Appliances using the Dell PowerEdge (Gen13 & Gen14) platforms can establish a direct connection to iDRAC over the USB Service Port.
This connection allows the same or full functionality as being connected over IP.
Applies to:
- All Data Protection Appliances using the Dell PowerEdge Platform
- For example, PowerProtect DD3300 | DD6900 | DD9400 | DD9900 | x400 | DP4400
- Dell PowerEdge Gen 13 & Gen 14 servers
Prerequisites:
- USB (A) to micro-USB (B) cable
- iDRAC Username and Password (Default = root/calvin OR root/PSNT)
- Laptop with USB (A) port
- "iDRAC Direct" USB port enabled in BIOS (Default = Enabled)
- You can enable or disable the iDRAC Direct USB Port using the system BIOS.
Go to System BIOS > Integrated Devices.
Select On to enable and Off to disable the iDRAC Direct USB Port.
- You can enable or disable the iDRAC Direct USB Port using the system BIOS.

Example of required USB cable
How to establish a direct connection to iDRAC over USB:
-
Connect the USB cable to the IDRAC Direct port (Micro-USB) on the server/appliance and the management system (e.g Laptop)

iDRAC Direct USB port on R740
iDRAC Direct USB Ports on C6420 (x400); Node 1 (Top) shows the port without cable connected -
Check that the IP address 169.254.0.4 has been assigned to the laptop:
#ipconfig

-
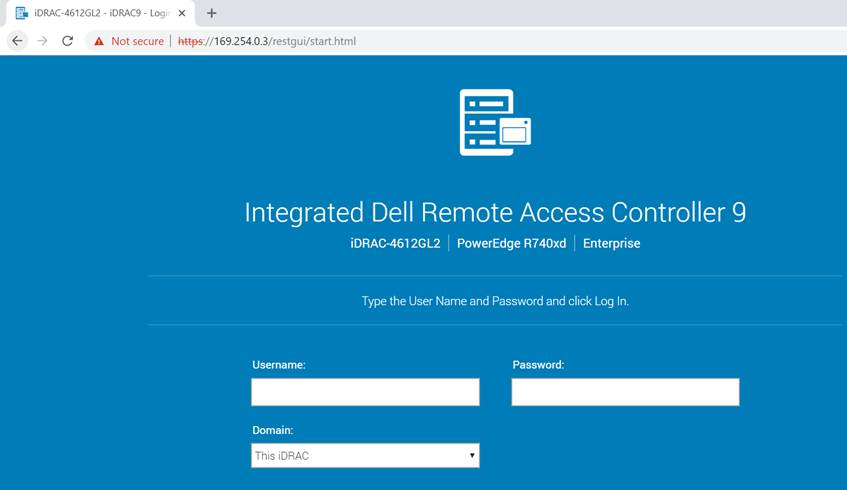
Open a Web Browser and point it to the iDRAC IP address 169.254.0.3

-
Log in to iDRAC using valid credentials (Default = root/calvin OR root/PSNT)
Additional Information
Note:
Gen13 Platform:
Gen13 Platform:
- Use a USB A/A cable (standard USB connection on each end)
- Use Type A USB to micro-B cable
Reference:
Data Domain: How to configure iDRAC on DD3300
Affected Products
Data DomainProducts
Data Domain, DD3300 Appliance, PowerProtect DP4400, PowerProtect Data Protection Software, Integrated Data Protection Appliance Family, PowerProtect Data Protection Hardware, PowerProtect X400 ApplianceArticle Properties
Article Number: 000021505
Article Type: How To
Last Modified: 12 Sep 2025
Version: 5
Find answers to your questions from other Dell users
Support Services
Check if your device is covered by Support Services.