How to Package and upload ASP.NET Core Runtime 8.0 ARM64 for use in Microsoft Intune
Summary: This article provides information about how to package and upload ASP.NET Core Runtime 8.0 ARM64 for use in Microsoft Intune.
This article applies to
This article does not apply to
This article is not tied to any specific product.
Not all product versions are identified in this article.
Instructions
Package ASP.NET Core Runtime 8.0 ARM64 with Microsoft Win32 Content Prep Tool and upload aspnetcore-runtime-8.0.16-win-arm64.intunewin for use in Microsoft Intune as a prerequisite for Dell software solutions by following these steps.
Affected Products:
- Dell Pro AI Studio
Prerequisites
- Download the Microsoft Win32 Content Prep Tool
 from Microsoft’s GitHub and extract it to a temporary folder. Example C:\Temp
 - Download ASP.NET Core Runtime 8.0 ARM64 and place it in a temporary folder. Example C:\Temp\App
- In the temporary folder, create a folder called Output. Example C:\Temp\Output
Using the Microsoft Win32 Content Prep Tool to create an .intunewin file
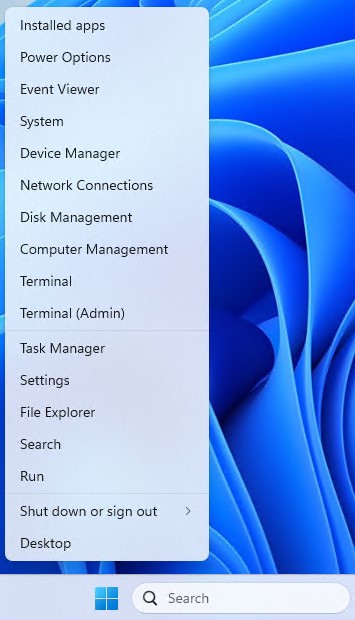
- Right-click the Windows start menu and select Terminal.
- Change the directory in the Terminal to where you extracted your files. Example Type cd C:\Temp\ and press Enter.

- Type .\IntuneWinAppUtil.exe -c C:\Temp\App\ -s C:\Temp\App\aspnetcore-runtime-8.0.16-win-arm64.exe -o C:\Temp\Output\

Uploading aspnetcore-runtime-8.0.16-win-arm64. Intunewin to Microsoft Intune
- Open a browser and go to https://intune.microsoft.com/

- Click Apps

- Click All Apps

- Click Create

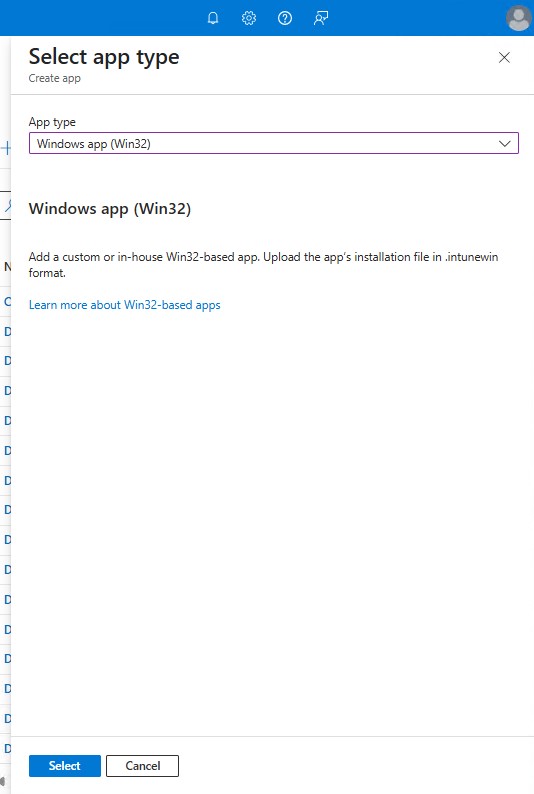
- In the Select app type pane under App Type, pick Windows app (Win32) and then click Select.
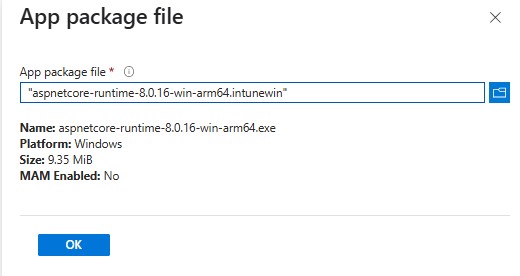
- Click Select the app package file and locate the aspnetcore-runtime-8.0.16-win-arm64.intunewin was created in Step 3. Then click OK.
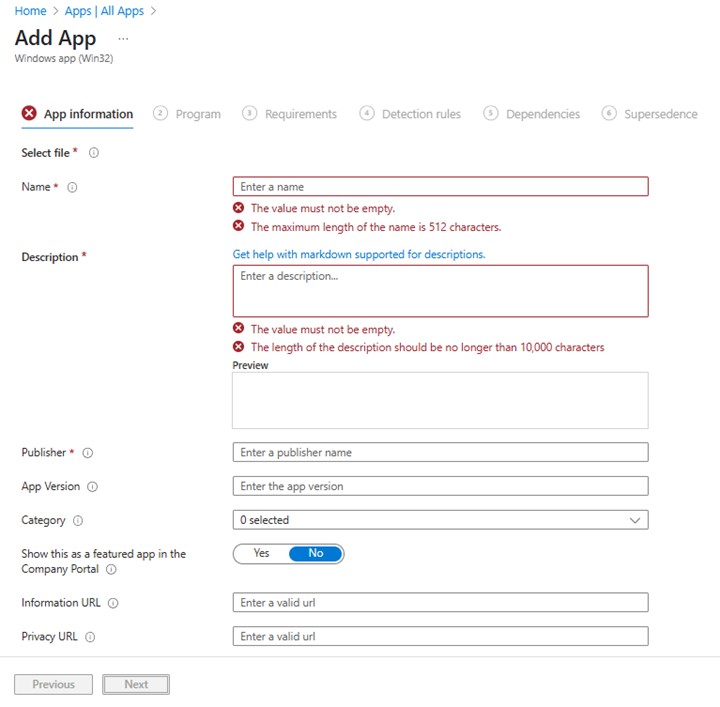
- On the App information page, enter Name, Description, Publisher, and any other additional details. Then click Next.
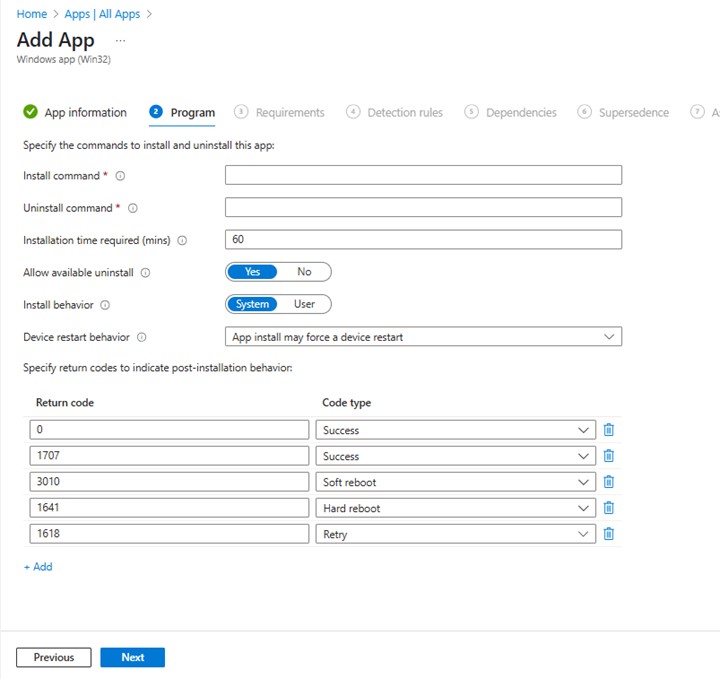
- On the program page, input the below information and then click Next.
- Install Command: aspnetcore-runtime-8.0.16-win-arm64.exe /install /quiet /norestart
- Uninstall Command: aspnetcore-runtime-8.0.16-win-arm64.exe /uninstall /quiet /norestart
- On the requirements screen, set any needed requirements for operating systems architecture and Minimum operating system, then click Next.

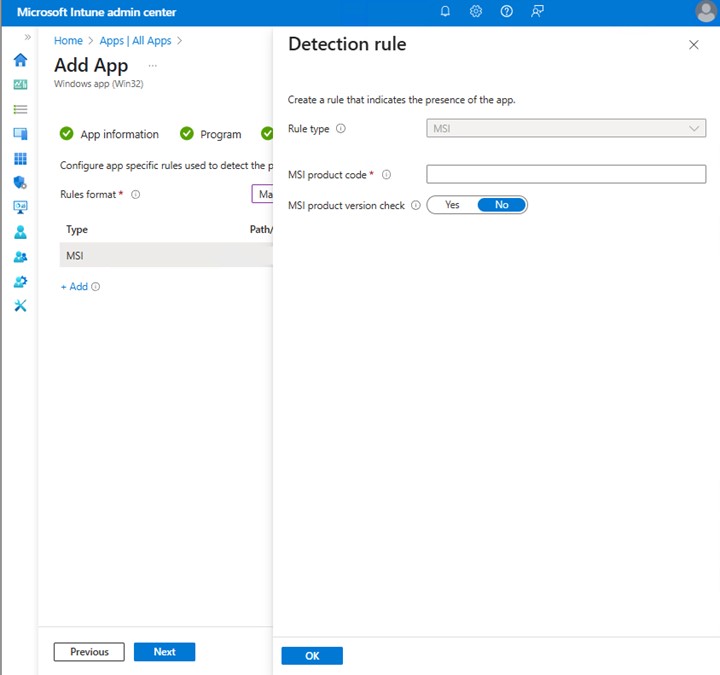
- On Detection Rules, select Manually Configure Detection Rules and then click Add

- On the Detection Rule pane, input the information below and click OK.
- Rule Type: MSI
- MSI product code: {E4EBEFC3-AAE3-3D3C-A86B-A43F4513ABF2}
- Back on the Detection rules page, click Next.

- On Dependencies, click Next.

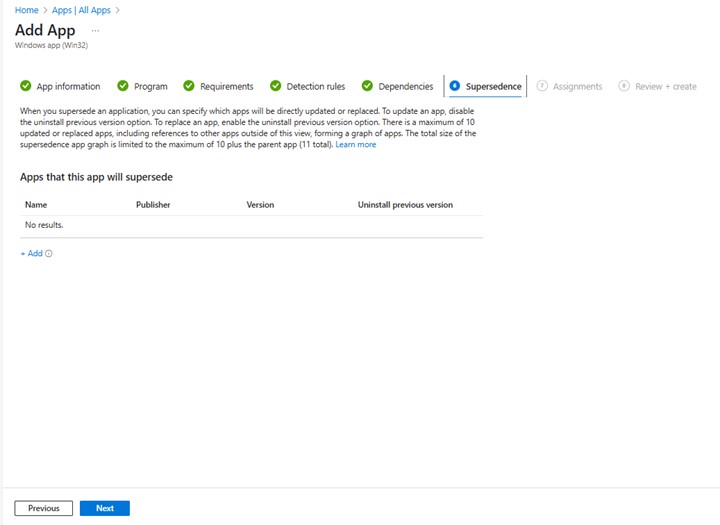
- On Supersedence, click Next.
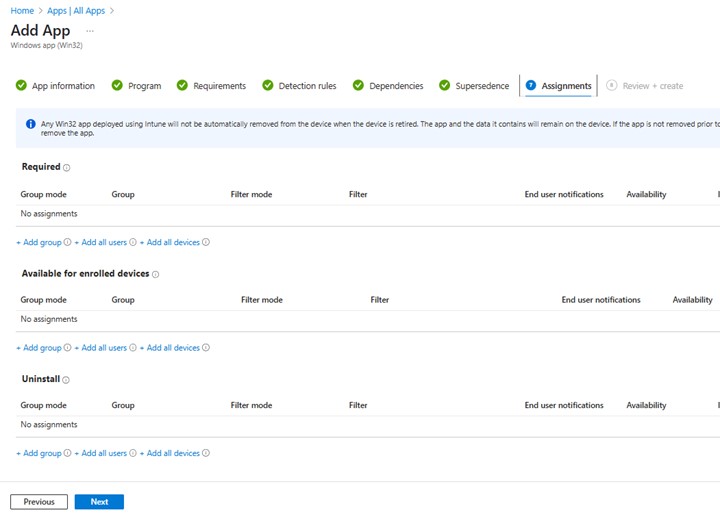
- On Assignments, select any needed configurations for your environment and click Next.
- On Review + create, confirm your configuration, and click Create

Affected Products
Dell Pro AI StudioArticle Properties
Article Number: 000323087
Article Type: How To
Last Modified: 28 May 2025
Version: 1
Find answers to your questions from other Dell users
Support Services
Check if your device is covered by Support Services.