How to Verify a Chromebook Has Been Deprovisioned
Summary: Steps for checking if a Chromebook has been set to be Deprovisioned.
This article applies to
This article does not apply to
This article is not tied to any specific product.
Not all product versions are identified in this article.
Instructions
Deprovisioned Chromebook
The following steps help you identify if your Chromebook has been Deprovisioned.
- Turn the Chromebook on. Once you are at a log-in screen, click the clock in the lower right corner, and you see the Wi-Fi icon.
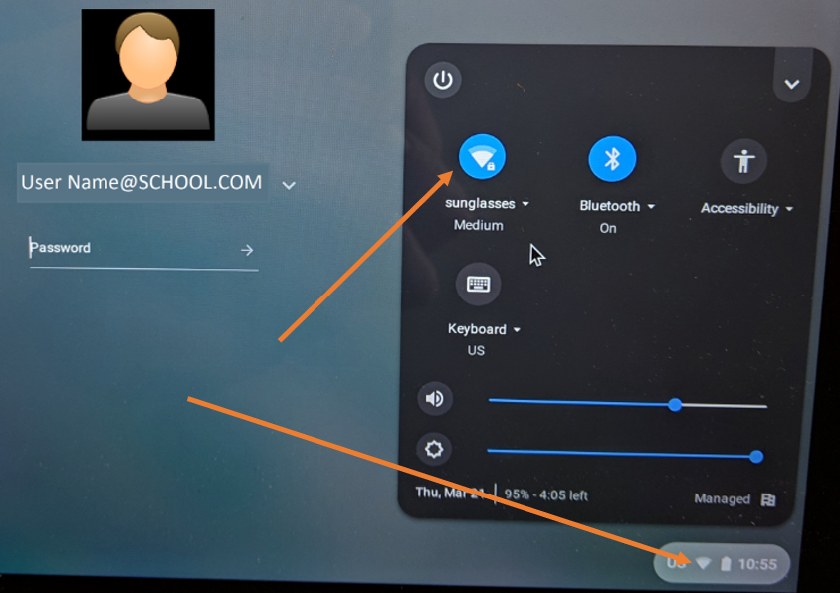
- Then you see available networks. Choose the one you have and connect.
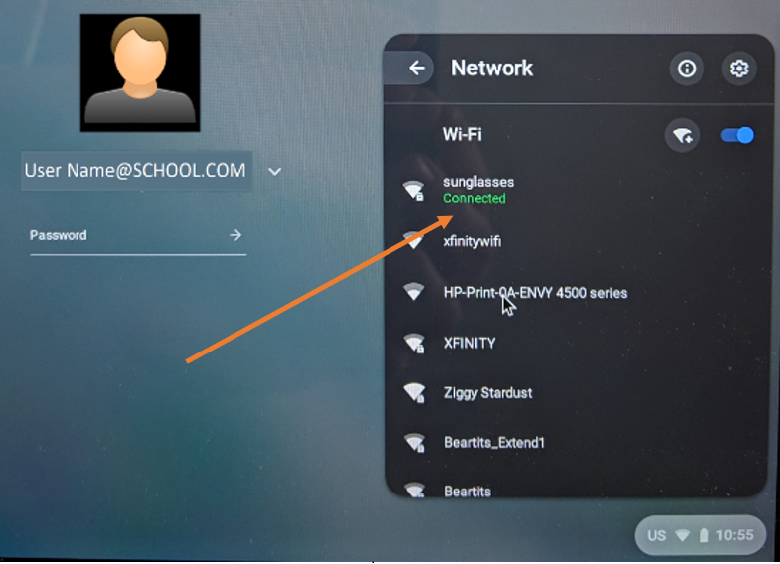
- This gives the Chromebook a chance to receive the update from the Google admin console to Deprovisioned it.
- Next, look to see if there is a "Browse as Guest" option.
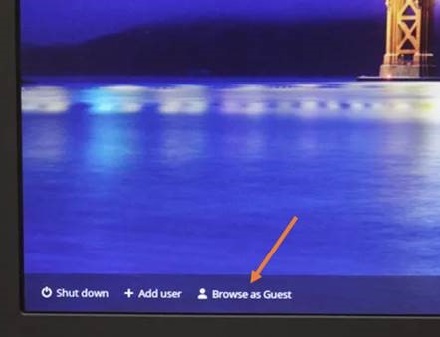
- If the "Browse as Guest" option is not there, the System is still enrolled. You can wait a little longer to see if it changes, but if there is no "Browse as Guest," it is still provisioned or enrolled.
- If "Browse as Guest" is available, select the option.
- Once you are in the ChromeOS, open up the browser.
- Type the following:
chrome://policy - You see the following screen.
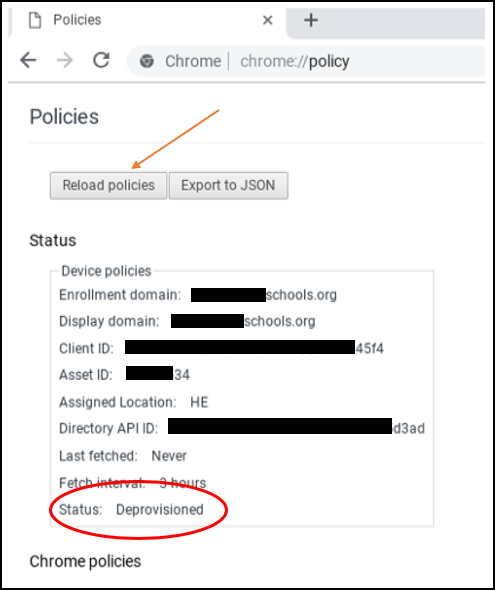
- Look at the status at the bottom of the list. It should show Deprovisioned. Google suggests that you click "Reload Policies" to ensure that it is up to date.
- If the status shows Deprovisioned, it is completed.
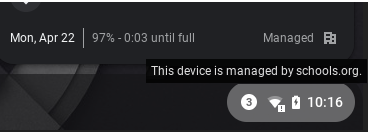
Note: Even after the status shows its Deprovisioned, it may still show that it is managed by a school. It will until the operating system is Recovered.
After the ChromeOS recovery, you can go back to chrome://policy and it will show "No Policies Set."
Affected Products
Chromebook, Chromebook 11, Chromebook 3100 2-in-1., ChromeBook 3100, Chromebook 3120 (End of Life), Chromebook 11 3180, Chromebook 11 3189, Chromebook 5190 2-in-1, Chromebook 5190, Chromebook 13 3380, Chromebook 7310, ChromeBook 3400
, Inspiron Chromebook 11 3181, Inspiron Chromebook 11 3181 2-in-1, Inspiron Chromebook 7486
...
Article Properties
Article Number: 000143518
Article Type: How To
Last Modified: 06 Nov 2025
Version: 6
Find answers to your questions from other Dell users
Support Services
Check if your device is covered by Support Services.