Dell Data Protection Virtual Edition 無法更新,並傳回 SSL 錯誤
요약: 嘗試更新 Dell Data Protection | 時出現錯誤訊息「WGET 錯誤:代碼 5,描述名稱:SSL 驗證失敗」 |虛擬版。
이 문서는 다음에 적용됩니다.
이 문서는 다음에 적용되지 않습니다.
이 문서는 특정 제품과 관련이 없습니다.
모든 제품 버전이 이 문서에 나와 있는 것은 아닙니다.
증상
受影響的產品:
- Dell Data Protection | Virtual Edition
受影響的版本:
- v9.10 和更舊版本

由於憑證處理方式的變更、SHA1 憑證的業界淘汰,Dell 必須在託管 Dell Data Protection |Virtual Edition 更新。由這些新授權單位簽署,但 Dell Data Protection 下屬作業系統不認可的憑證 |虛擬版。必須更新持有已驗證和受信任的根頒發機構的本地證書存儲,以支援這些新的簽名頒發機構。
對基礎操作系統的包更新存儲庫的其他更改還要求在更新本地證書存儲之前更新這些存儲庫。
원인
不適用
해결
若要更新憑證存放區:
- 登入 Dell Enterprise Server Virtual 管理主控台。
 註:如需啟用 SSH 的相關資訊,請參閱 如何在 Dell Security Management Server Virtual 中啟用 SSH。
- Dell Data Protection Enterprise Server Virtual Edition 的預設登入資料為:
- 使用者名稱:
ddpuser - 密碼:
ddpuser
- 使用者名稱:
- 系統管理員可以變更在產品的虛擬裝置選單中的預設密碼。
- Dell Data Protection Enterprise Server Virtual Edition 的預設登入資料為:
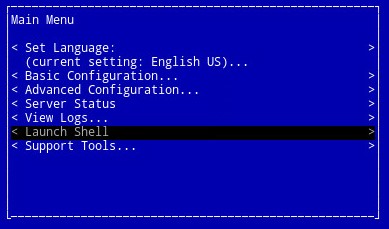
- 從主功能表中,選取啟動 Shell,然後按下 Enter 鍵。
- 類型
su ddpsupport然後按下 Enter 鍵。

- 輸入的密碼
ddpsupport然後按下 Enter 鍵。
 註:
註:- Dell Data Protection Enterprise Server Virtual Edition 的預設登入資料為:
- 使用者名稱:
ddpsupport - 密碼:
ddpsupport
- 使用者名稱:
- 系統管理員可以變更在產品的虛擬裝置選單中的預設密碼。
- Dell Data Protection Enterprise Server Virtual Edition 的預設登入資料為:
- 執行下列命令,以重新命名現有的來源檔案:
sudo mv /etc/apt/sources.list /etc/apt/sources.list.bak
- 產生新的 sources.list 檔案,並使用以下命令開啟:
sudo nano /etc/apt/sources.list
- 將以下儲存庫複製並貼到新檔案中:
deb http://old-releases.ubuntu.com/ubuntu precise main restricted universe multiverse
deb-src http://old-releases.ubuntu.com/ubuntu precise main restricted universe multiverse
deb http://old-releases.ubuntu.com/ubuntu precise-updates main restricted universe multiverse
deb-src http://old-releases.ubuntu.com/ubuntu precise-updates main restricted universe multiverse
- 產生的輸出應如下所示:

- 按住左 鍵 CTRL 並按下 X 鍵以儲存並關閉檔案。
- 隨即會出現提示以確認變更,按下 Y 以確認。

- 按下 Enter 鍵以確認檔案名稱。

- 更新作業系統,然後輸入執行下列命令,確定有最新的憑證。
sudo apt-get update && sudo apt-get upgrade -y && sudo apt-get install --only-upgrade ca-certificates -y
 注意: 如果發生錯誤,請輸入:
sudo apt-get update然後按下 Enter 鍵。sudo apt-get install --only-upgrade ca-certificates and then press Enter
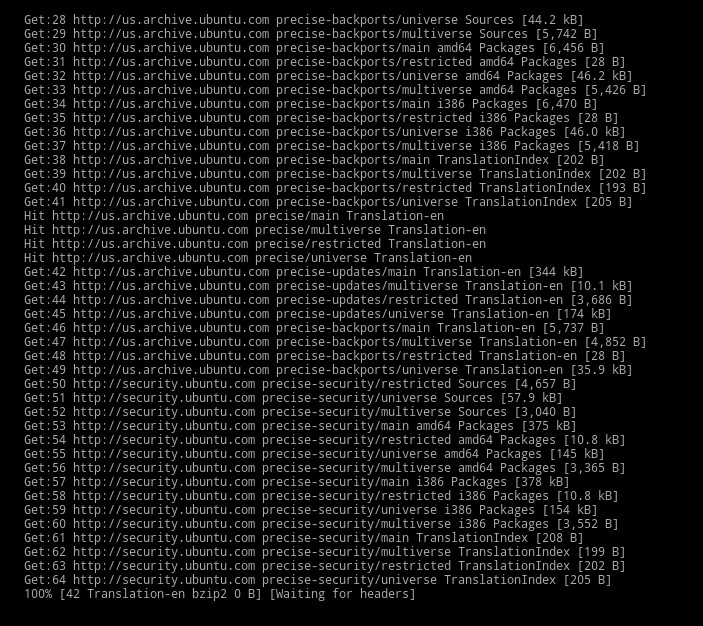
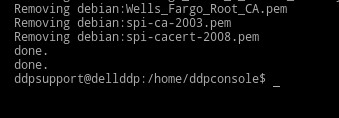
- 出現幾行數據,直到 完成, 顯示兩次,並且上下文
ddpsupport再次呈現。
- 類型
exit,然後按 Enter 鍵登出ddpsupport。

- 類型
exit,然後按 Enter 以從 Shell 登出到 UI。

- 更新現已成功執行。
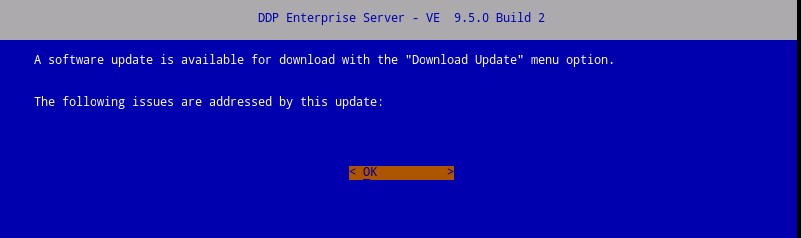 注意: 如需升級程序的詳細資訊,請參閱 如何升級 Dell Security Management Server Virtual。
해당 제품
Dell Encryption문서 속성
문서 번호: 000130706
문서 유형: Solution
마지막 수정 시간: 01 7월 2026
버전: 13
다른 Dell 사용자에게 질문에 대한 답변 찾기
지원 서비스
디바이스에 지원 서비스가 적용되는지 확인하십시오.