Creating a temporary boot LUN on a VCE system using XtremIO
Summary: This procedure describes how to create a new temporary boot LUN on a VCE system that uses XtremIO storage for the boot LUNs. It also describes how to return the system to its original configuration. This could be used for temporary testing of bare metal systems. ...
This article applies to
This article does not apply to
This article is not tied to any specific product.
Not all product versions are identified in this article.
Instructions
Goals
Creating a temporary boot LUN for a host on a VCE system that uses an XtremIO array for boot storage and then returning the system to the original configuration. This KB does not address MDS and UCS changes that are required.
Facts
XtremIO
Boot LUN
Temporary Testing
Solution
- Log into XMS.

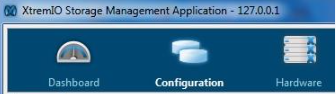
- Select Configuration tab.

- Select Add in volumes section.
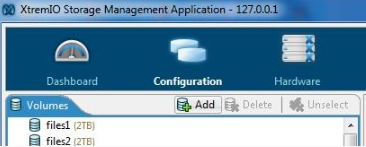
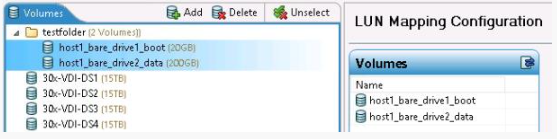
- Type in name and size on new drives for the test server and then click next button.

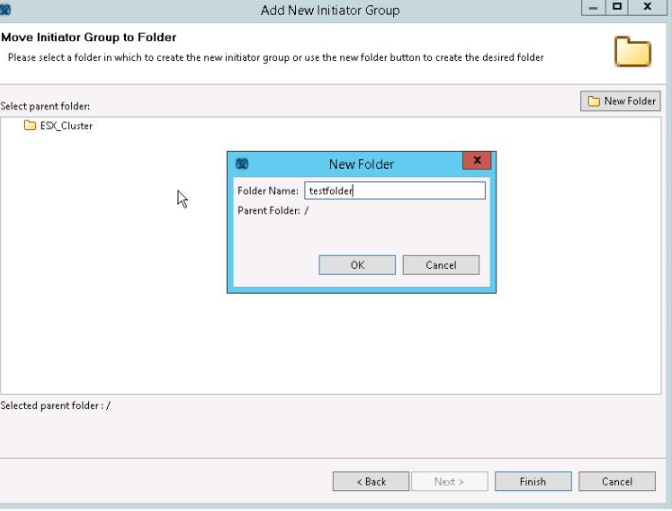
- Use New Folder button to open wizard to create a new folder for the test luns and then click Finish button to create LUNs.

- Select the configuration tab.
- Select the initiator group associated with the blade.
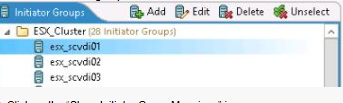
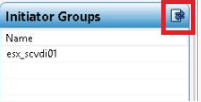
- Click on the Show Initiator Group Mappings icon.
- Record the volume, LUN number, initiator group so that you can recreate after the testing. Take special note of the LUN number of the boot LUN.
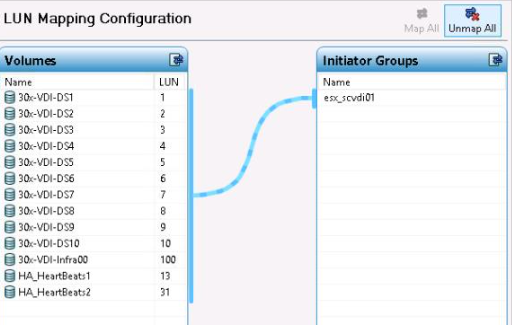
- Click the Unmap all button.
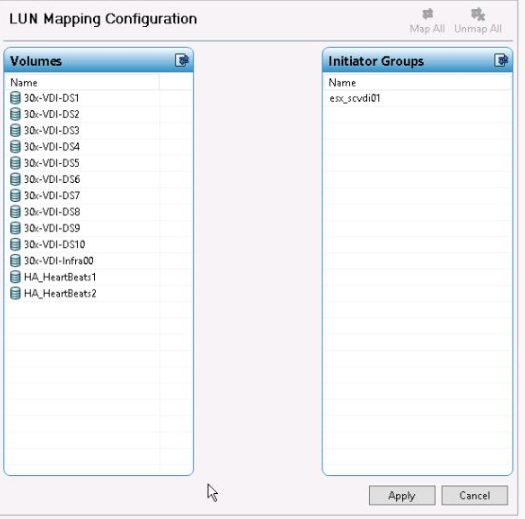
- Click the Apply button.
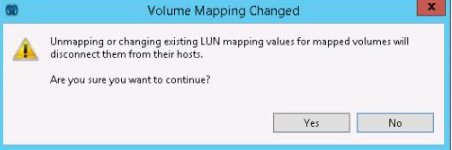
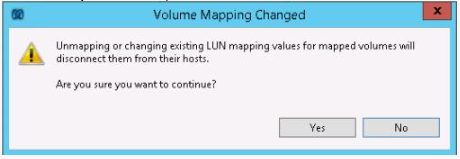
- Confirm the Unmap command.
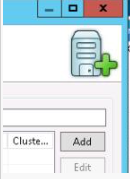
- Click the Add button in the initiators group section to create a new initiators group. Steps 13-19 are only necessary if a new service profile was created in UCSM. If a new service profile was not created just use the original initiators group.

- Type name of new initiator group.

- Click Add button.
- Type in the initiator name, the WWPN from UCSM, and then click OK button.
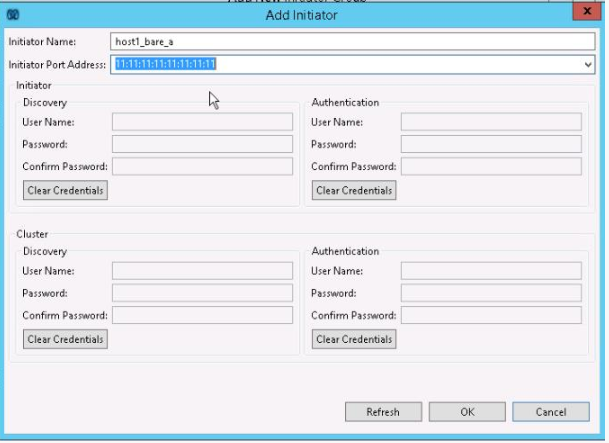
- Repeat step 16 for second vHBA.
- Click Next button.

- Create new folder, type in folder name, click OK button, and then click Finish button.
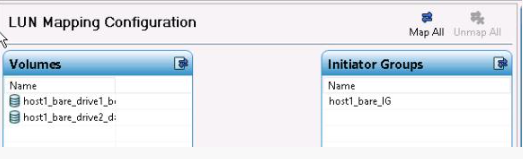
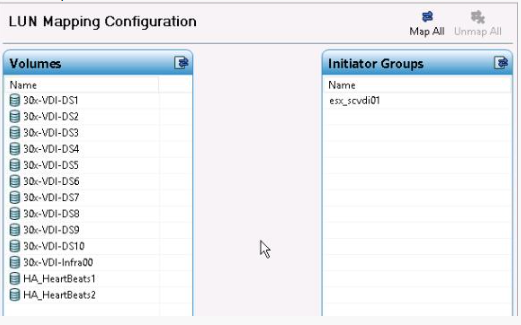
- Select the new LUNs that you created for this testing.

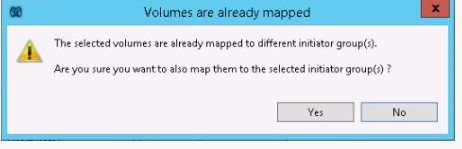
- Click on the Map All button.
- Confirm that all of the LUNs are ready to map and that the LUN number of the new boot LUN matches the LUN number of the old boot LUN. This can be confirmed in UCSM under the boot policy in the service profile.
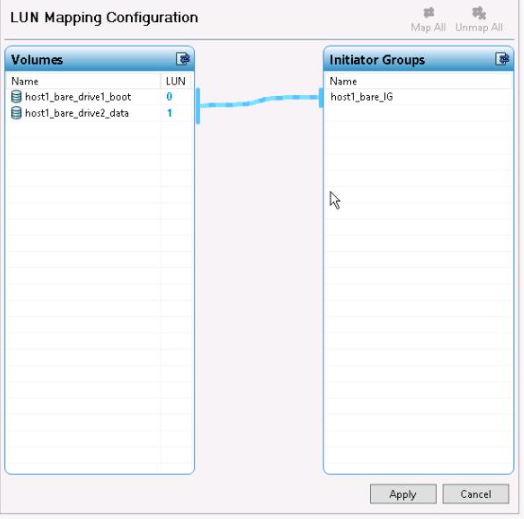
- If the LUN mapping is not correct click on the number and change it. Pressing enter pushes the new LUN number to the initiator group.

- Click the Apply button.

- Run scheduled testing.
- Select Configuration tab.
- Select the test Initiator Group or the hosts original initiators group if a new service profile and initiators group was not created.

- Click on Show Initiator Group Mappings icon.

- Click on Unmap all icon.

- Click Apply button.
- Confirm that you want to unmap the LUNs.
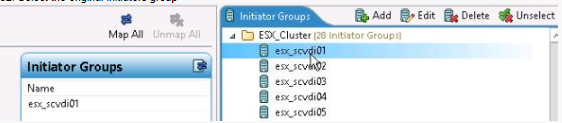
- Select the original initiators group.
- Click Edit and confirm that the port addresses listed are the port addresses from UCSM.
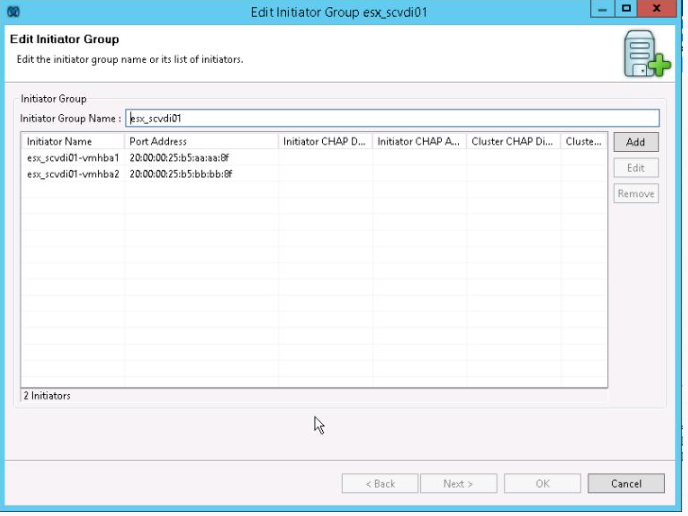
- If wwpn changed, then select the initiator and click Edit button, change the port address, and click OK button.

- Select old LUNs.

- Click Map All icon.
- Confirm that the LUN numbers match the original LUN numbers (especially the boot LUN). Change them if they do not match. Click Apply button when they all match.

- Confirm the new mappings.
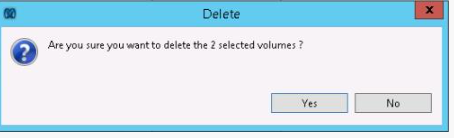
- Select the test LUNs and click the Delete icon.
- Confirm that you want to delete these LUNs.
- Select the test initiators group and click the Delete icon.

- Confirm that you want to delete the test initiators group.
Affected Products
SoftwareProducts
StorageArticle Properties
Article Number: 000205420
Article Type: How To
Last Modified: 28 Jan 2023
Version: 2
Find answers to your questions from other Dell users
Support Services
Check if your device is covered by Support Services.